
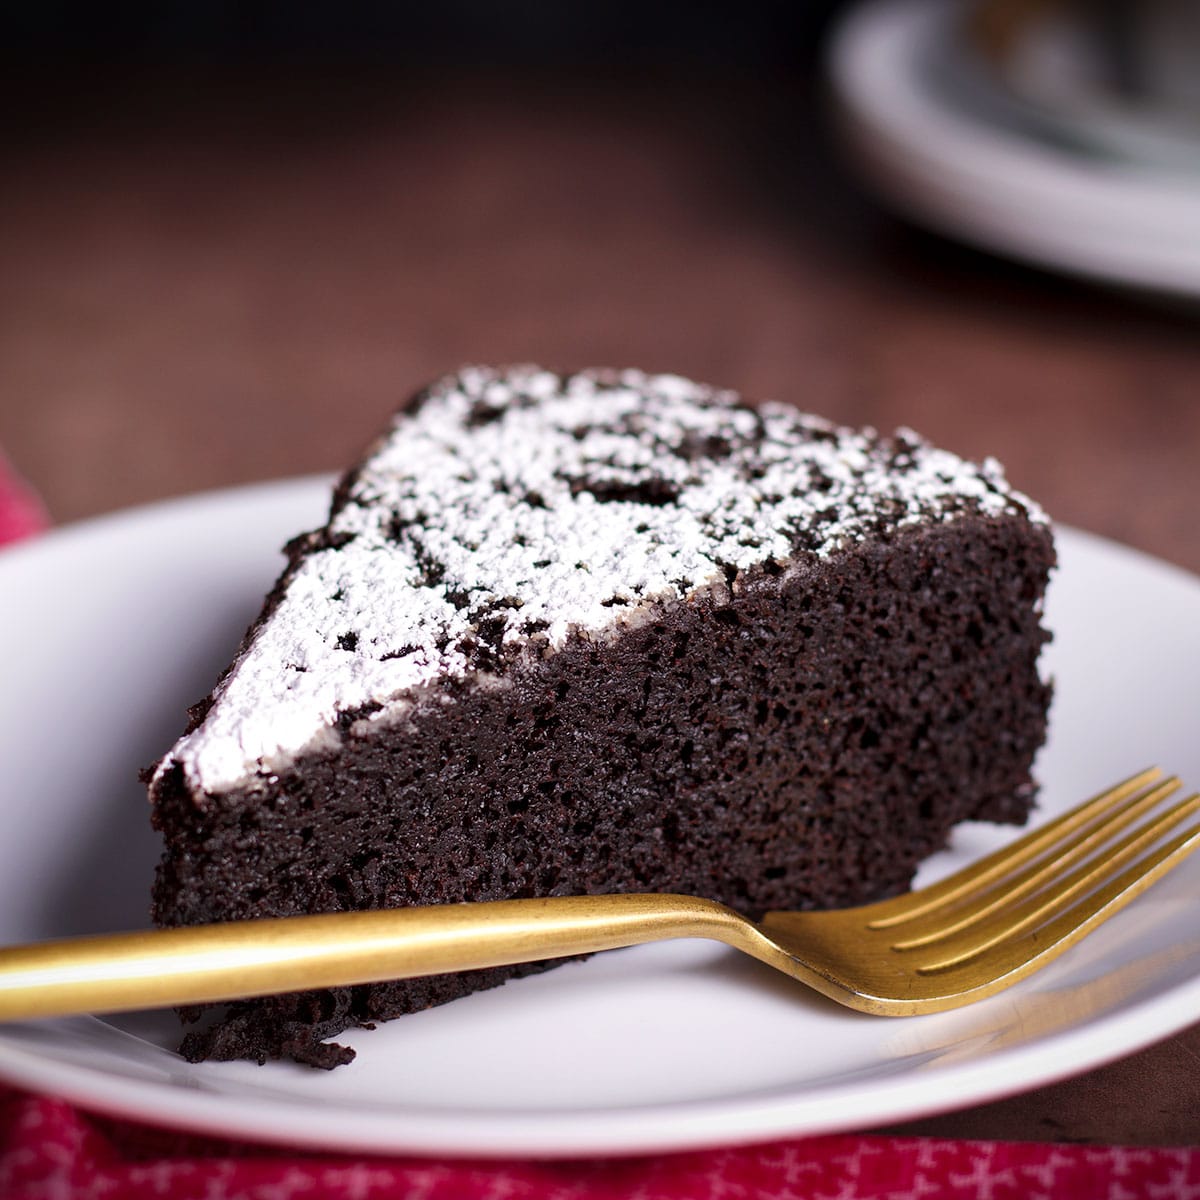
This Dutch Oven Cake is rich and buttery with a deep chocolate flavor and a texture that's so moist it's almost creamy. The cake is cooked on the stovetop - no need to turn on the oven!

Cooking a cake in a dutch oven on the stovetop is something I've been wanting to try for a while, but I'll be honest with you, I had my doubts that it would work.
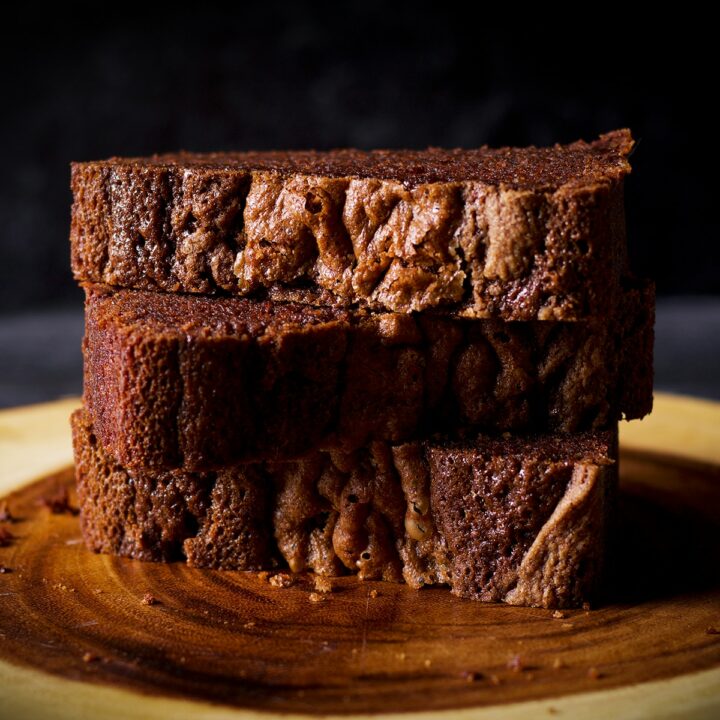
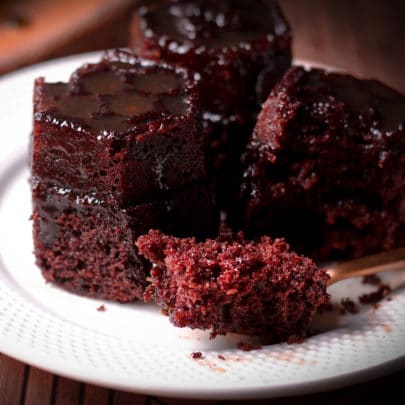
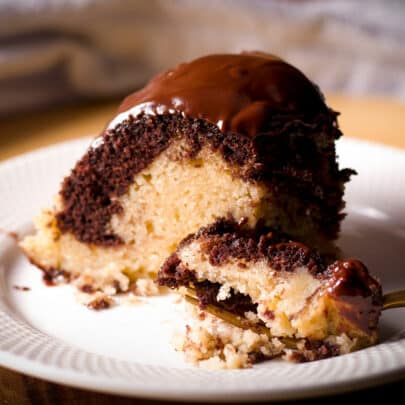
Not only did it work - the cake is crazy good. The cake is baked in a round cake pan set inside a Dutch oven with a bit of water in the bottom of the Dutch oven. So, saying that this cake is baked isn't really correct. In truth, the cake is gently steamed, kind of like an English steamed pudding.
The result is a soft, light and springy texture that's creamy, buttery and deeply chocolate. My husband and I couldn't stop eating it and I just can't wait for you to try it.
This cake would make an excellent camping recipe, by the way. "Bake" it on a camping stove, or on an RV stovetop. My husband and I are full-time RVers and we are fortunate enough to have a full-size oven. I know this isn't the case for most RVs, and baking in those tiny ovens is problematic to say the least. This recipe skips the oven altogether so you might say you can have your cake and eat it too. 😁
Jump to:

+ Subscribe to my newsletter for new and exclusive recipes in your in-box every month! As a full time traveler, living, working, cooking, and baking from a 5th wheel RV, it's also where I share our experiences of life on the road.
Ingredients
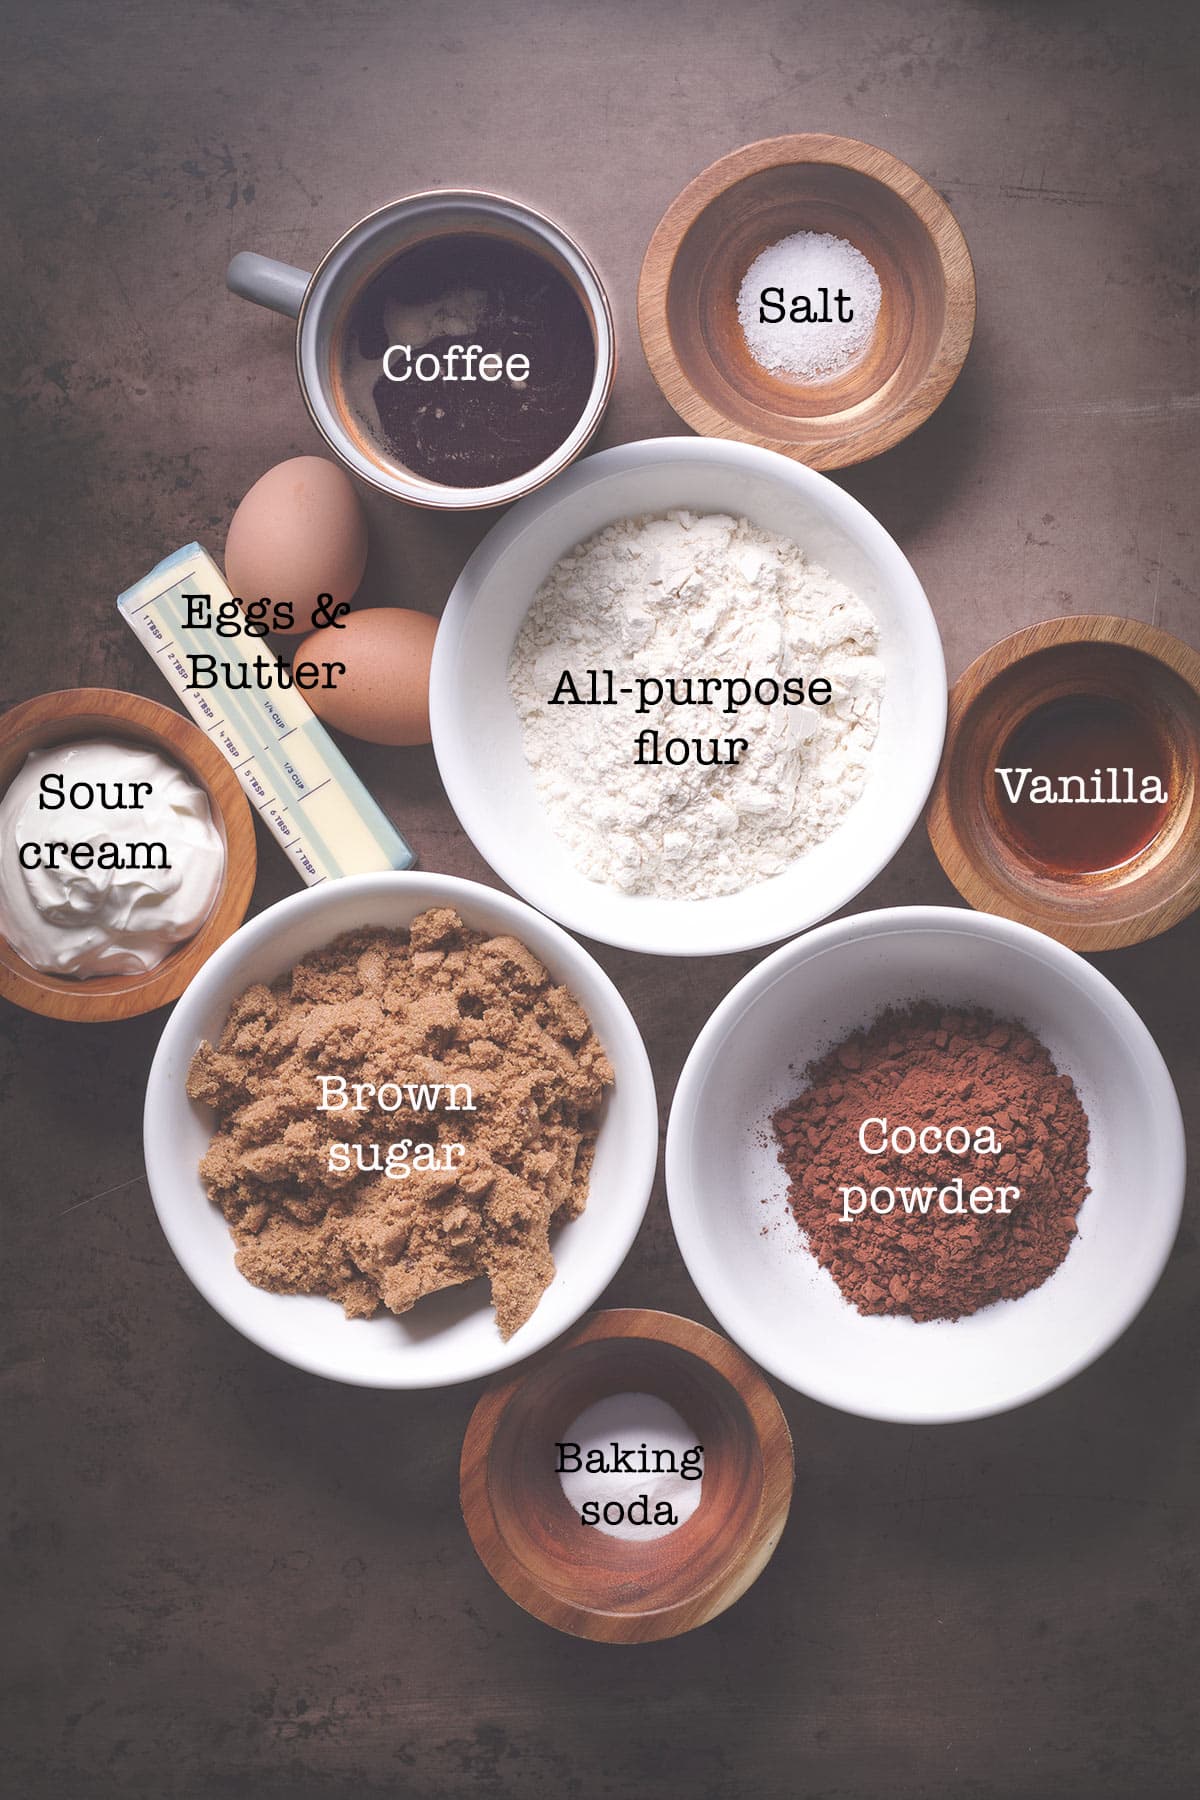
- All-purpose flour
- Cocoa powder - regular or Dutch process
- Baking soda
- Salt
- Brown sugar - light or dark brown sugar. To measure brown sugar correctly, really pack it down inside the measuring cup.
- Two large eggs.
- Sour cream - it's important that you use full-fat sour cream in this recipe not reduced fat.
- Butter - salted or unsalted, depending on how sensitive to salt you are and how much salt you like in sweet foods.
- Pure vanilla extract - or vanilla bean paste
- Strong brewed coffee - a half cup of brewed coffee intensifies the chocolate flavor in this cake without giving the cake a coffee or mocha flavor
Variations, additions, and substitutions
This is a very simple chocolate cake and is therefore a kind of blank slate for variation. I suggest not messing with the basic formula or ingredient amounts. Baking is both art and science and messing with the amount of one ingredient will affect the entire balance and structure of a cake. Having said that, here are some ingredient substitutions and ways to modify this recipe.
- Make a gluten-free Dutch oven chocolate cake: Swap out the All-purpose flour for a measure-for-measure gluten free flour blend. The two I like the most are Bob's Red Mill 1 to 1 Gluten Free Baking Flour and King Arthur Gluten Free Measure for Measure Flour.
- No brown sugar? Brown sugar is simply a combination of granulated sugar and molasses, so if you have those two ingredients, you can mix some up yourself. Use 1-2 tablespoons of molasses (not blackstrap molasses) per cup of granulated sugar. Using 1 tablespoon will give you light brown sugar and using 2 tablespoons will give you dark brown sugar. (What's the difference? Just the amount of molasses flavor.) Use your fingers to massage the molasses into the sugar or pulse in a food processor a few times to blend. You can also just use granulated sugar in this recipe. The little bit of molasses adds flavor and a bit more moisture to this cake, but granulated sugar also works perfectly well.
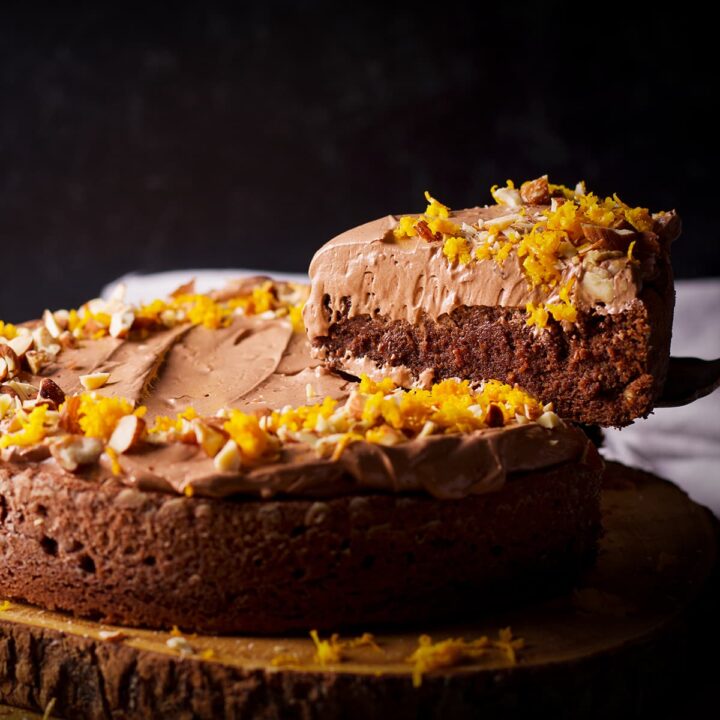
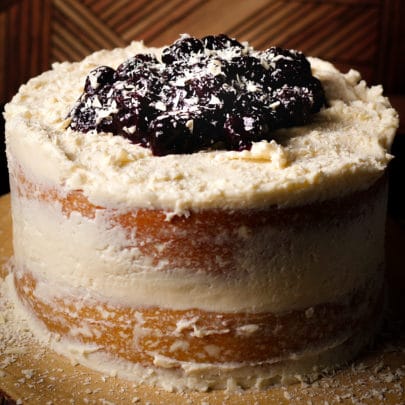
- Make a double chocolate cake: Sprinkle a handful or two of mini-chocolate chips over the batter after pouring it into the pan for double the chocolate flavor. Or, frost the cake with chocolate frosting instead of the sprinkle of powdered sugar. Good frosting options: Classic chocolate buttercream, milk chocolate buttercream, and chocolate orange buttercream.
- No sour cream? You can use buttermilk in this recipe instead of sourcream, but use 1 tablespoon less - so, measure out ½ cup of buttermilk and then remove one tablespoon. No buttermilk either? Here's a list of several ways to make a good substitute for buttermilk.
Step-by-step photos and instructions
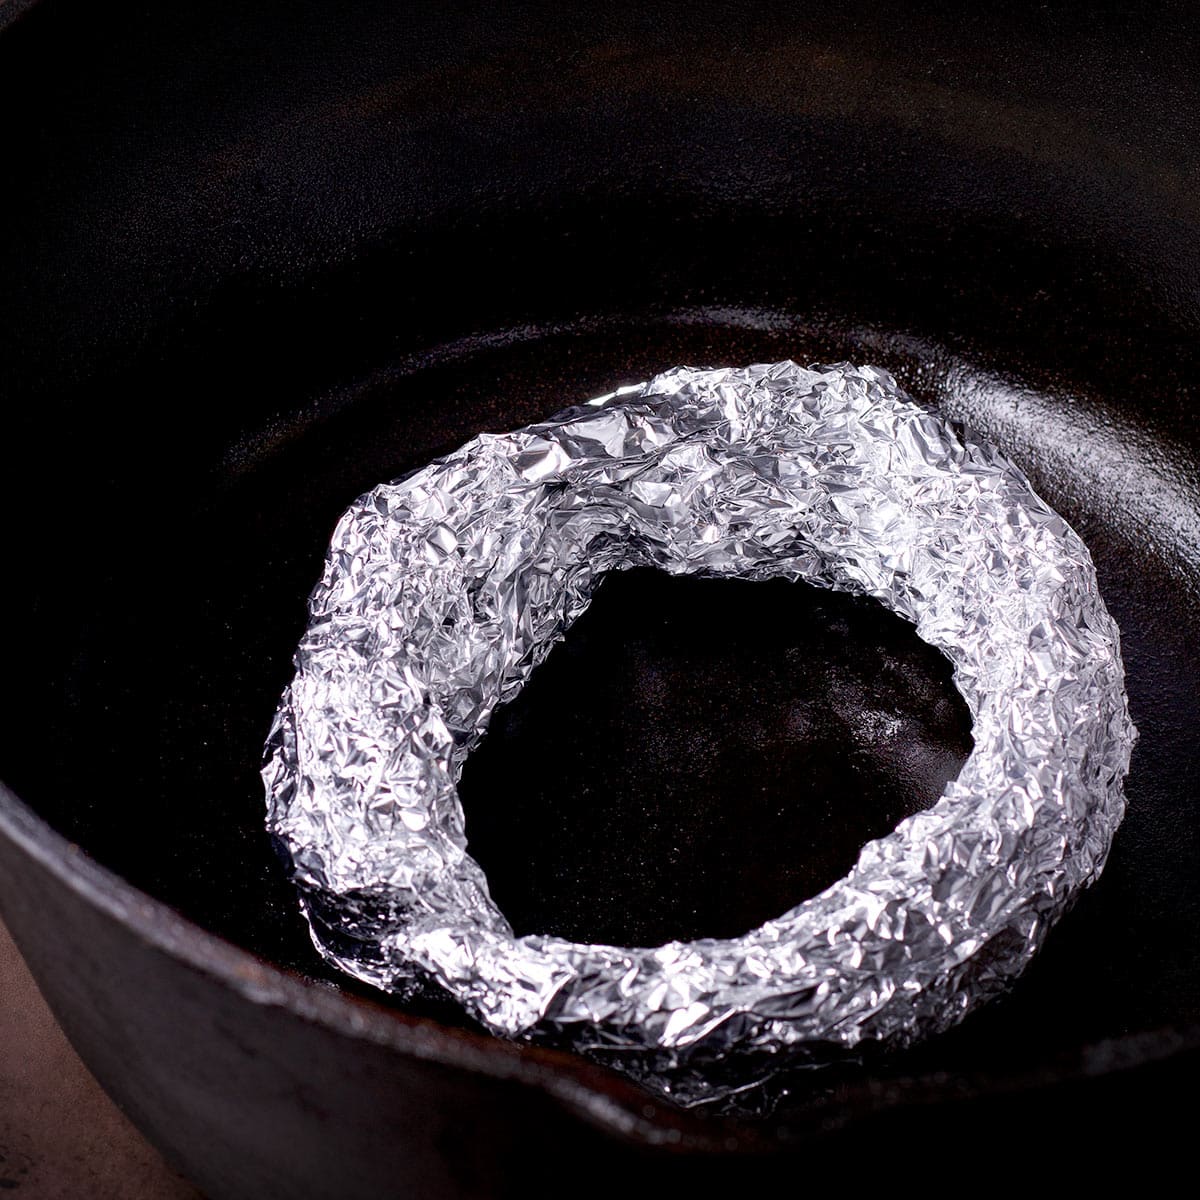
Scrunch some foil into a 18-inch snake that's roughly 1-inch thick. (I used three pieces of foil stacked on top of each other.) Form it into a circle and place it on the bottom of a dutch oven.
Add enough water to the bottom of the pan so that the water comes about three quarters of the way up the sides of the foil ring. (You'll need to hold the ring down to measure the right amount of water because the ring will float.)
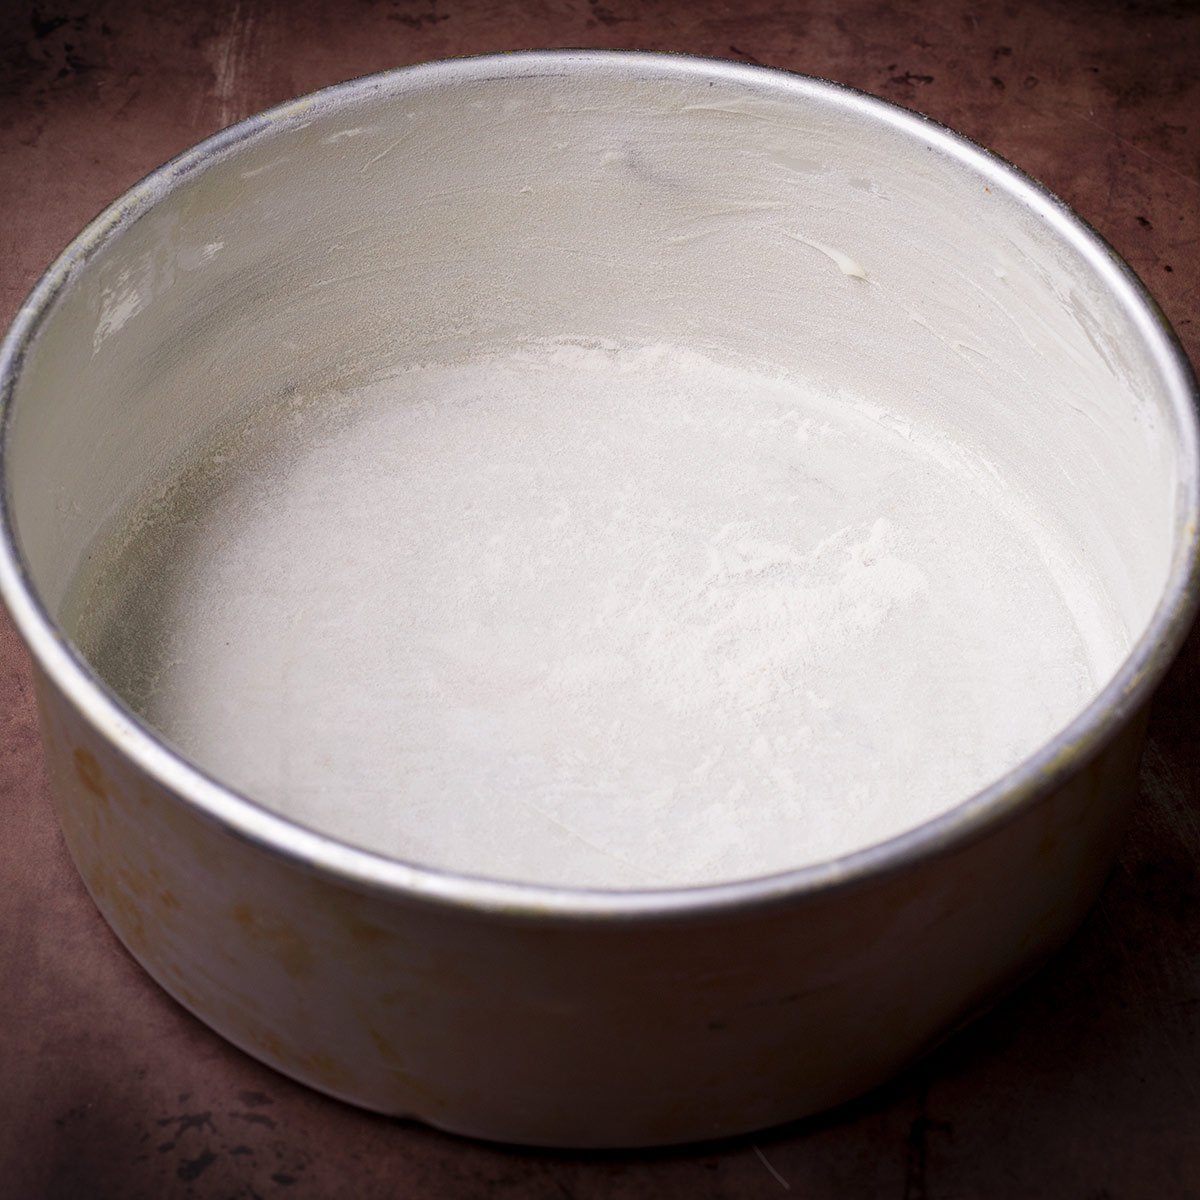
Prepare an 8-inch round cake pan that is 3-inches deep by smearing the inside of the pan with a thin layer of vegetable shortening or butter and line the bottom of the pan with parchment paper.
Smear the top of the parchment paper with vegetable shortening or oil then dusting the inside of the pan with some all-purpose flour. (More about how to prepare a cake pan so the cake will not stick.)
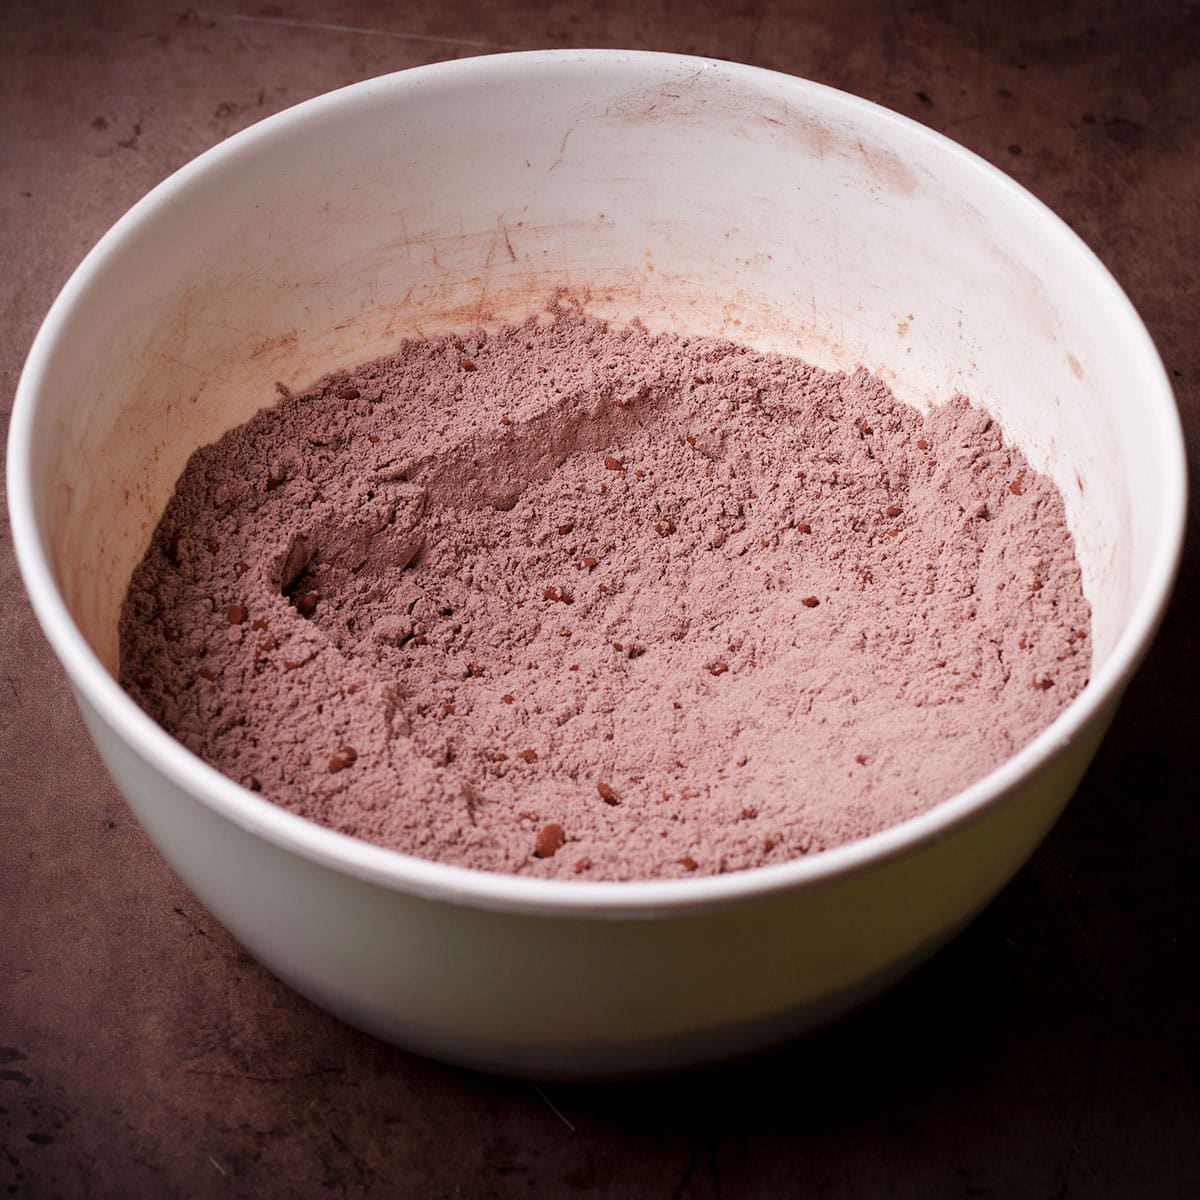
Add the flour, cocoa powder, baking soda, and salt to a bowl and use a wire whisk to mix.
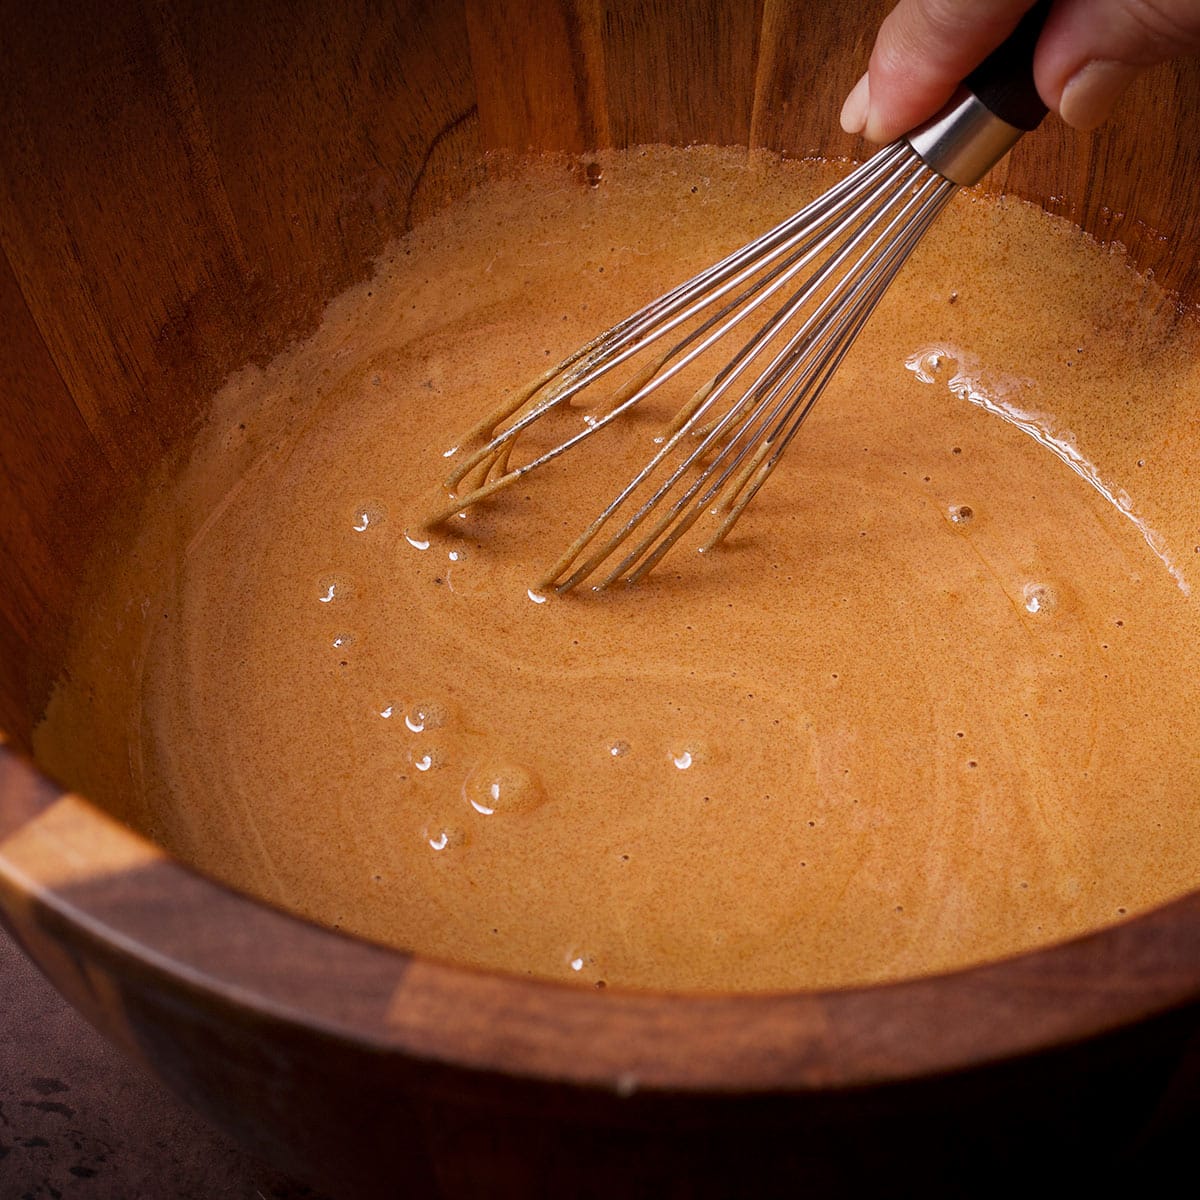
Add the brown sugar and egg to another mixing bowl and whisk for about 30 seconds to blend completely.
Whisk in sour cream, melted butter, and vanilla, then whisk in the coffee.
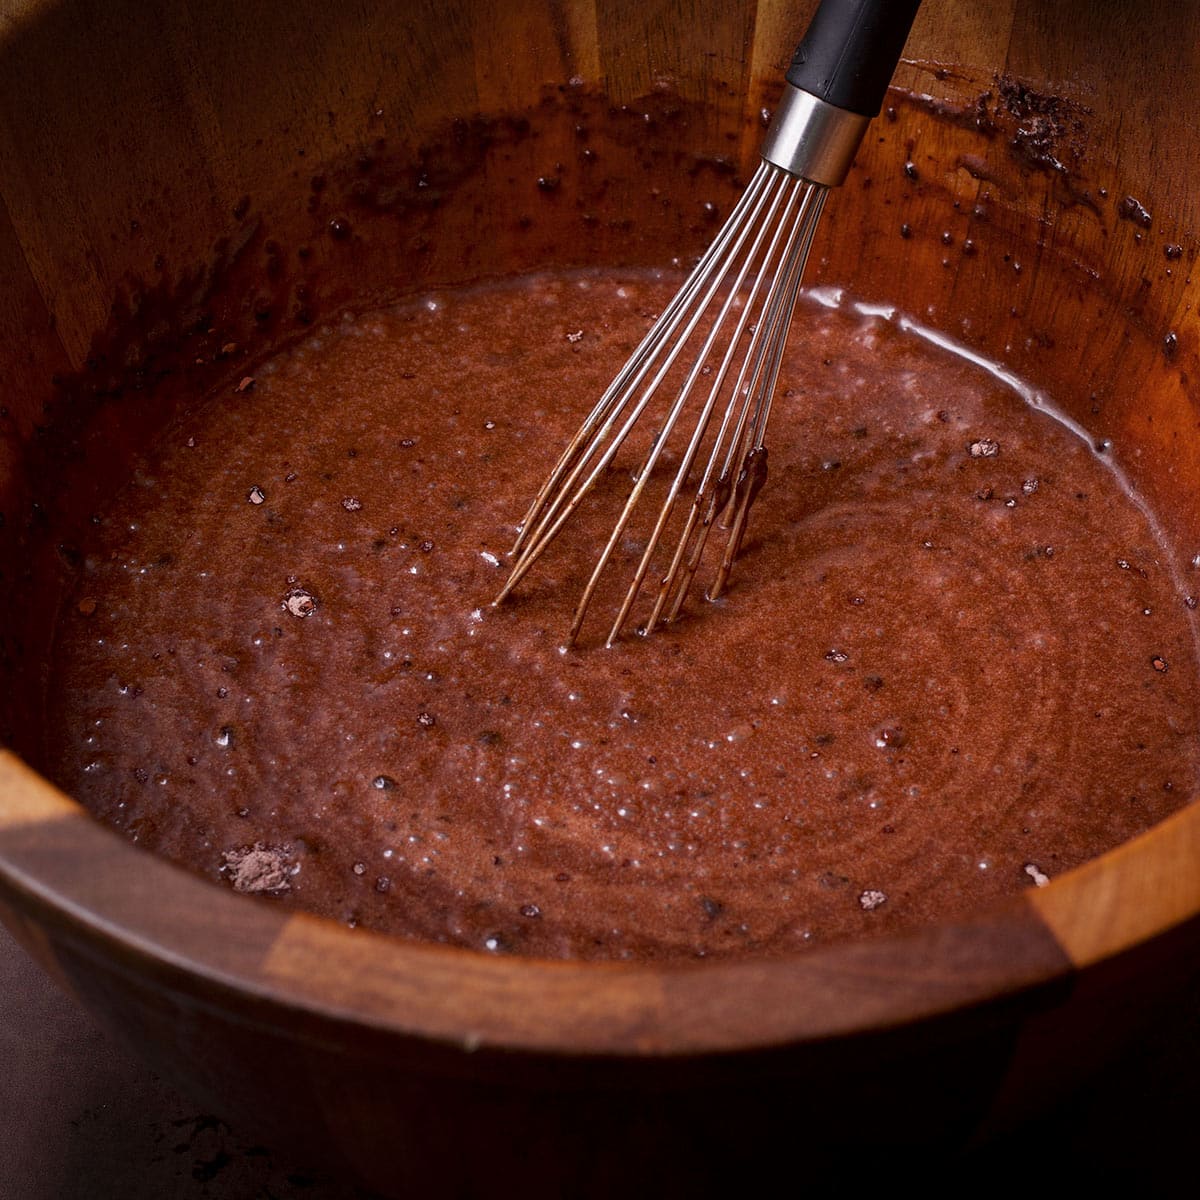
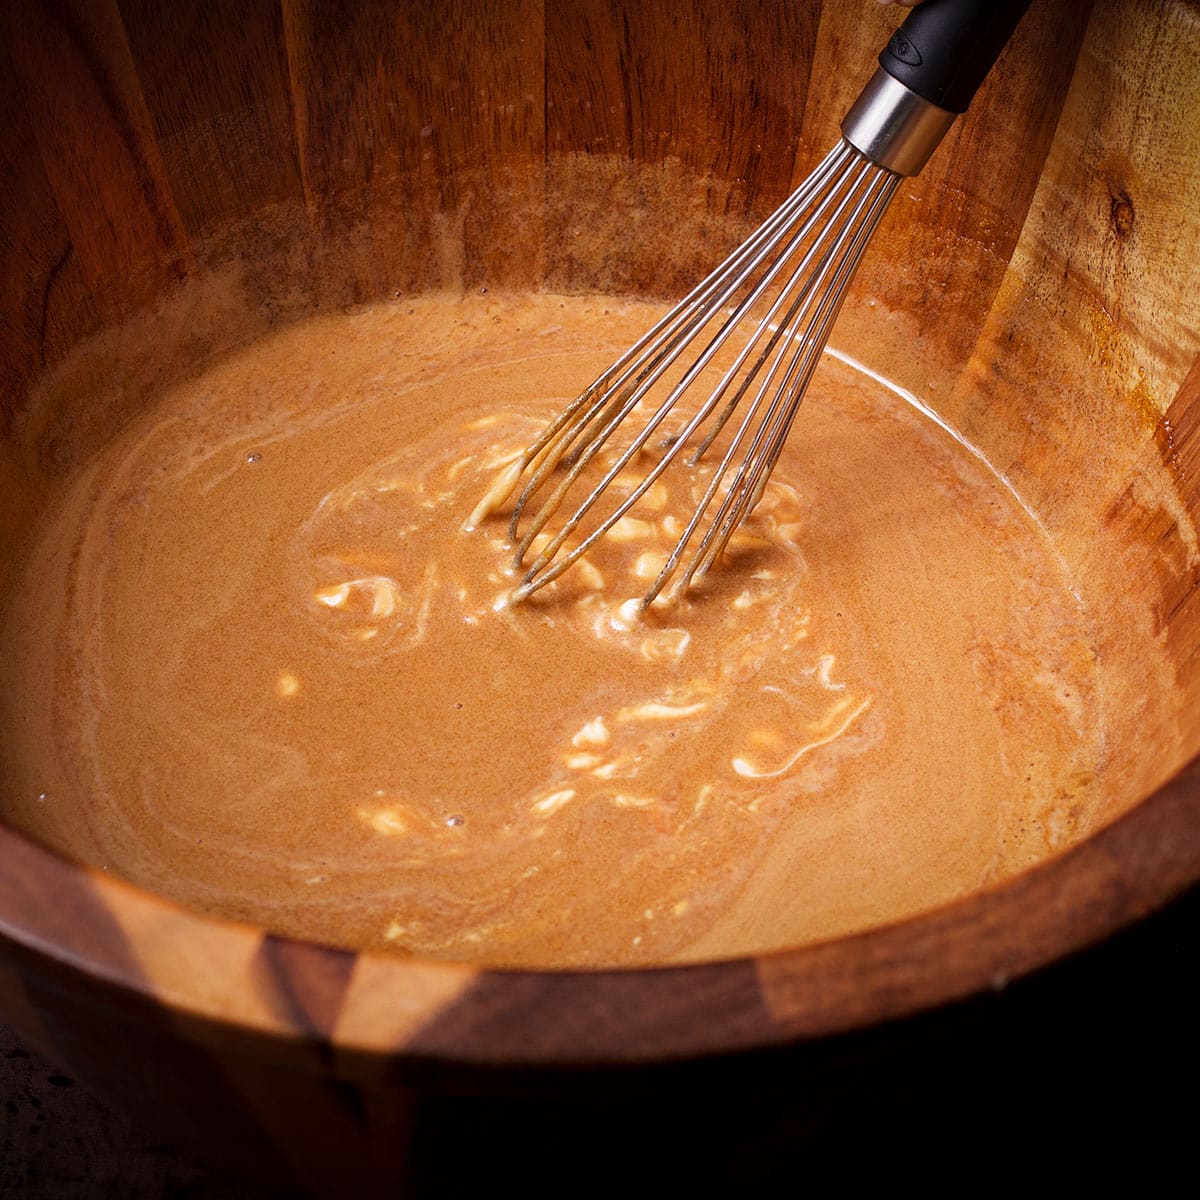
Whisk in the dry ingredients, stirring just to mix. There will be a few small lumps and that's ok.
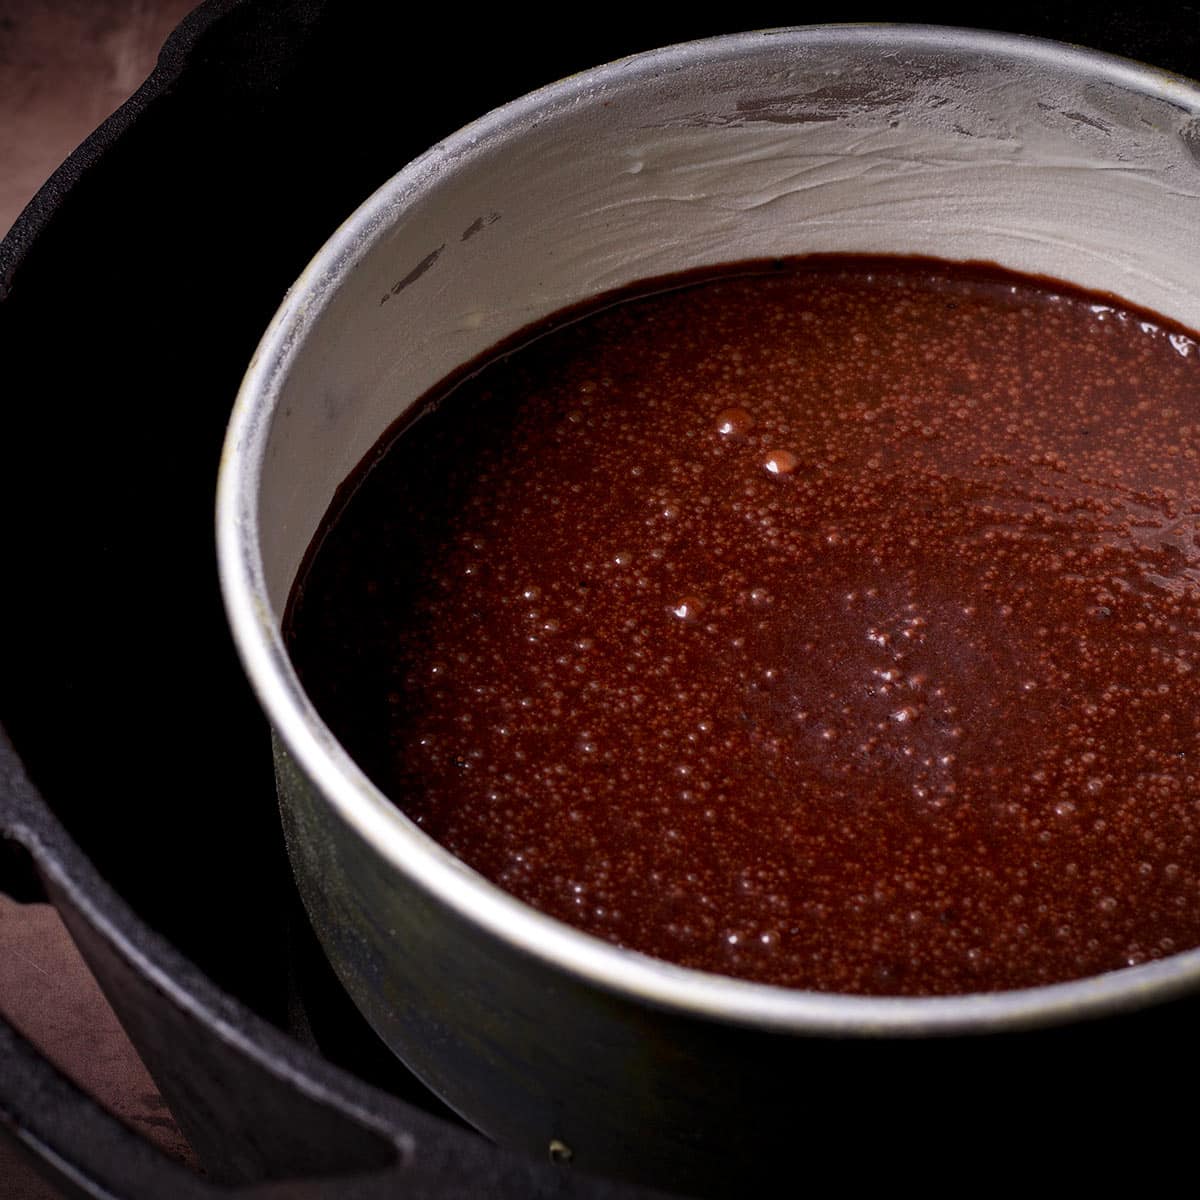
Pour the batter into the prepared pan and set the pan on top of the foil ring inside the Dutch oven.
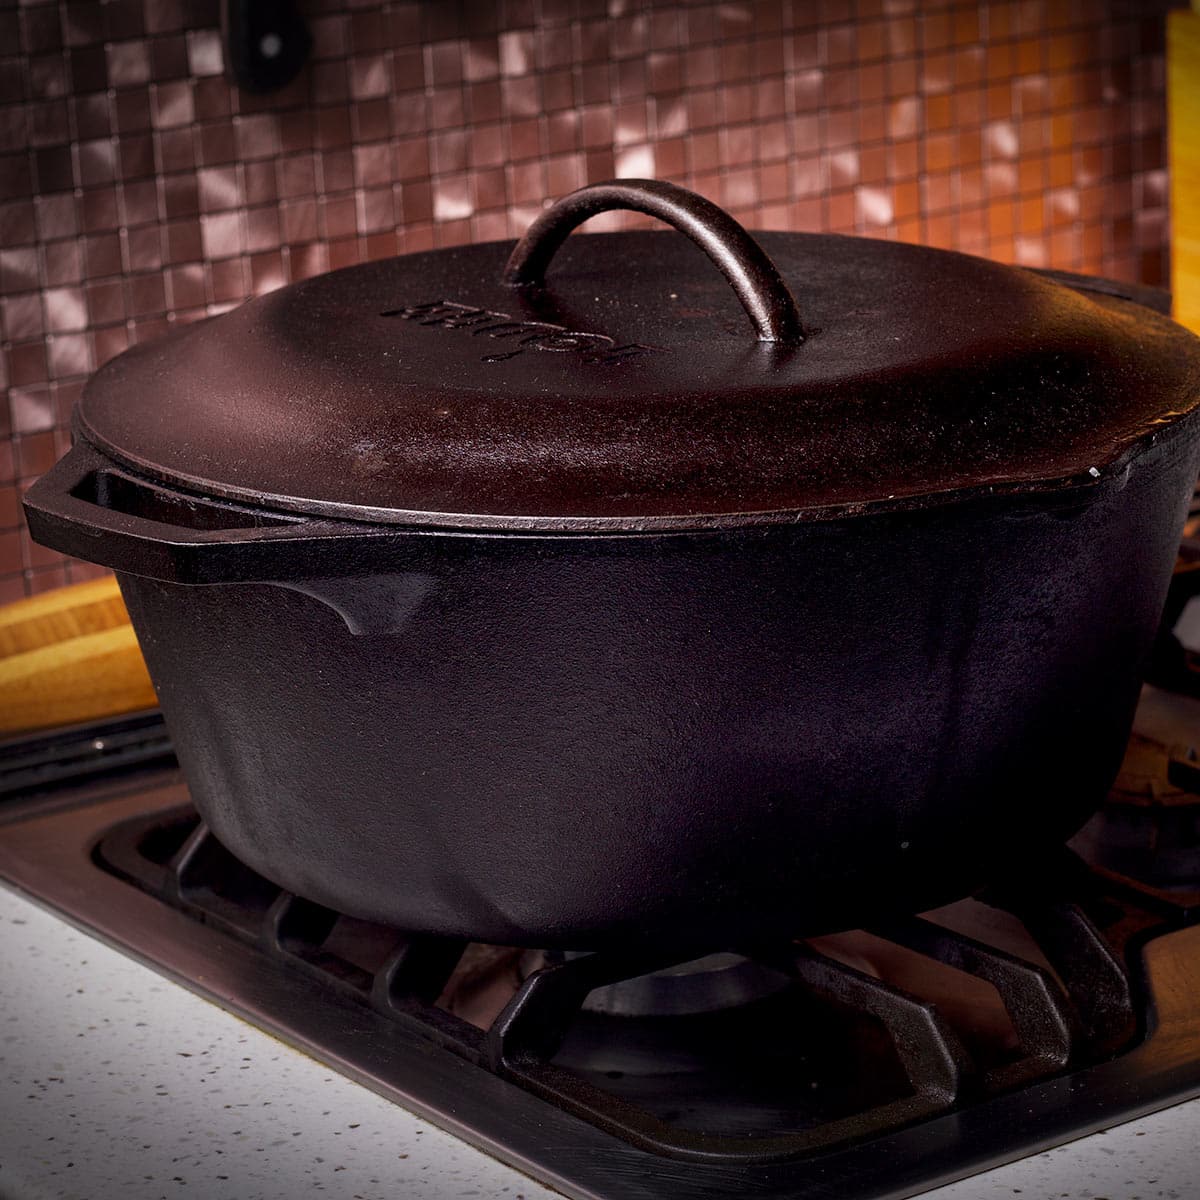
Place the lid on top of the Dutch oven and set it over high heat. When the water begins to boil, reduce the heat to low and let the cake steam inside the Dutch oven until the center of the cake is firm to the touch, about 23 - 25 minutes.
Try not to open the Dutch oven often while the cake is steaming but do check that the water is at a gentle simmer.
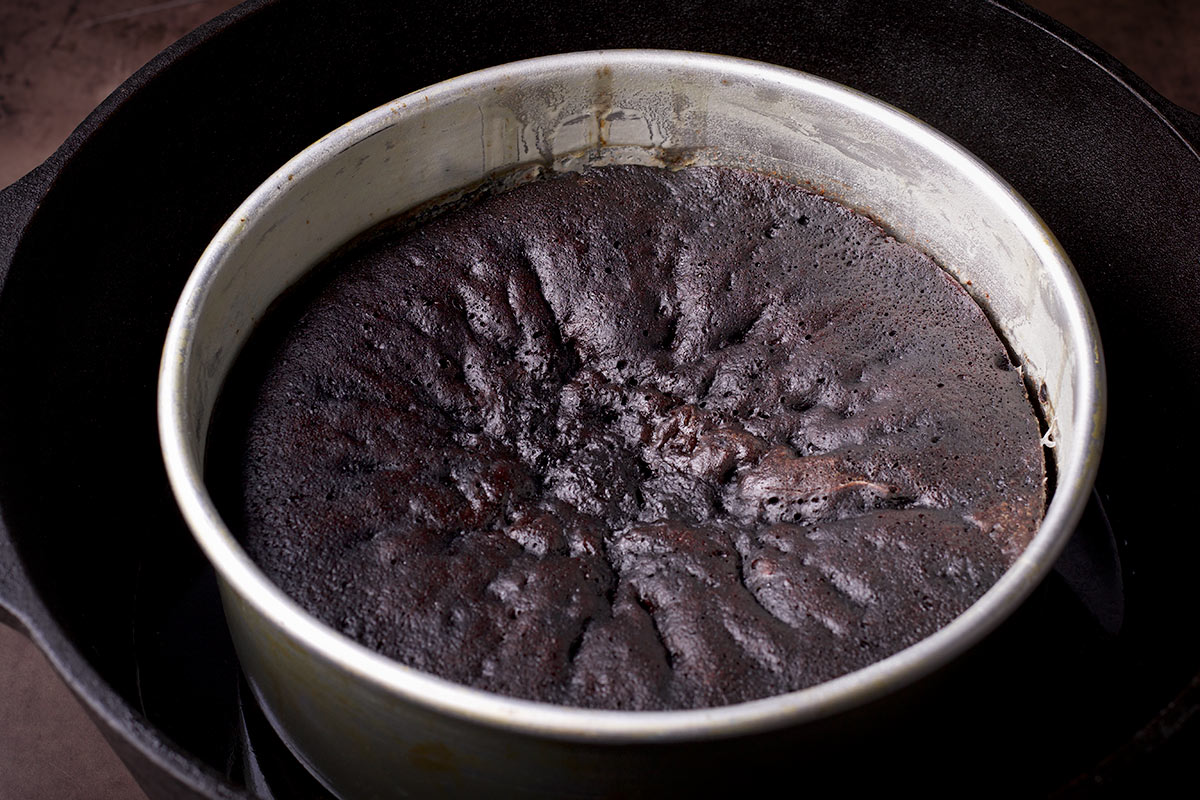
When the cake is firm to the touch, turn off the heat and remove the lid but leave the cake in the dutch oven. Let the cake rest until the pan is cool enough to handle.
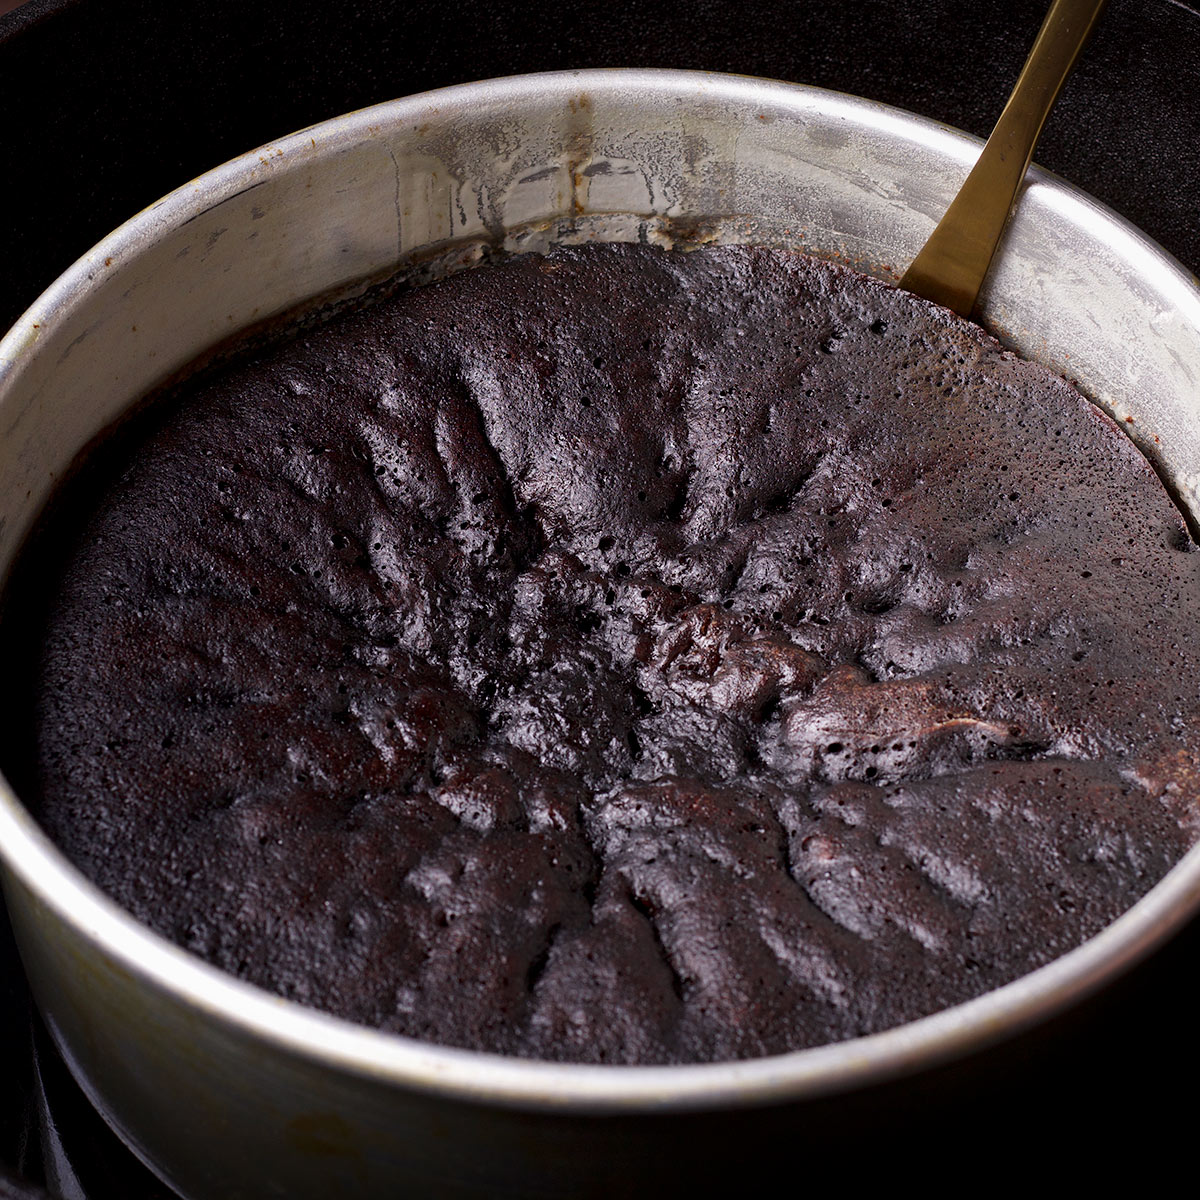
Remove the pan from the dutch oven and run a knife around the outside of the cake to separate the sides of the cake from the sides of the pan. Allow the cake cool completely inside the pan.
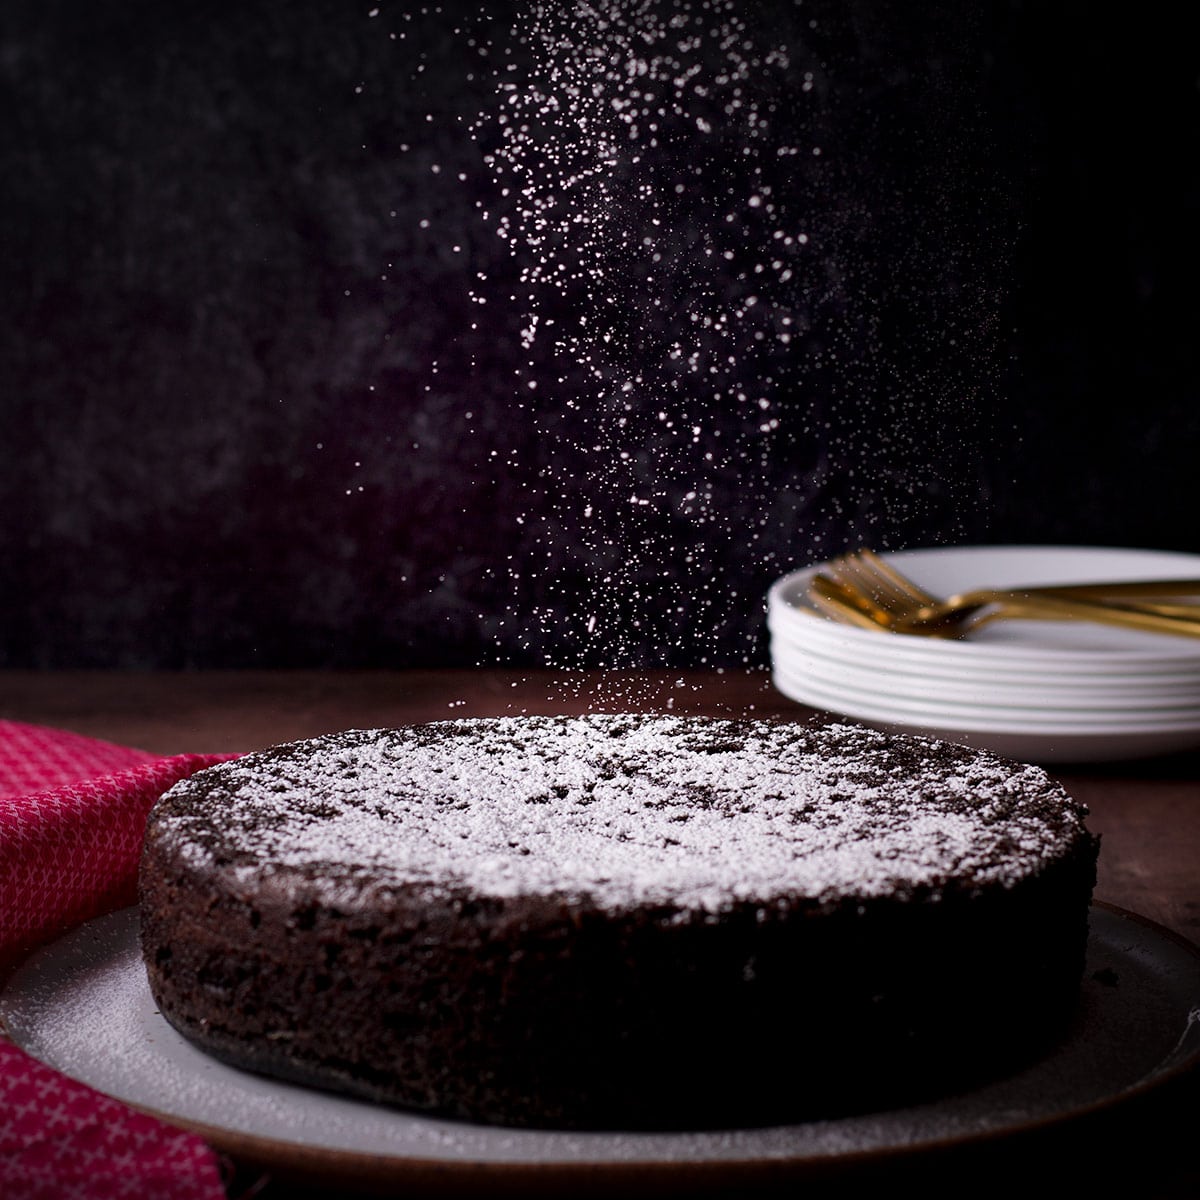
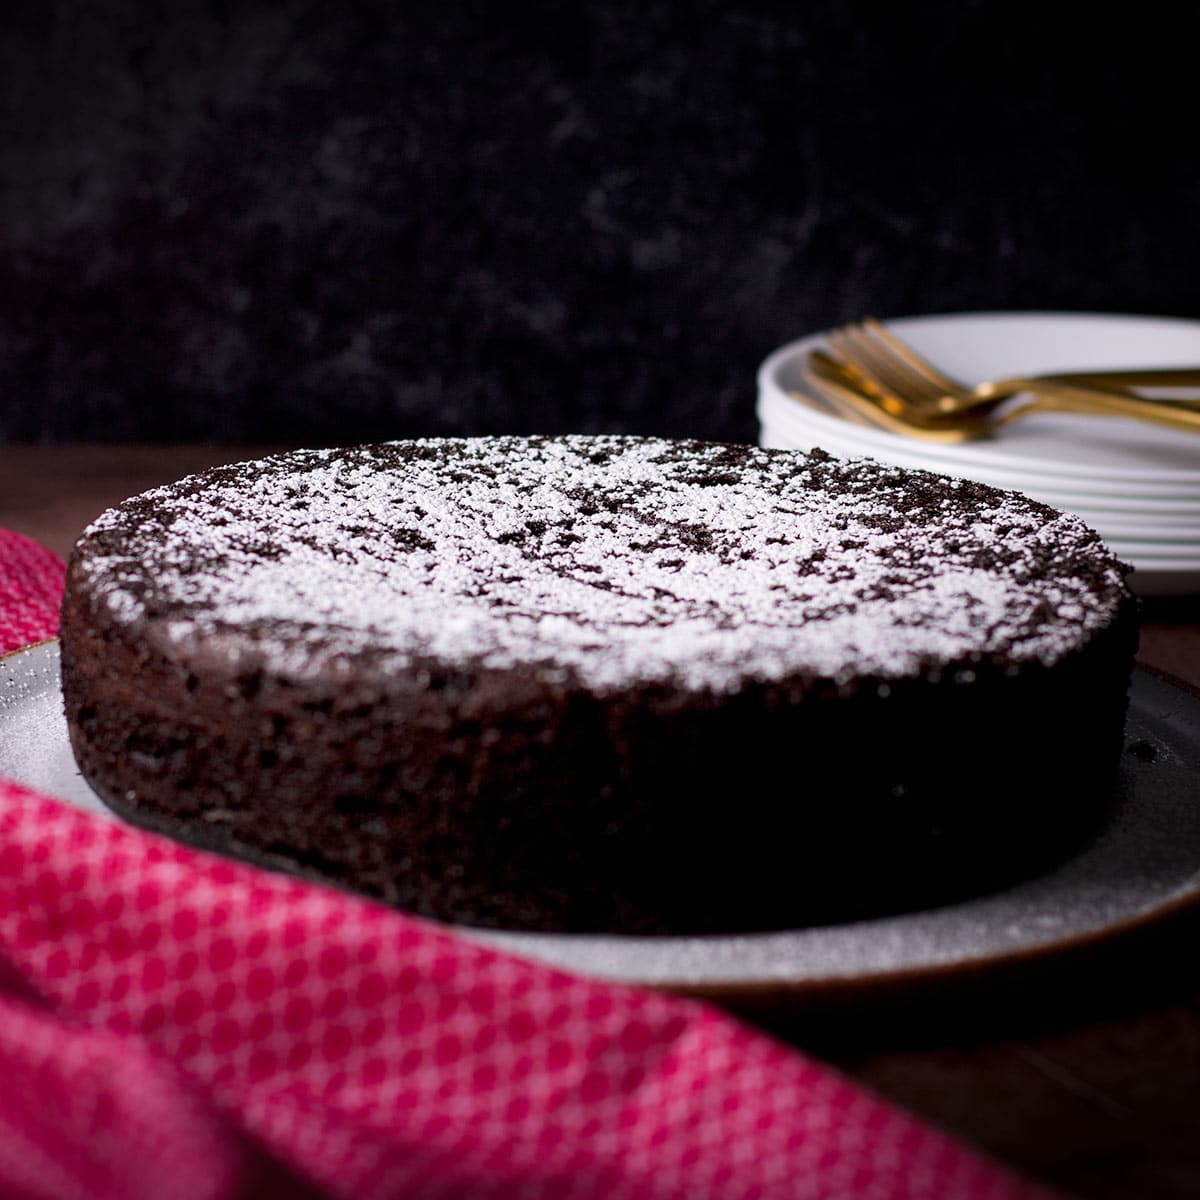
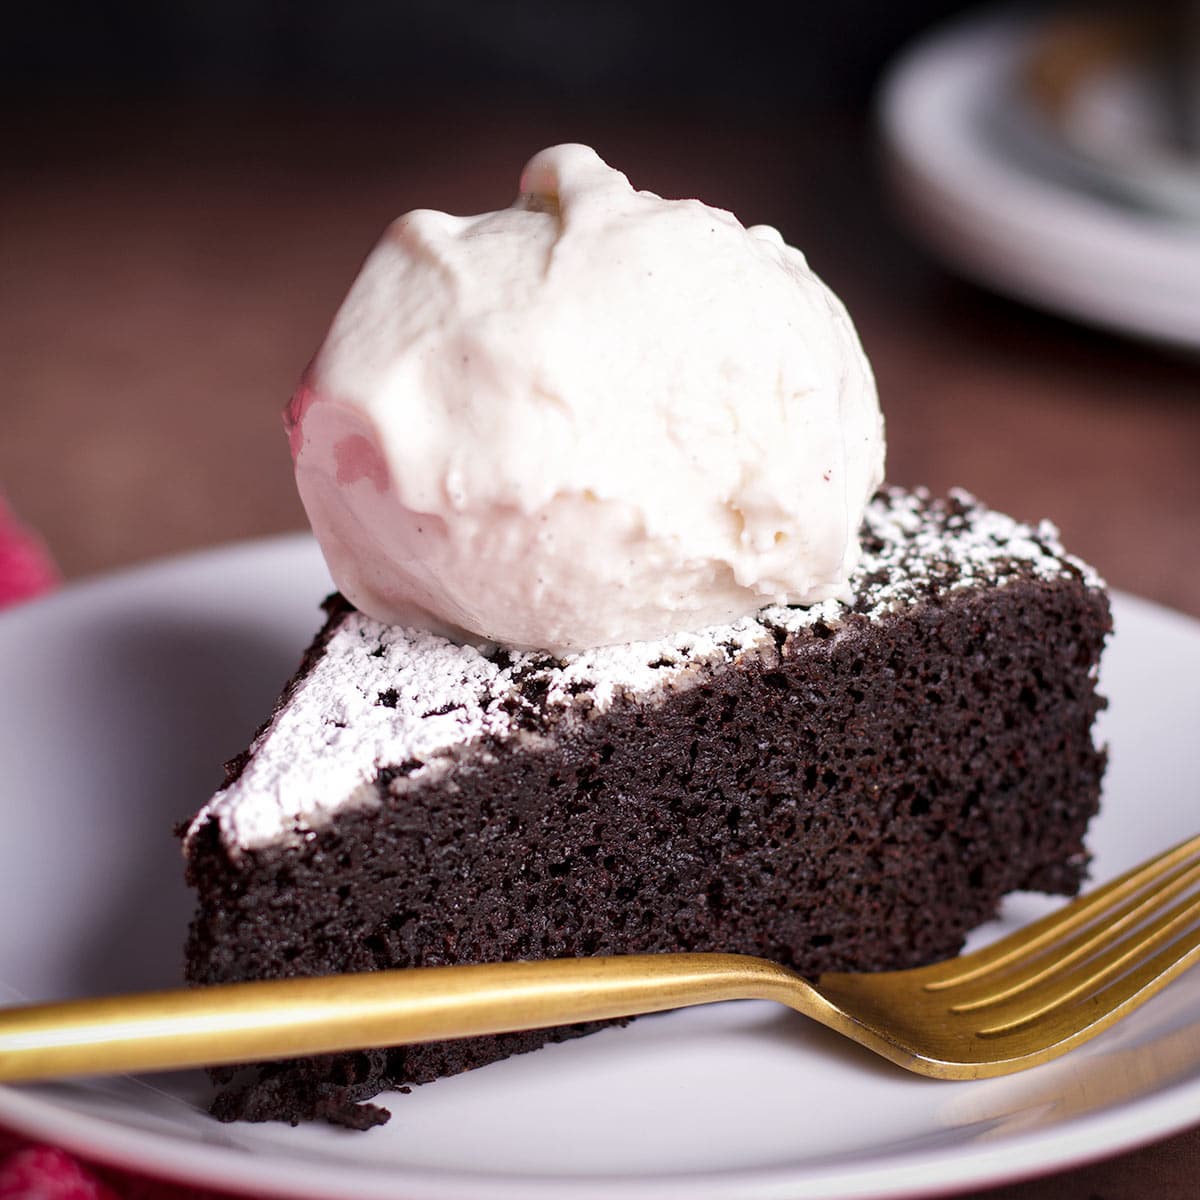
When the cake has cooled to room temperature, gently turn it out onto a serving plate and dust the top with some powdered sugar.
Pro tip! If your Dutch oven has a self-basting lid (there will be bumps or spikes on the underside of the lid), lay a piece of parchment paper across the top of the pot before setting the lid in place. This will prevent water from dripping down from the lid of the pot onto the surface of the cake.
Serving suggestions
This chocolate cake is perfectly delicious all on it's own, with or without the sprinkle of powdered sugar. But, if you want to kick it up a notch, here are a few serving suggestions:
- Smear it with frosting. My favorites are mascarpone frosting, milk chocolate buttercream, chocolate orange buttercream, and raspberry cream cheese frosting.
- Drizzle the cake with this simple vanilla icing.
- Serve slices with a swirl of lightly sweetened whipped cream or a scoop of vanilla ice cream. For something similar to a chocolate fudge brownie sundae, drizzle on a spoonful or two of hot fudge.
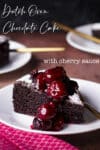
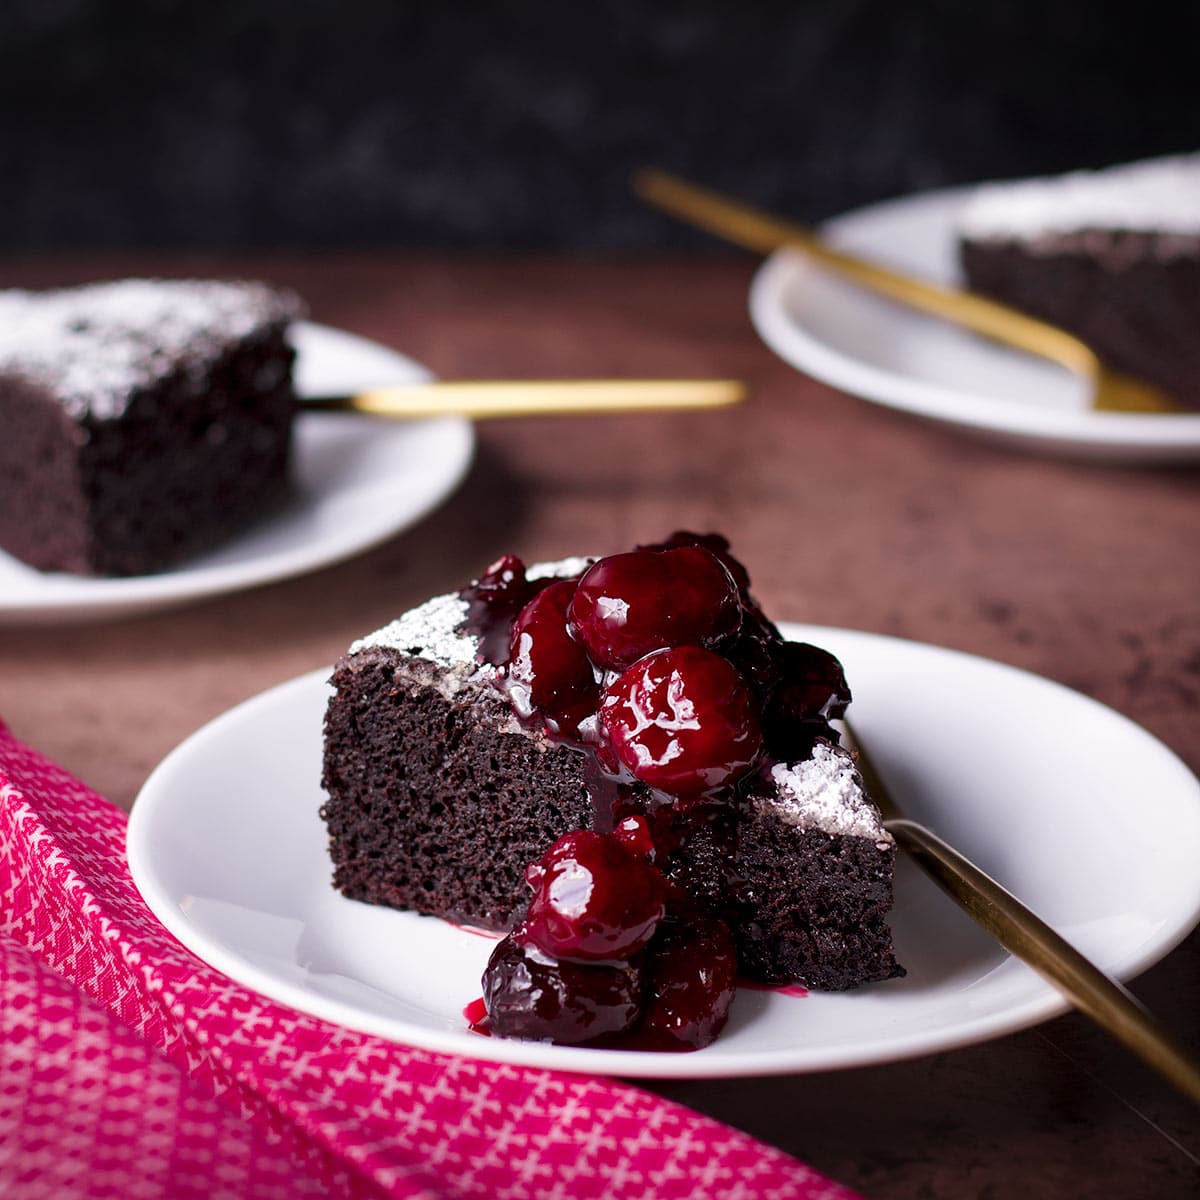
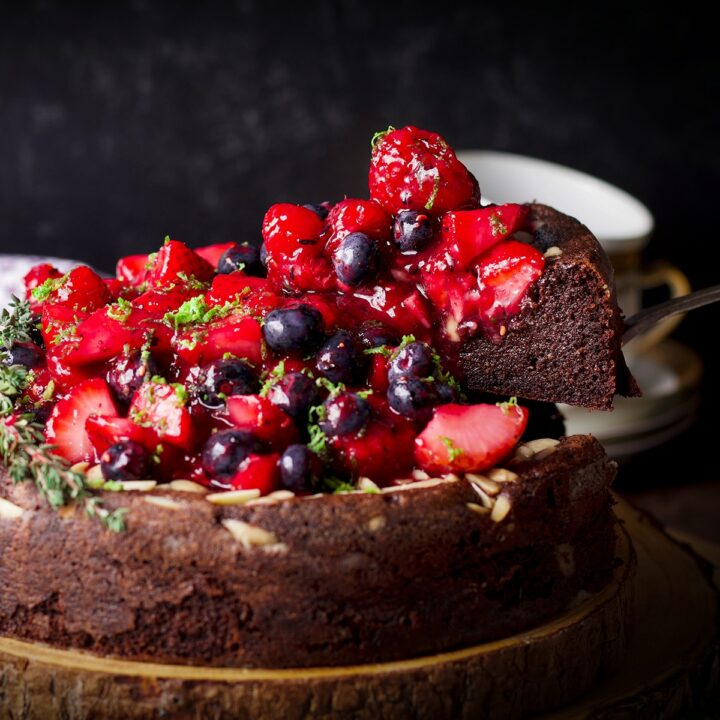
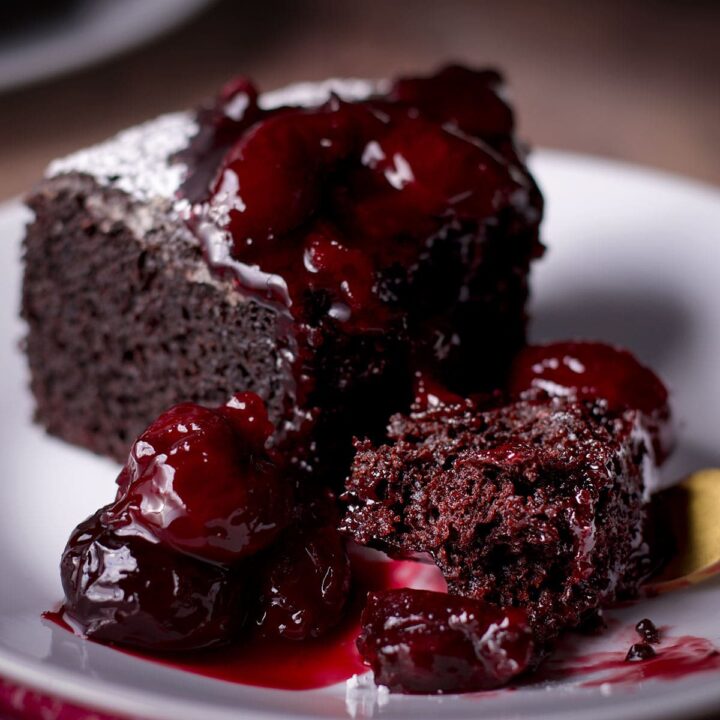
- Top slices with a dessert sauce. My favorites are cherry sauce (pictured below), fresh berry sauce, salted caramel sauce, whiskey sauce, and butterscotch sauce.
And on a cool evening, serve me a slice of this cake and a mug of this rumchata hot chocolate while we sit around the campfire and I'll love you forever.
More chocolate cake recipes
+ Subscribe to my newsletter for new and exclusive recipes in your in-box every month! As a full time traveler, living, working, cooking, and baking from a 5th wheel RV, it's also where I share our experiences of life on the road.
If you give this recipe a try, let me know! Leave a comment, rate it, or take a picture and tag it #ofbatteranddough on Instagram. Happy Baking!
📖 Recipe
Stovetop Dutch Oven Chocolate Cake
This Stovetop Dutch Oven Cake is rich and buttery with a deep chocolate flavor and a texture that's so moist it's almost creamy.
Ingredients
- 1 cup (120 grams) all-purpose flour
- ⅓ cup (28 grams) unsweetened cocoa powder, natural or Dutch process
- 1 teaspoon baking soda
- ½ teaspoon table salt, OR ¾ teaspoon kosher salt
- 1 cup (213 grams) packed brown sugar, dark or light
- 2 large eggs
- ½ cup (114 grams) sour cream, not reduced fat
- 6 tablespoons (57 grams) butter, salted or unsalted, melted and at room temp
- 2 teaspoons pure vanilla extract or vanilla paste
- ½ cup (114 grams) strong brewed coffee
- Powdered sugar (optional), for sprinkling over the top of the cake
Instructions
- Scrunch some foil into a 18-inch long snake that's roughly 1-inch thick. (I used three pieces of foil stacked on top of each other to get the right thickness) Form it into a circle and place it on the bottom of a dutch oven. (See photos above.)
- Add enough water to the bottom of the pan so that the water comes about three quarters of the way up the sides of the foil ring. (You'll need to hold the ring down to measure the right amount of water because the ring will float.)
- Prepare an 8-inch round cake pan that's 3 inches deep (see link below) by smearing the inside of the pan with a thin layer of vegetable shortening or butter and line the bottom of the pan with parchment paper. Smear the top of the parchment paper with vegetable shortening or oil then dusting the inside of the pan with some all-purpose flour. (More about how to prepare a cake pan so the cake will not stick.)
- Add the flour, cocoa powder, baking soda, and salt to a medium size bowl and stir with a wire whisk to mix.
- Add the brown sugar and egg to another mixing bowl and whisk vigorously for about 30 seconds to blend completely. Whisk in the sour cream, melted butter, and vanilla, then whisk in the coffee.
- Add the dry ingredients to the wet ingredients and stir with the whisk jut until everything is blended together. There will be a few small lumps and that's ok.
- Pour the batter into the prepared pan and set the pan on top of the foil ring inside the Dutch oven.
- Place the lid on top of the Dutch oven and set it over high heat. When the water begins to boil, reduce the heat to low and let the cake steam inside the Dutch oven until the center of the cake is firm to the touch, about 23 - 25 minutes. (Try not to open the Dutch oven often while the cake is steaming but do check that the water is at a gentle simmer.)
- When the cake is firm to the touch, turn off the heat and remove the lid but leave the cake in the dutch oven. Let the cake rest until the pan is cool enough to handle.
- Remove the pan from the dutch oven and run a knife around the outside of the cake to separate the sides of the cake from the sides of the pan. Allow the cake cool completely inside the pan.
- When the cake has cooled to room temperature, gently turn it out onto a serving plate and dust the top with some powdered sugar. (Scroll up for more serving suggestions such as the cherry sauce in the photo pictured in this recipe.)
Notes
If your Dutch oven has a self-basting lid (there will be bumps or spikes on the underside of the lid), lay a piece of parchment paper across the top of the pot before setting the lid in place. This will prevent water from dripping down from the lid of the pot onto the surface of the cake.
Recommended Products
As an Amazon Associate and member of other affiliate programs, I earn from qualifying purchases.

Nutrition Information:
Yield: 6 Serving Size: 1Amount Per Serving: Calories: 373Total Fat: 17gSaturated Fat: 10gTrans Fat: 1gUnsaturated Fat: 5gCholesterol: 104mgSodium: 516mgCarbohydrates: 49gFiber: 1gSugar: 30gProtein: 6g
Kay says
I imagine this could be made in an Instantpot! Let me know if you come across a way to do this!
ps. love your recipes and your writings.
Rebecca Blackwell says
I'm sure you're right Kay! I'll have to try it one of these days and let you know. And thank you so much for your kind words!