

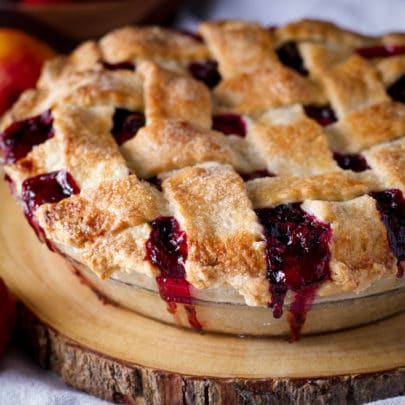
This all-butter toasted almond pie crust is flaky, nutty, warm, and extra crispy.
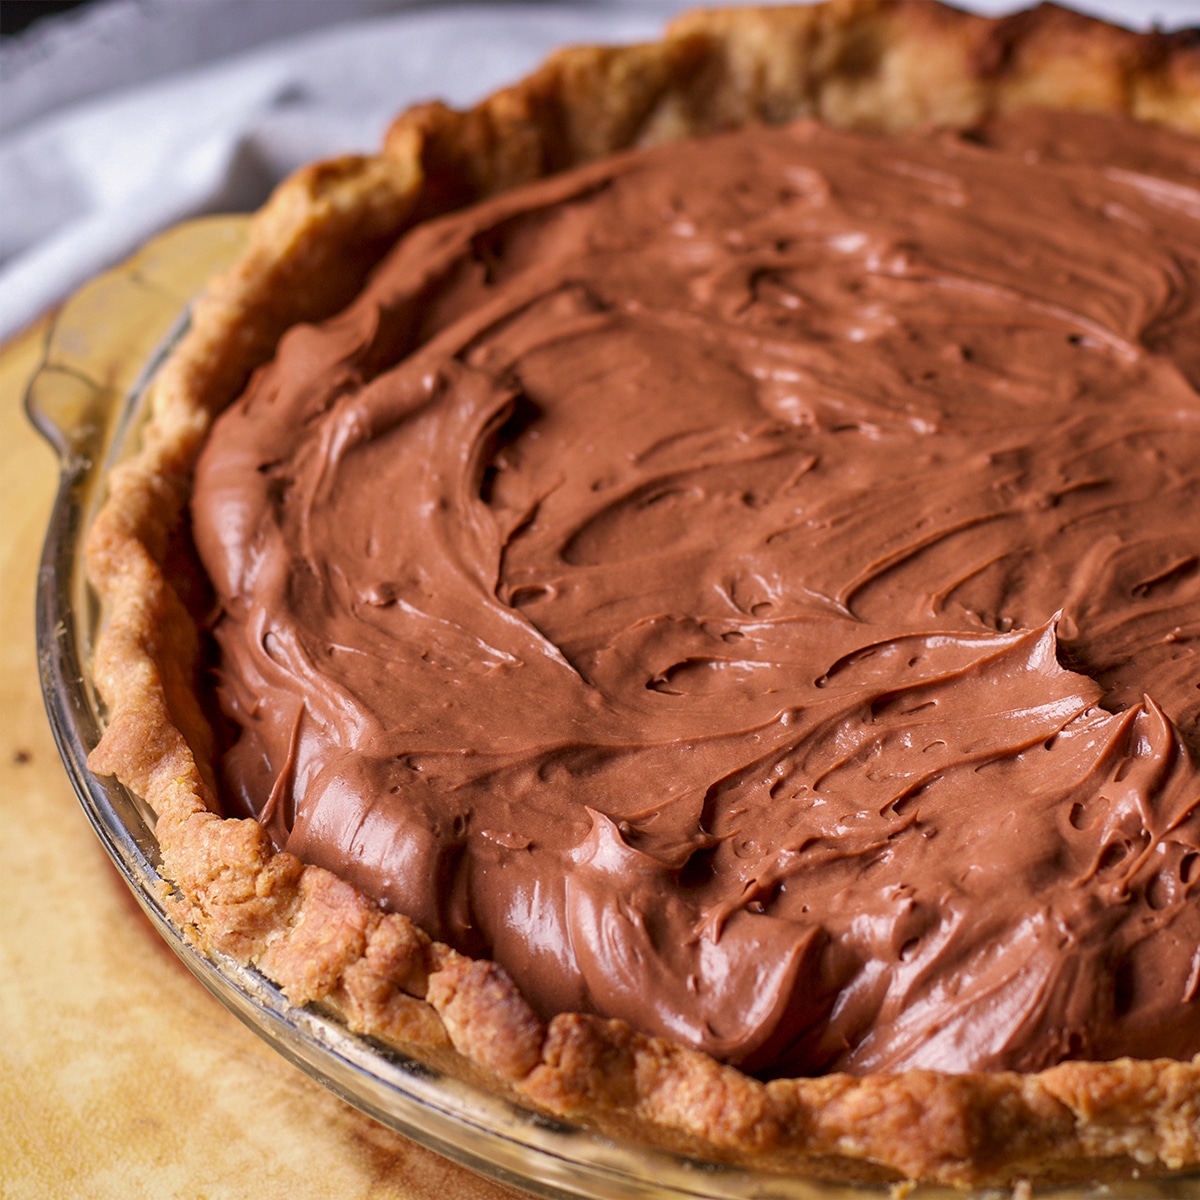
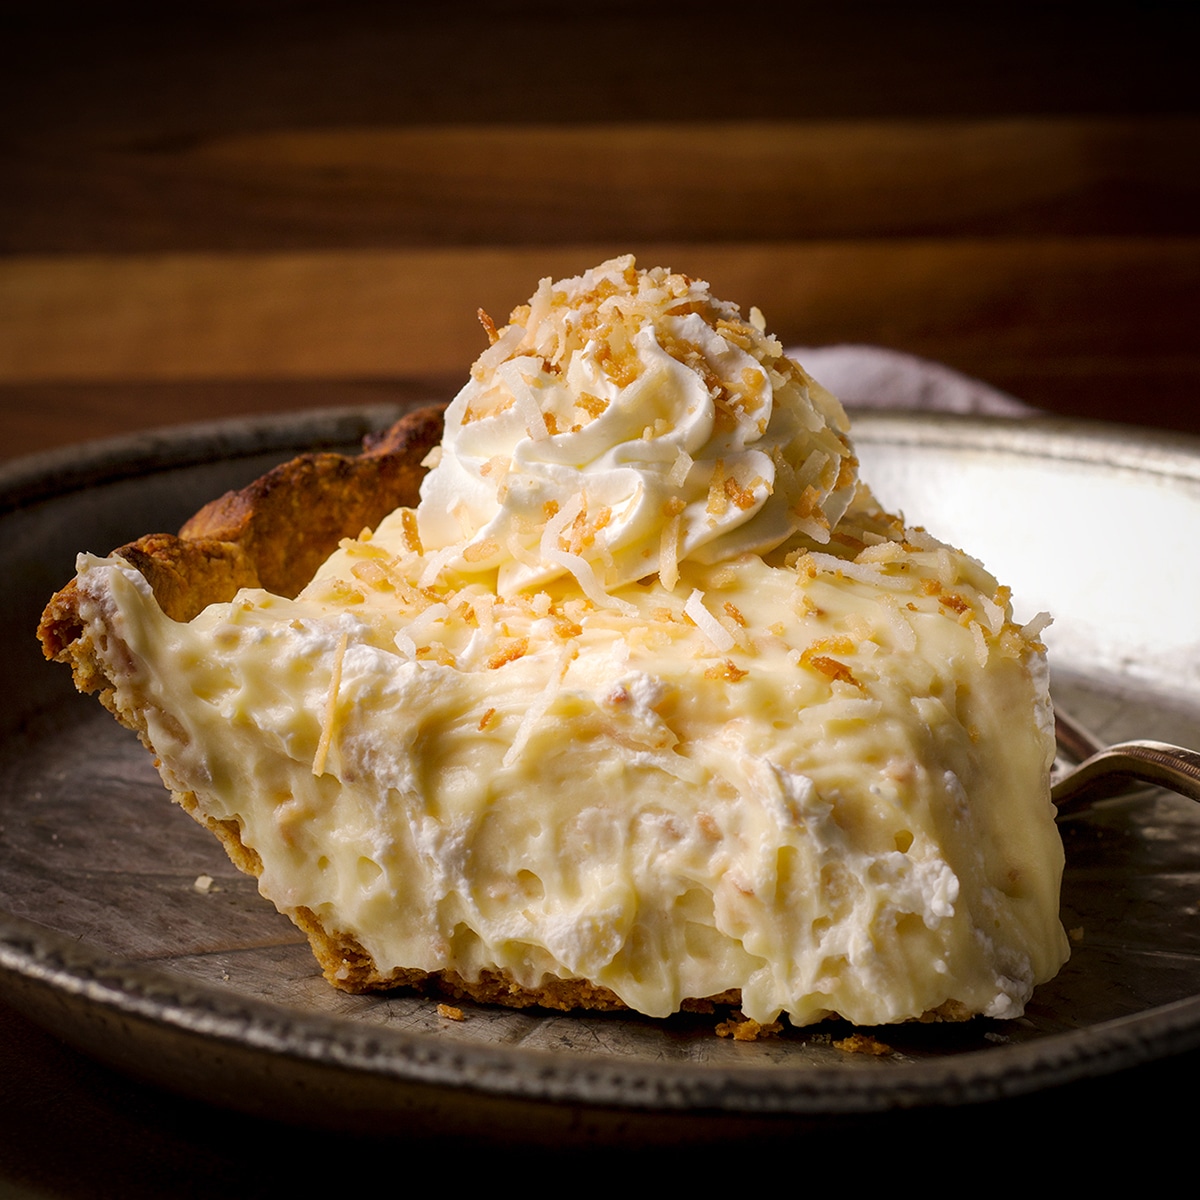
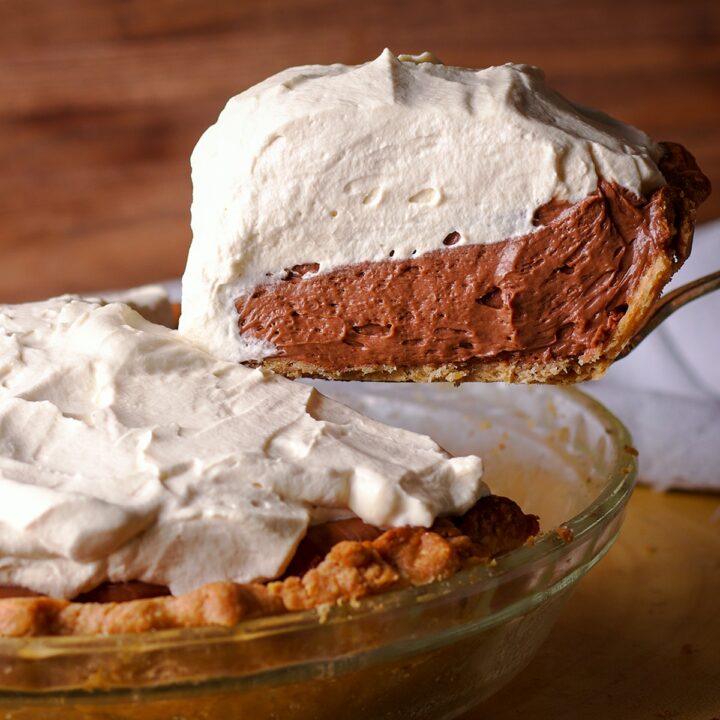
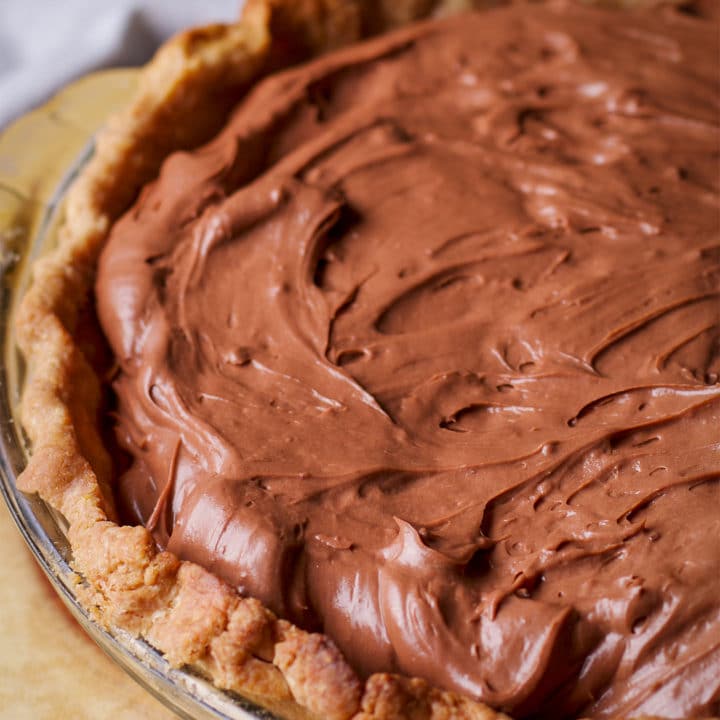
The buttery, crispy texture of this pie crust makes it a delicious match for pretty much any kind of pie. But I especially love to use it when making cream pies, like this Ultra Creamy Chocolate Cream Pie or decadent Coconut Cream Pie.
For the past couple of decades, I've been happily devoted to one pie crust recipe - Foolproof Pie Crust. It's one of those no-fail recipes that always turns out exactly as it should - flaky, tender, flavorful, and delicious.
Even though Foolproof Pie Crust will always be my go-to recipe, this Toasted Almond Pie Crust is my new favorite recipe for cream pies.
The combination of butter and toasted almond flour creates a pastry that is flaky, tender, and reminiscent of a crisp butter cookie. And, the warm flavors and extra crispy texture are the perfect match for rich, creamy pies.
Jump to:
- Ingredients Needed to Prepare this Recipe
- Step-by-Step Photos and Instructions
- 2 Tips for a Crisp, Tender Flaky Pie Crust
- How to Roll out and Pre-Bake this Pie Crust
- How to Keep the Edges of the Pie Crust from Burning
- How to Freeze Almond Pie Crust Dough
- Favorite Pies to Make with Toasted Almond Pie Crust
- Toasted Almond Pie Crust is a Building Block Recipe
- 📖 Recipe
- 💬 Comments

+ Subscribe to my newsletter for new and exclusive recipes in your in-box every month! As a full time traveler, living, working, cooking, and baking from a 5th wheel RV, it's also where I share our experiences of life on the road.
Ingredients Needed to Prepare this Recipe
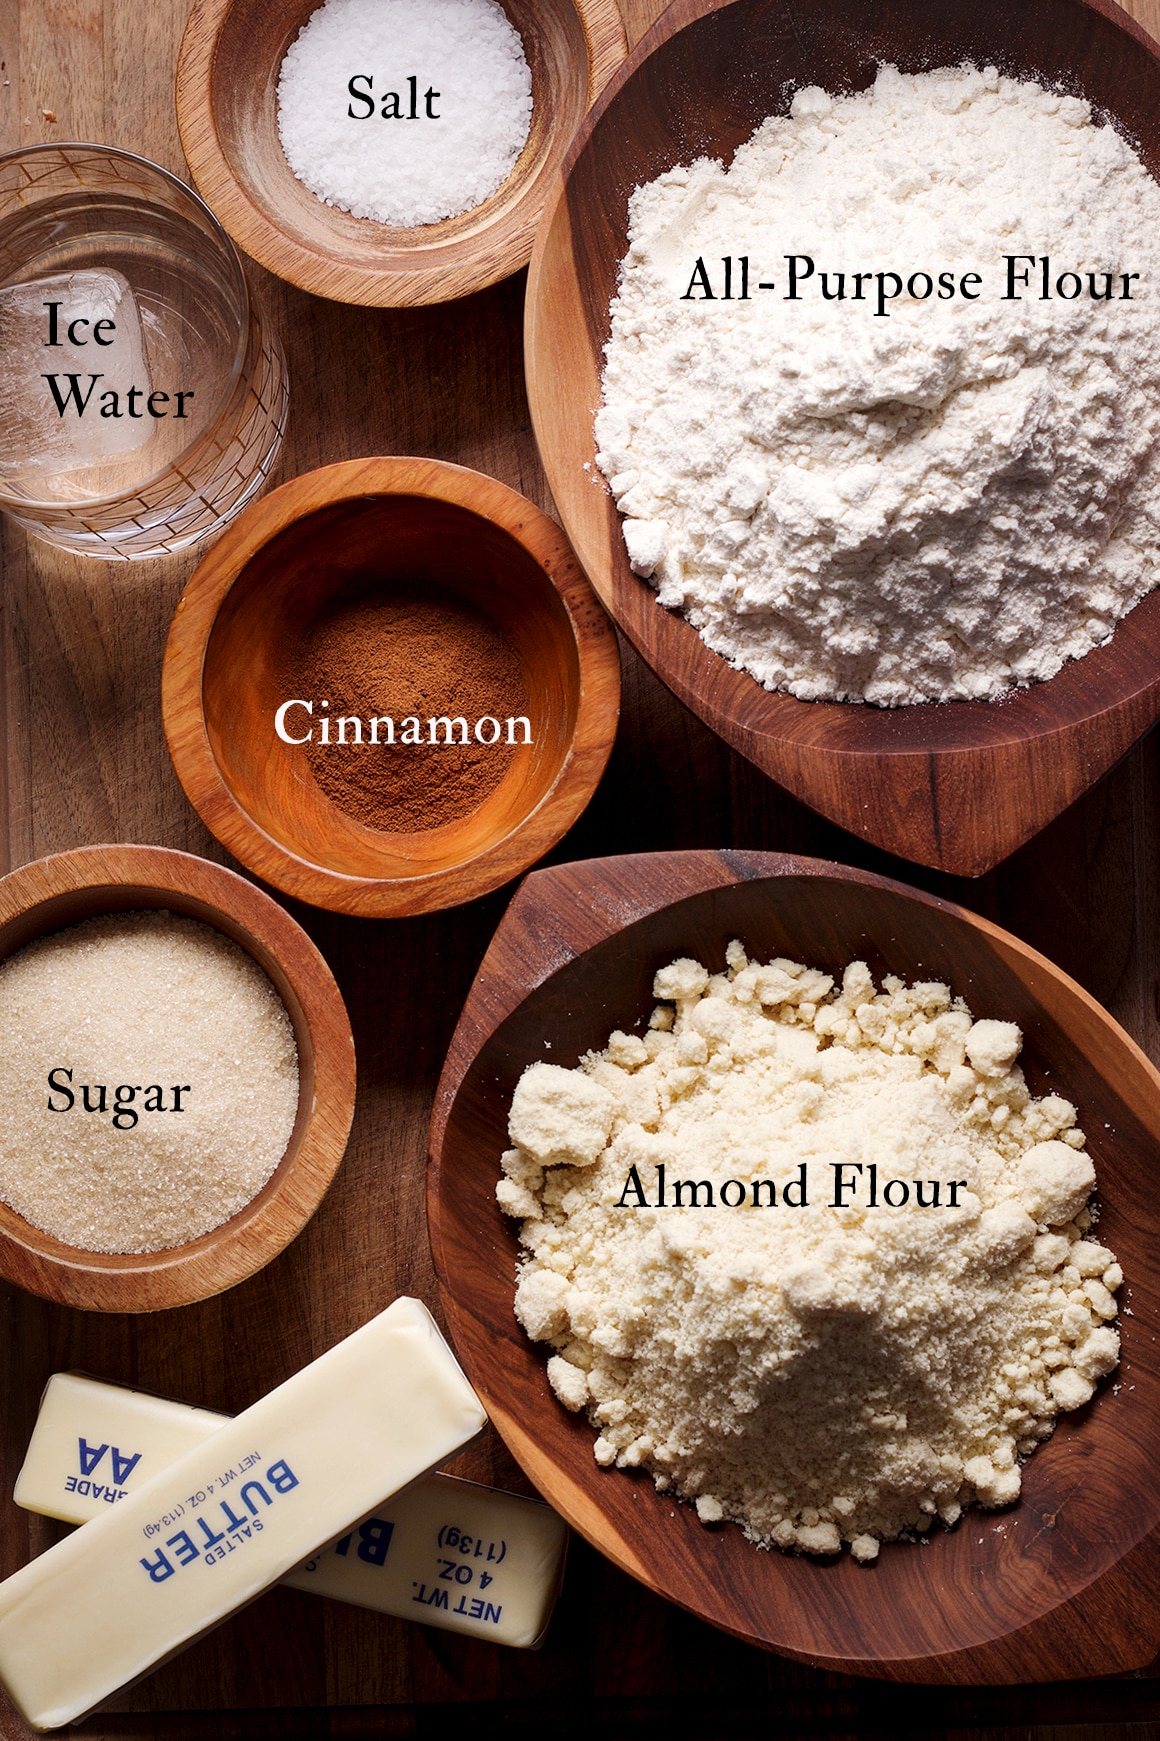
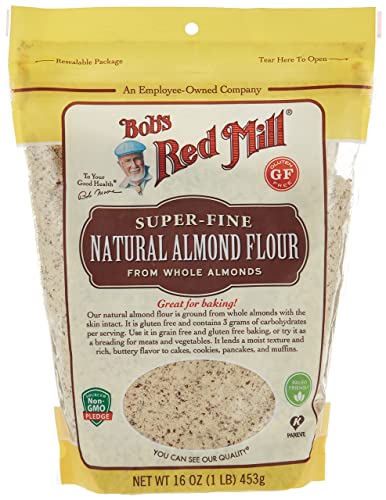
- Ground Almond Flour, preferably super fine. I usually use either Bob's Red Mill Almond Flour or Naked Almond Powdered Almond.
- All-purpose flour, preferably unbleached.
- Salt. Always.
- Ground cinnamon. This is optional but it adds a delicious warm flavor to this pie crust.
- Granulated sugar.
- Salted butter. If you're sensitive to salt, use unsalted butter.
- Ice water.
Step-by-Step Photos and Instructions
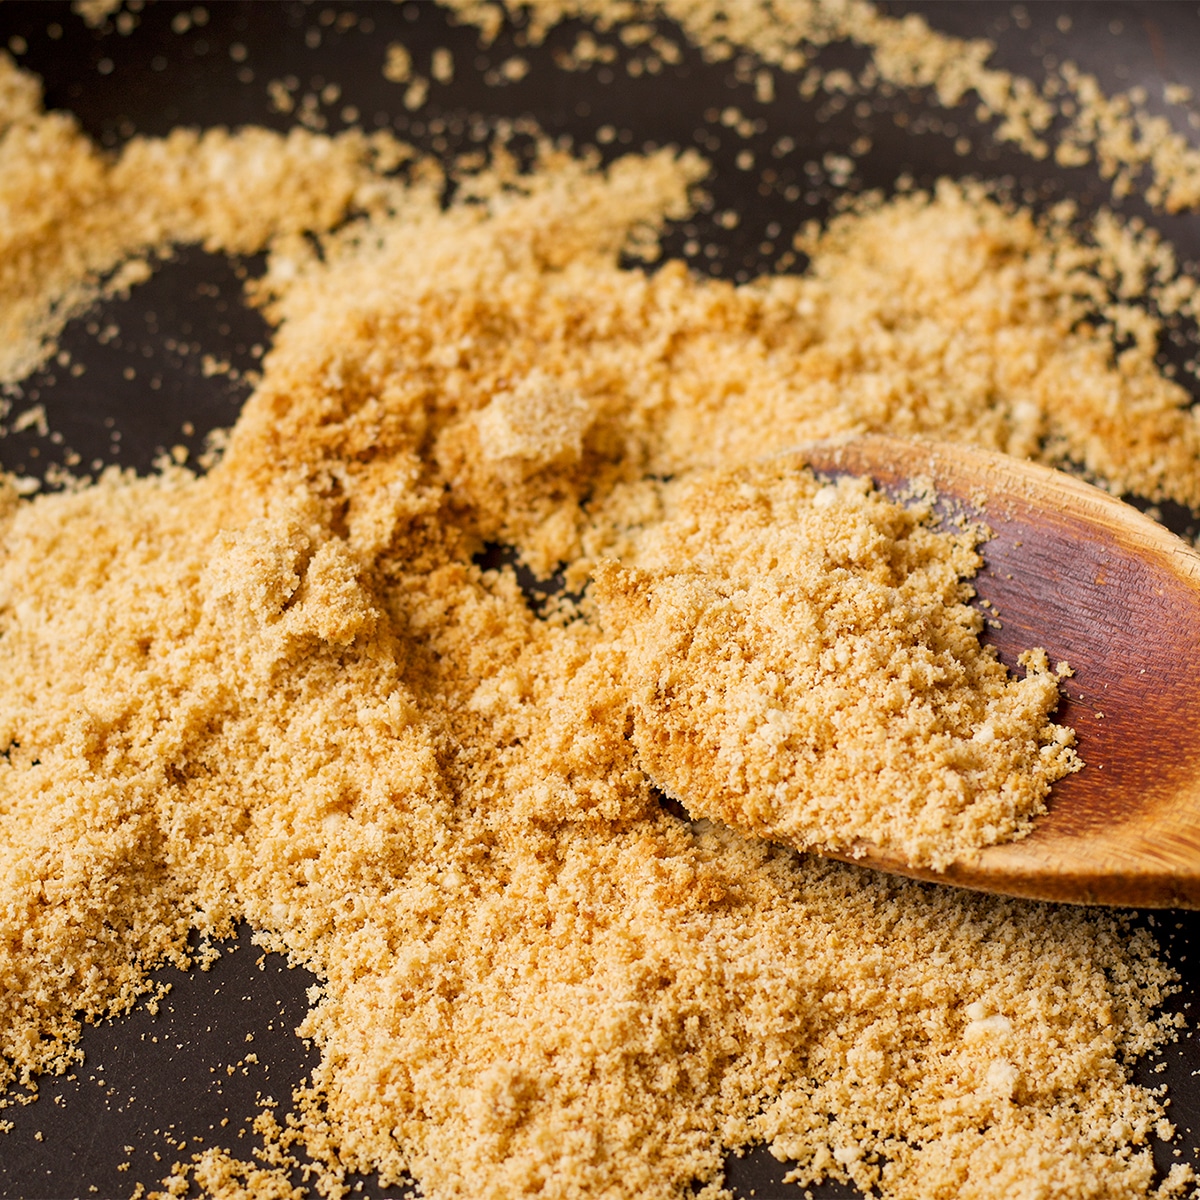
Toast the almond flour in a dry skillet until it's golden brown and smells toasty. Be careful - it can burn quickly!
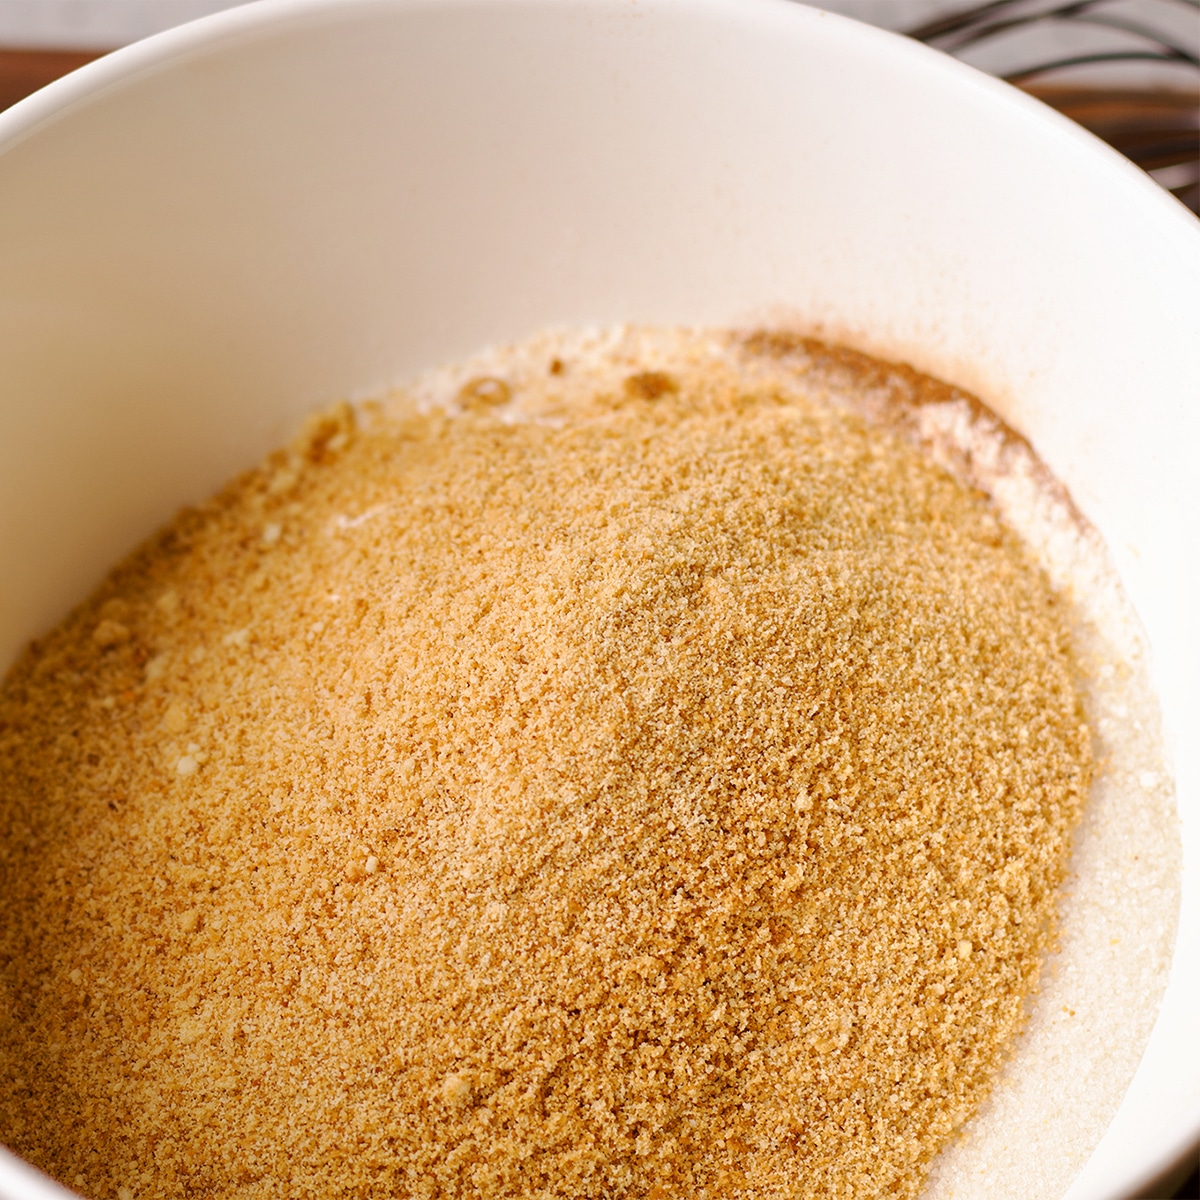
After the almond flour has cooled to room temperature, add it to a mixing bowl along with all-purpose flour, salt, cinnamon, and sugar. Stir with a wire whisk to combine.

Cut the butter into pieces and dump them into the dry ingredients.

Using a pastry cutter or your fingertips, cut or rub the butter into the flour until all of the flour feels coated with butter and the largest size pieces of butter in the mixture are pea size.
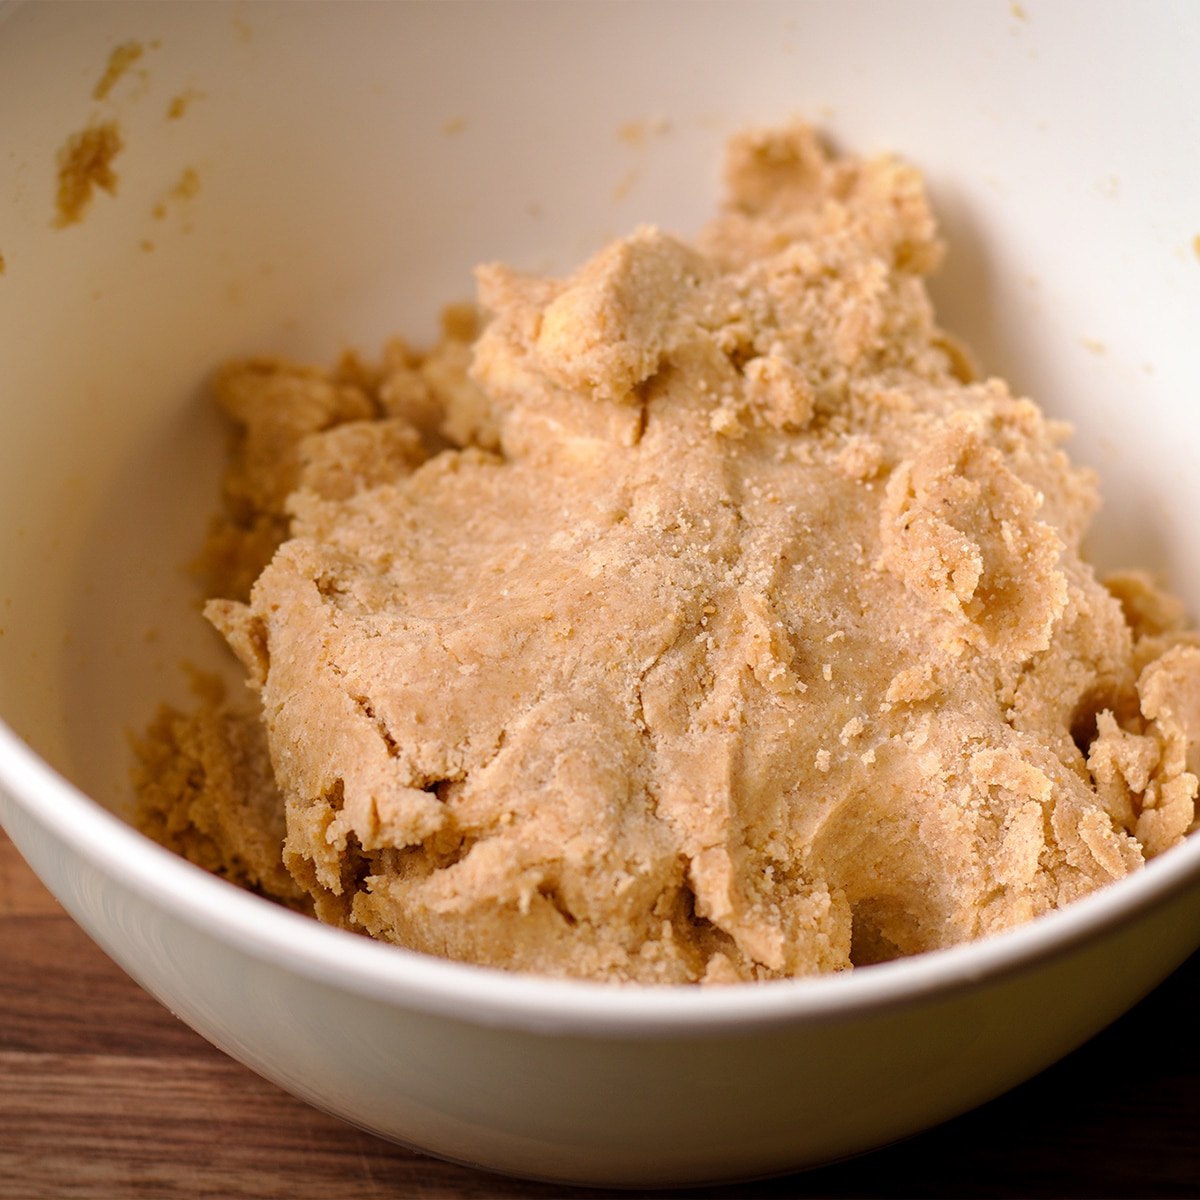
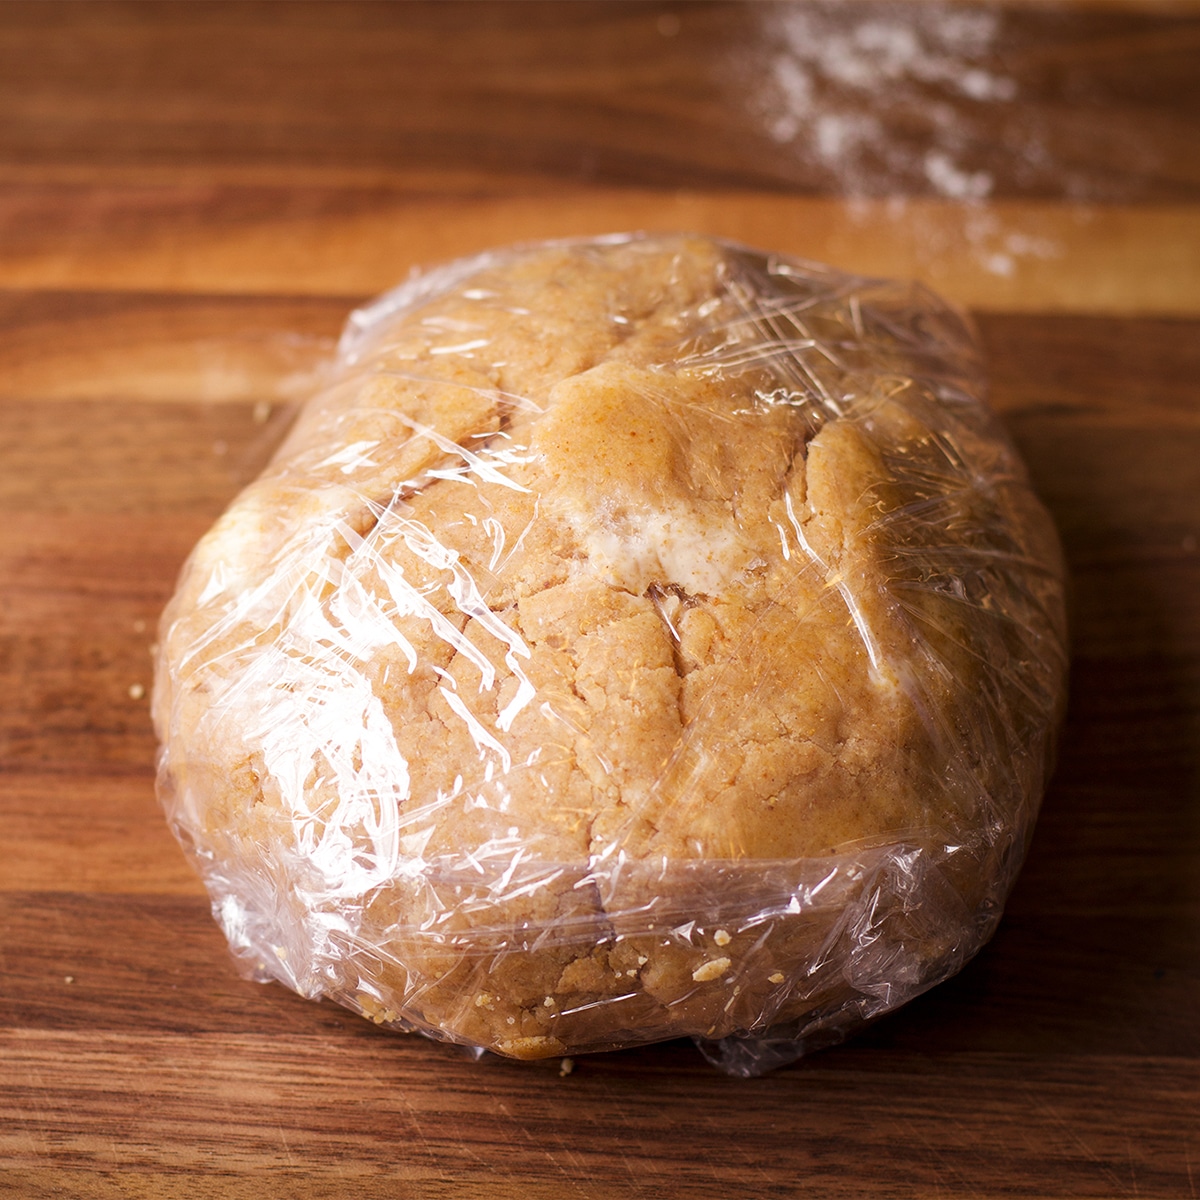
Sprinkle in 4 tablespoon of ice water. Using your hands, gently toss the flour and butter around in the bowl so that it is all moistened by the water and comes together in a moist, but not sticky dough.
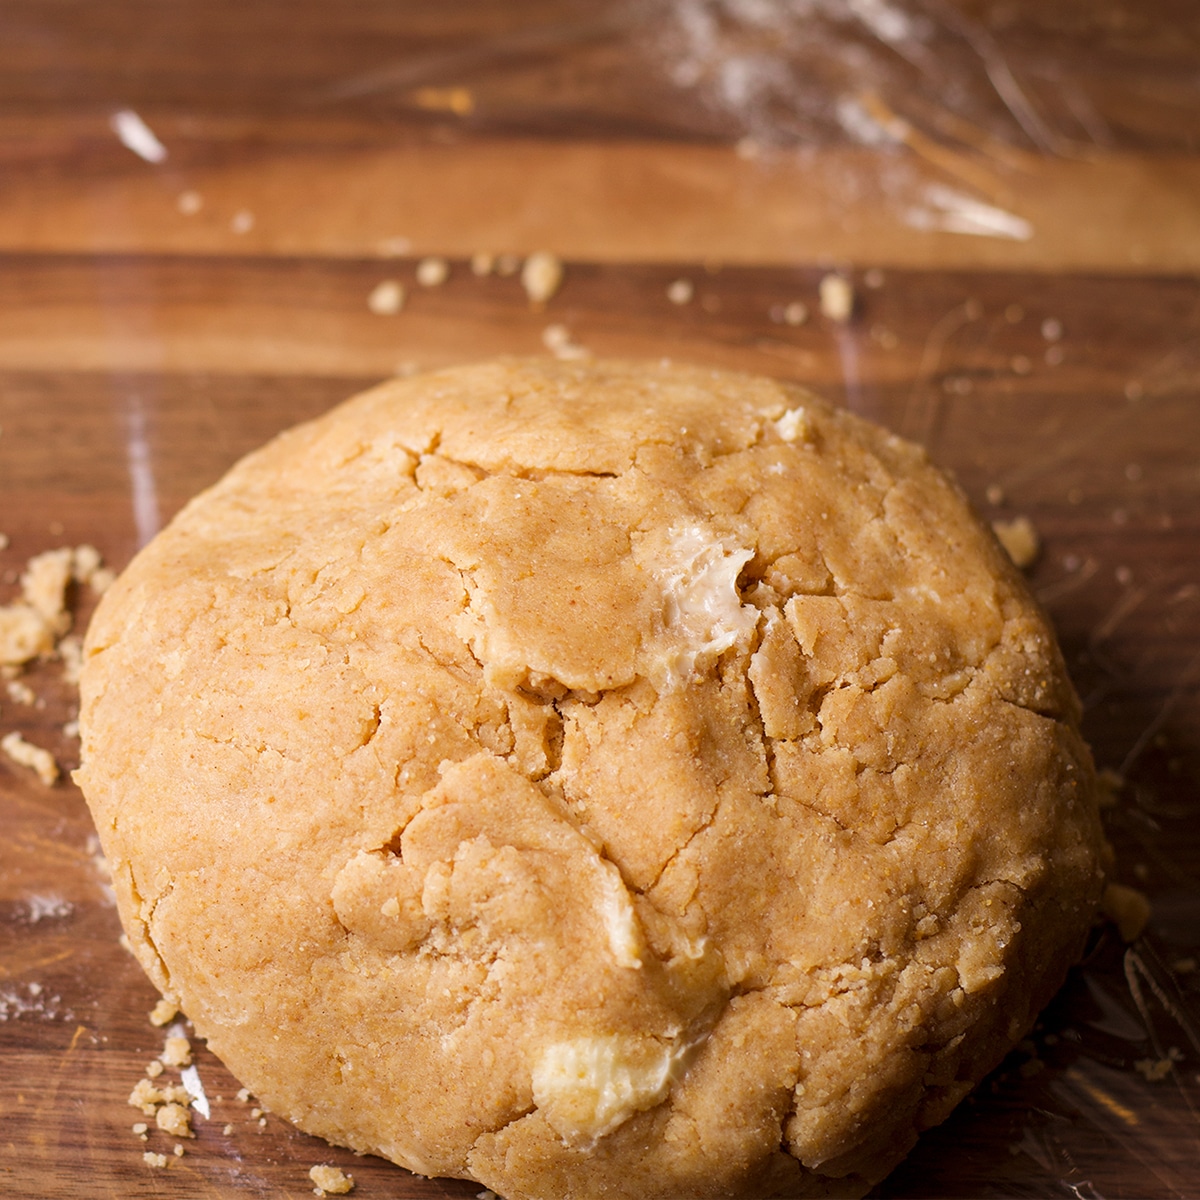
Dump the ball of dough into the center of a long piece of plastic wrap and wrap it up. Let it rest in the refrigerator for at least 30 minutes, and up to 48 hours before using.
2 Tips for a Crisp, Tender Flaky Pie Crust
#1. Work the dough gently
There are a lot of ways to mix up pie crust dough, from a simple hand held pastry cutter and wooden spoon to using a food processor. In the end, I prefer to just use my hands.
Using your fingers to rub the butter into the flour gives you more control over ensuring that all of the flour is coated with butter with a few small chunks of butter left in the dough.
This is important because coating flour with fat helps to inhibit gluten development.
A strong gluten structure is great for bread, where you want a sturdy, chewy texture. But, it's terrible for things like pie crust, where you want a tender, flaky texture.
Fat interferes with the development of gluten by coating the proteins that are responsible for gluten formation.
By rubbing the flour and butter together in your hands, you'll help ensure that all those granules of flour are well coated in butter. A food processor will accomplish the same thing, just be careful to not over process the dough. Leaving a few pea size (no larger) chunks of butter in the dough will result in the flakiest texture.
#2. Keep the dough cold!
The worst thing you can do for an all-butter pie crust is let the butter get warm.
If the butter goes into the dough warm, or gets too warm while you're mixing the dough and rolling it out, it will "melt" into the flour. This will result in a pie crust that is tough and dense rather than light and flaky.
The butter should coat the flour but still remain in tiny little pieces.
It's also super important that the butter in the crust is very, very cold when you put the crust in the oven to bake. If the butter in the dough is very cold when you put it into the oven, the water in the butter will evaporate quickly.
This is a good thing because it helps create a super flaky texture. If the butter is too warm and soft when you put the pie crust in the oven to bake, it will simply melt out of the crust, separating from the other ingredients and resulting in a tough, greasy crust.
To keep everything nice and cold:
- Use cold butter to make the dough
- Chill the dough before you roll it out
- Freeze the dough for 30 minutes after rolling it out and fitting it into a pie plate
- Bake the crust directly from the freezer in a preheated oven.
How to Roll out and Pre-Bake this Pie Crust
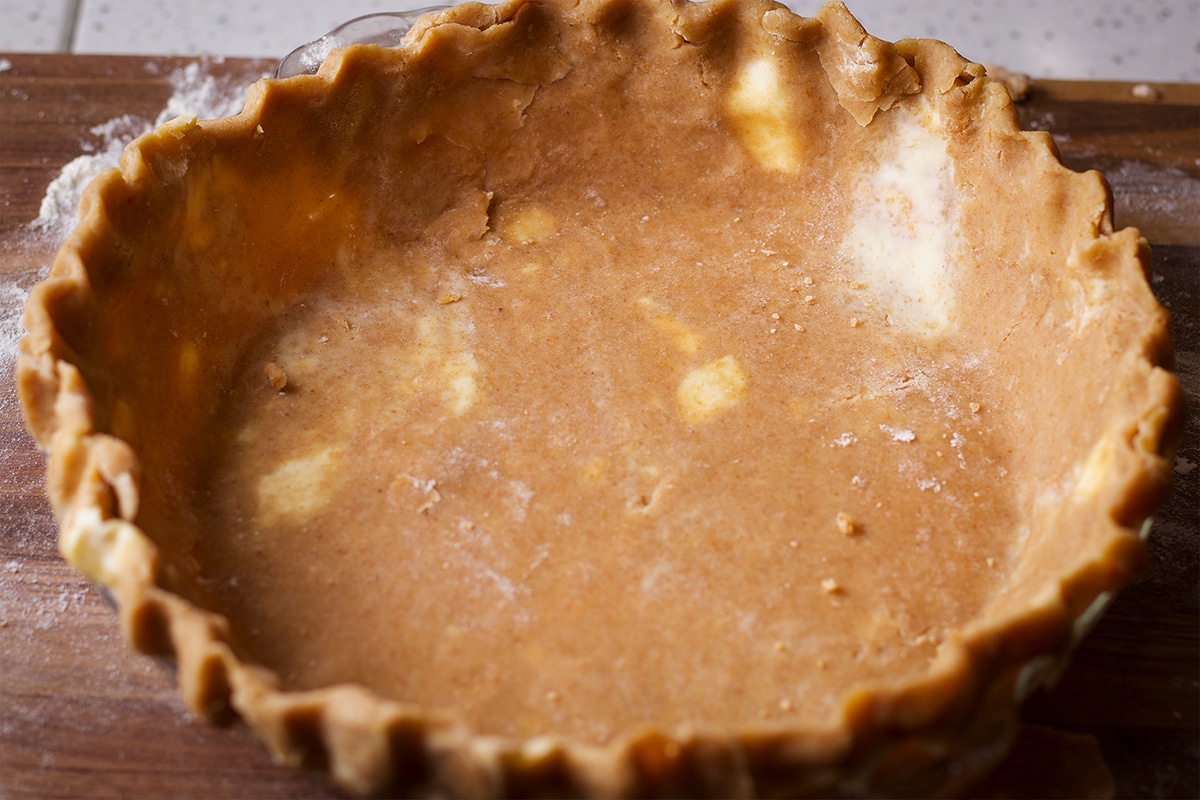
#1. Roll out the pastry and fit it into the pie plate
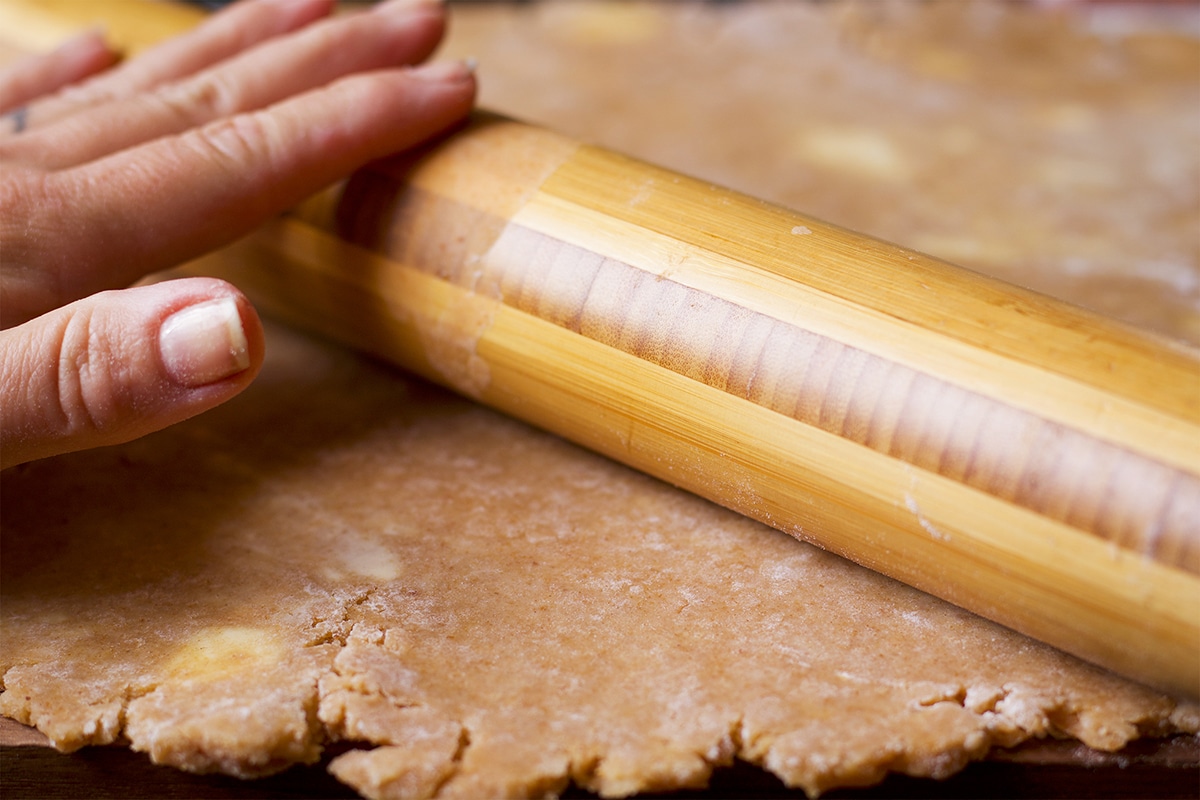
Sprinkle some flour over a clean work surface. Keep about ½ cup of additional flour within arm's reach. Put one piece of the dough on the floured work surface and sprinkle the top with more flour.
Roll the dough out into a 14-inch circle. I like to use a long rolling pin with tapered ends for this process.
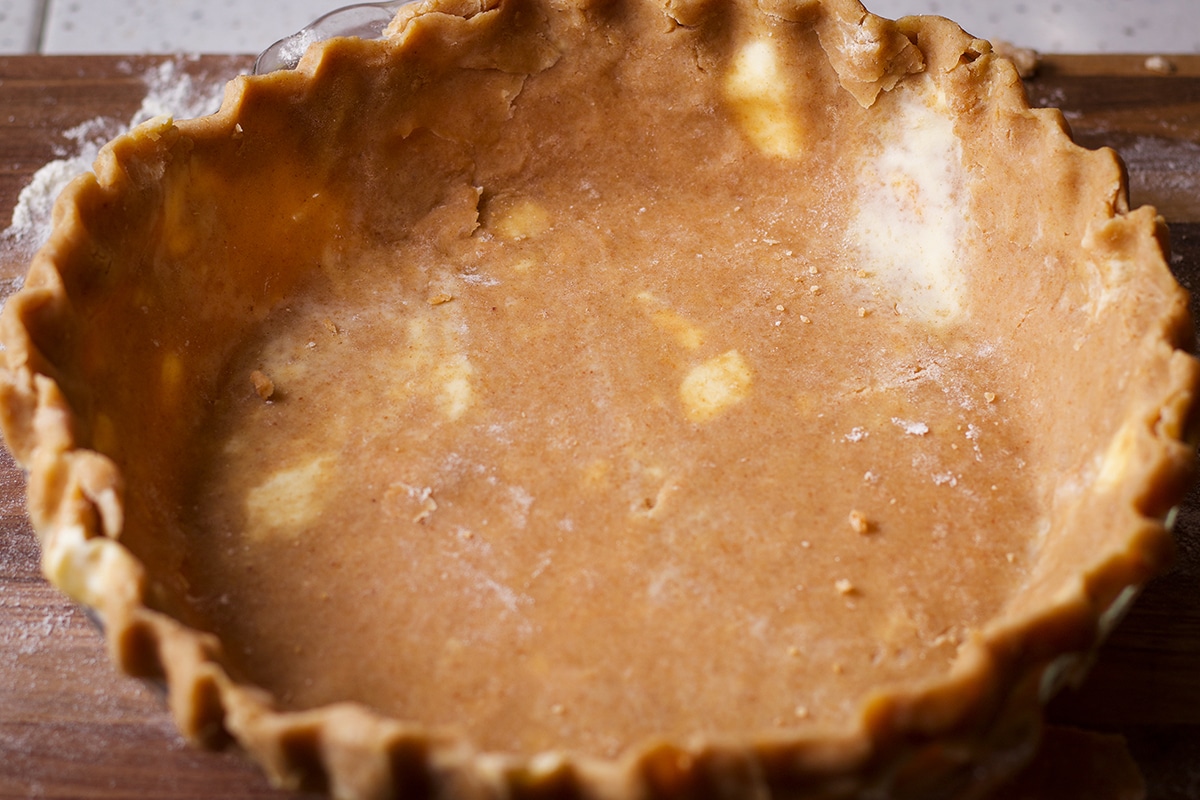
Using a large, flat spatula, gently fold the pastry in half and then in half again so that you have a folded triangle of dough. Place the dough in a 9 ½ inch pie pan so that the point of the triangle is in the center of the pan.
Gently unfold the pastry to cover the pan. Use your fingers to press the dough into the corners of the pan, letting the edges of the dough drape over the sides of the pan.
#2. Trim and shape the edges of the dough
If you have more than about 1-inch of dough hanging over the edge of the pan, trim it off. Fold the dough that’s hanging over the edge of the pan under itself so you have a cylinder that rests on the edge of the pie plate.
With one hand on the inside of the edge, and one hand on the outside, use the index finger of your inside hand to push the dough between the thumb and index finger of your outside hand to form a U or V shape. Continue this crimping motion around the entire edge.
#3. Freeze the pastry and preheat the oven
Loosely cover the pastry with a piece of plastic wrap and place it in the freezer for 30 minutes. While the pastry is in the freezer, preheat the oven to 400 degrees.
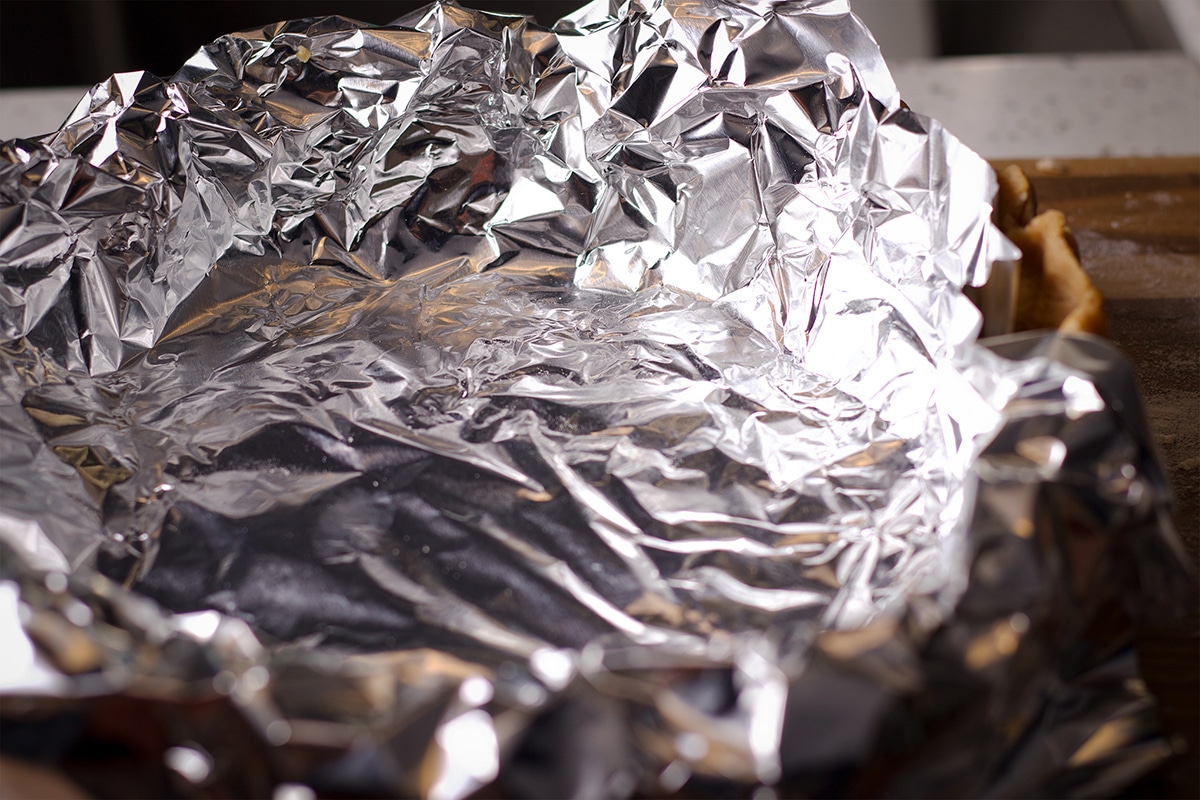
#4. Weigh down the pastry while it bakes
Tear off a large piece of aluminum foil – about 16 inches long. Remove the pastry from the freezer and set it in the center of the foil. Press the foil up so that it molds to the shape of the pie plate.
Lift the pie plate from the foil and fit the foil in the pie plate, over the pastry, gently pressing it over the pastry to cover it completely.
Fold the foil over the edges of the crust very gently. For the first several minutes of baking, it’s important to weigh down the pie crust. Otherwise, the crust will puff up as it bakes making it very difficult to fill later on.
I like to use dried beans to weight the crust, but you could also use pie weights. (I’ve been reusing the same beans for years, storing them in a ziplock bag.) You’ll need 1-2 pounds of dried beans.

#5. Bake the pastry
Place the pan in the center of the preheated 400-degree F oven and bake for 25 minutes. Remove the pan from the oven and gently pull up the edges of the foil and remove from the pan along with the beans.
Using a fork, pierce the crust bottom all over, 10-12 times, gently twisting the fork with each piercing to slightly enlarge the holes.
Put the pan back into the oven and bake for an additional 5 minutes for a partially baked pie shell and 10-15 minutes for a fully baked pie shell. A fully baked crust should not appear doughy in the center. Remove the pan from the oven and let cool on a wire rack until ready to fill.
How to Keep the Edges of the Pie Crust from Burning
If you are fully pre-baking a pie crust and it looks like the edges are in danger of burning, here’s what to do:
- Cut two pieces of aluminum foil that are about 2 feet (24 inches) long. Set the foil pieces on a baking sheet so that they are perpendicular to each other.
- Set the pie in the center of the foil. Wrap the foil up and over the edges of the pie crust, crimping the foil so that the edges of the pie are loosely covered. This will protect the edges of the crust from burning.
How to Freeze Almond Pie Crust Dough
Toasted Almond Pie Crust dough can be frozen for up to three months.
Form the dough into a ball and wrap it tightly with plastic wrap, then place it in a freezer zip-top bag. Let the dough thaw overnight in the refrigerator before rolling out and baking.
You can also roll the dough out before freezing it. Lay the rolled out dough on a baking sheet, cover with plastic wrap, and let freeze for a few hours until solid. Once solid, you can remove the dough from the baking sheet, wrapping it tightly before placing it back in the freezer.
Allow the dough to thaw in the refrigerator overnight, then proceed to bake and fill the crust.
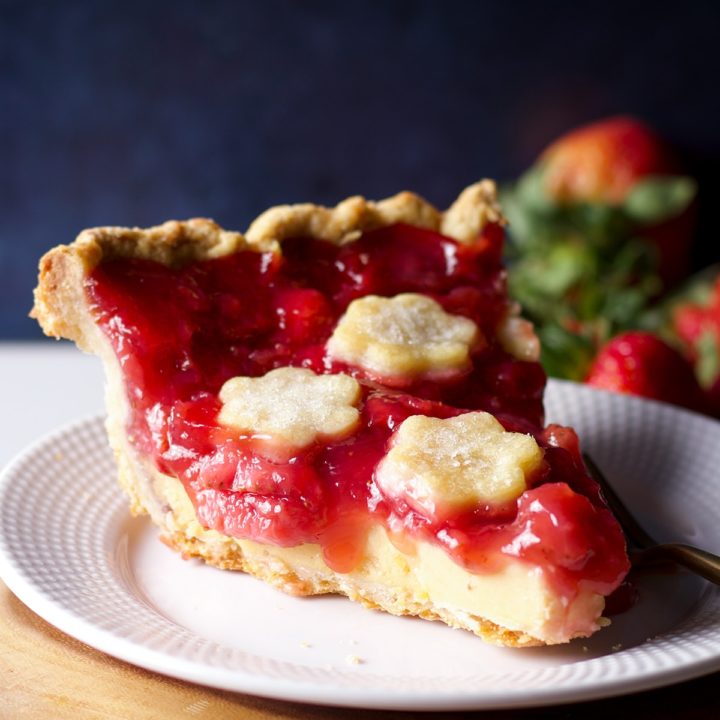
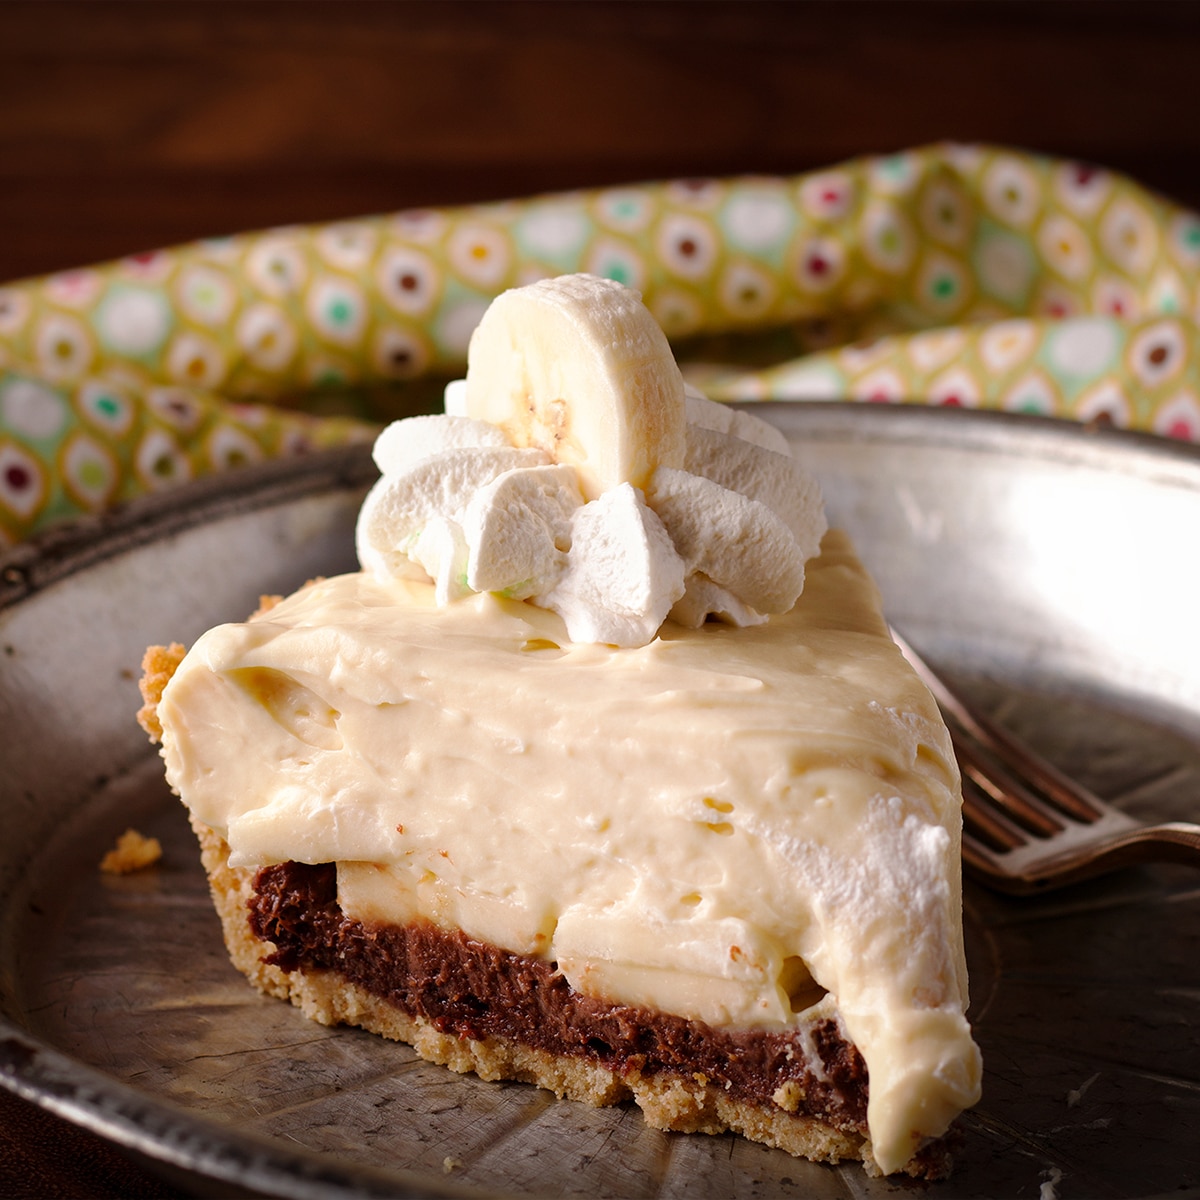
Favorite Pies to Make with Toasted Almond Pie Crust
Toasted Almond Pie Crust is a Building Block Recipe
Building block recipes are tried-and-true recipes that I consider foundational to great home baking. They are the kind of recipes I come back to over and over again, sometimes baking them as is, but often using them as a jumping off point to create something new. > Scroll through all Building Block recipes.
+ Subscribe to my newsletter for new and exclusive recipes in your in-box every month! As a full time traveler, living, working, cooking, and baking from a 5th wheel RV, it's also where I share our experiences of life on the road.
📖 Recipe
Toasted Almond Pie Crust
This all-butter toasted almond pie crust is flaky, nutty, warm, and extra crispy. Its crispy texture is especially delicious when used to make cream pies.
Ingredients
- ½ cup (48 grams) ground almond flour, preferably super fine
- 1 cup (120 grams) of all-purpose flour
- ½ teaspoon table salt (or, ¾ teaspoon kosher salt)
- ½ teaspoon ground cinnamon
- 2 tablespoons (25 grams) granulated sugar
- 8 tablespoons (4 ounces/ 113 grams) cold salted butter
- 4-5 tablespoons (56 - 70 grams) of ice water
Instructions
- Pour the almond flour into a skillet and set it over medium heat. Cook stirring frequently, until the flour begins to darken in color. Continue to cook, stirring constantly, until the flour is golden brown and smells toasty. Be careful - it can burn quickly!
- Remove the almond flour from the heat and allow it to cool completely.
- Add the toasted almond flour, all-purpose flour, salt, cinnamon, and sugar to a medium size bowl. Stir with a wire whisk to combine.
- Cut the butter into ½-inch size pieces and dump it into the dry ingredients. Using a pastry cutter or your fingertips, cut or rub the butter into the flour until all of the flour feels coated with butter and the largest size pieces of butter in the mixture are pea size.
- Sprinkle in 4 tablespoon of ice water. Using your hands, gently toss the flour and butter around in the bowl so that it is all moistened by the water. Gently squeeze the dough together in the bowl. If it comes together into a loose ball of dough, do not add the last tablespoon of water. If it's too dry to come together, sprinkle in the last tablespoon of water.
- Dump the ball of dough into the center of a long piece of plastic wrap. Wrap the dough tightly in the plastic wrap and let chill in the refrigerator for at least 30 minutes, and up to 48 hours, before rolling out and using.
Pro tip: For the flakiest crust with very little shrinkage, freeze the dough for 30 minutes after rolling it out and fitting it into a pie plate. Bake it in a preheated oven directly after removing it from the freezer.
If your recipe calls for a partially or fully pre-baked pie crust, follow the step-by-step instructions directly above this recipe.
Notes
For the ice water: Add a couple of ice cubes to a glass or measuring cup and add some water. Let it sit for a few minutes to chill the water. Then measure out the water only, adding it by tablespoons to the pie crust dough.
For light, flaky pastry, do not overwork the dough.
I almost always use my hands to make pie crust dough because I find it easier to get a feel for how much moisture is in the dough without overworking it. The goal is to add just enough water for the dough to stick together but not so much that it feels wet.
By working with my hands, I can gently squeeze the dough together as I toss it with the water. As soon as it feels like the dough is moist enough to hold together, shape it into a ball and wrap it up. Overworking the dough encourages gluten formation and results in a tough, less flaky crust.
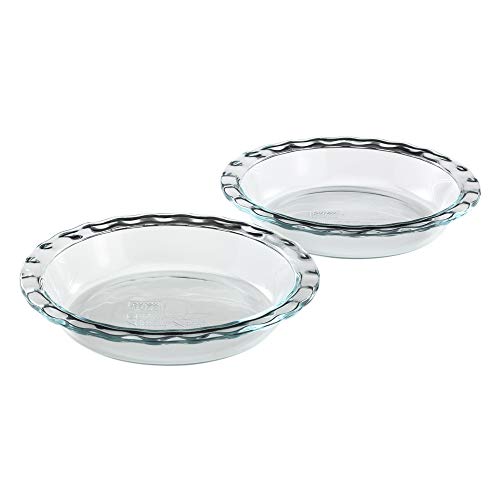
Recommended Products
As an Amazon Associate and member of other affiliate programs, I earn from qualifying purchases.


Nutrition Information:
Yield: 8 Serving Size: ⅛ of the doughAmount Per Serving: Calories: 212Total Fat: 15gSaturated Fat: 8gTrans Fat: 0gUnsaturated Fat: 7gCholesterol: 31mgSodium: 239mgCarbohydrates: 17gFiber: 1gSugar: 3gProtein: 3g

Tina Vaillancourt says
Hello it’s me again-It wasn’t included on the instructions I printed but I see it on the website. I will let you know how it comes out.
Rebecca Blackwell says
How did the crust come out for you Tina? xo