


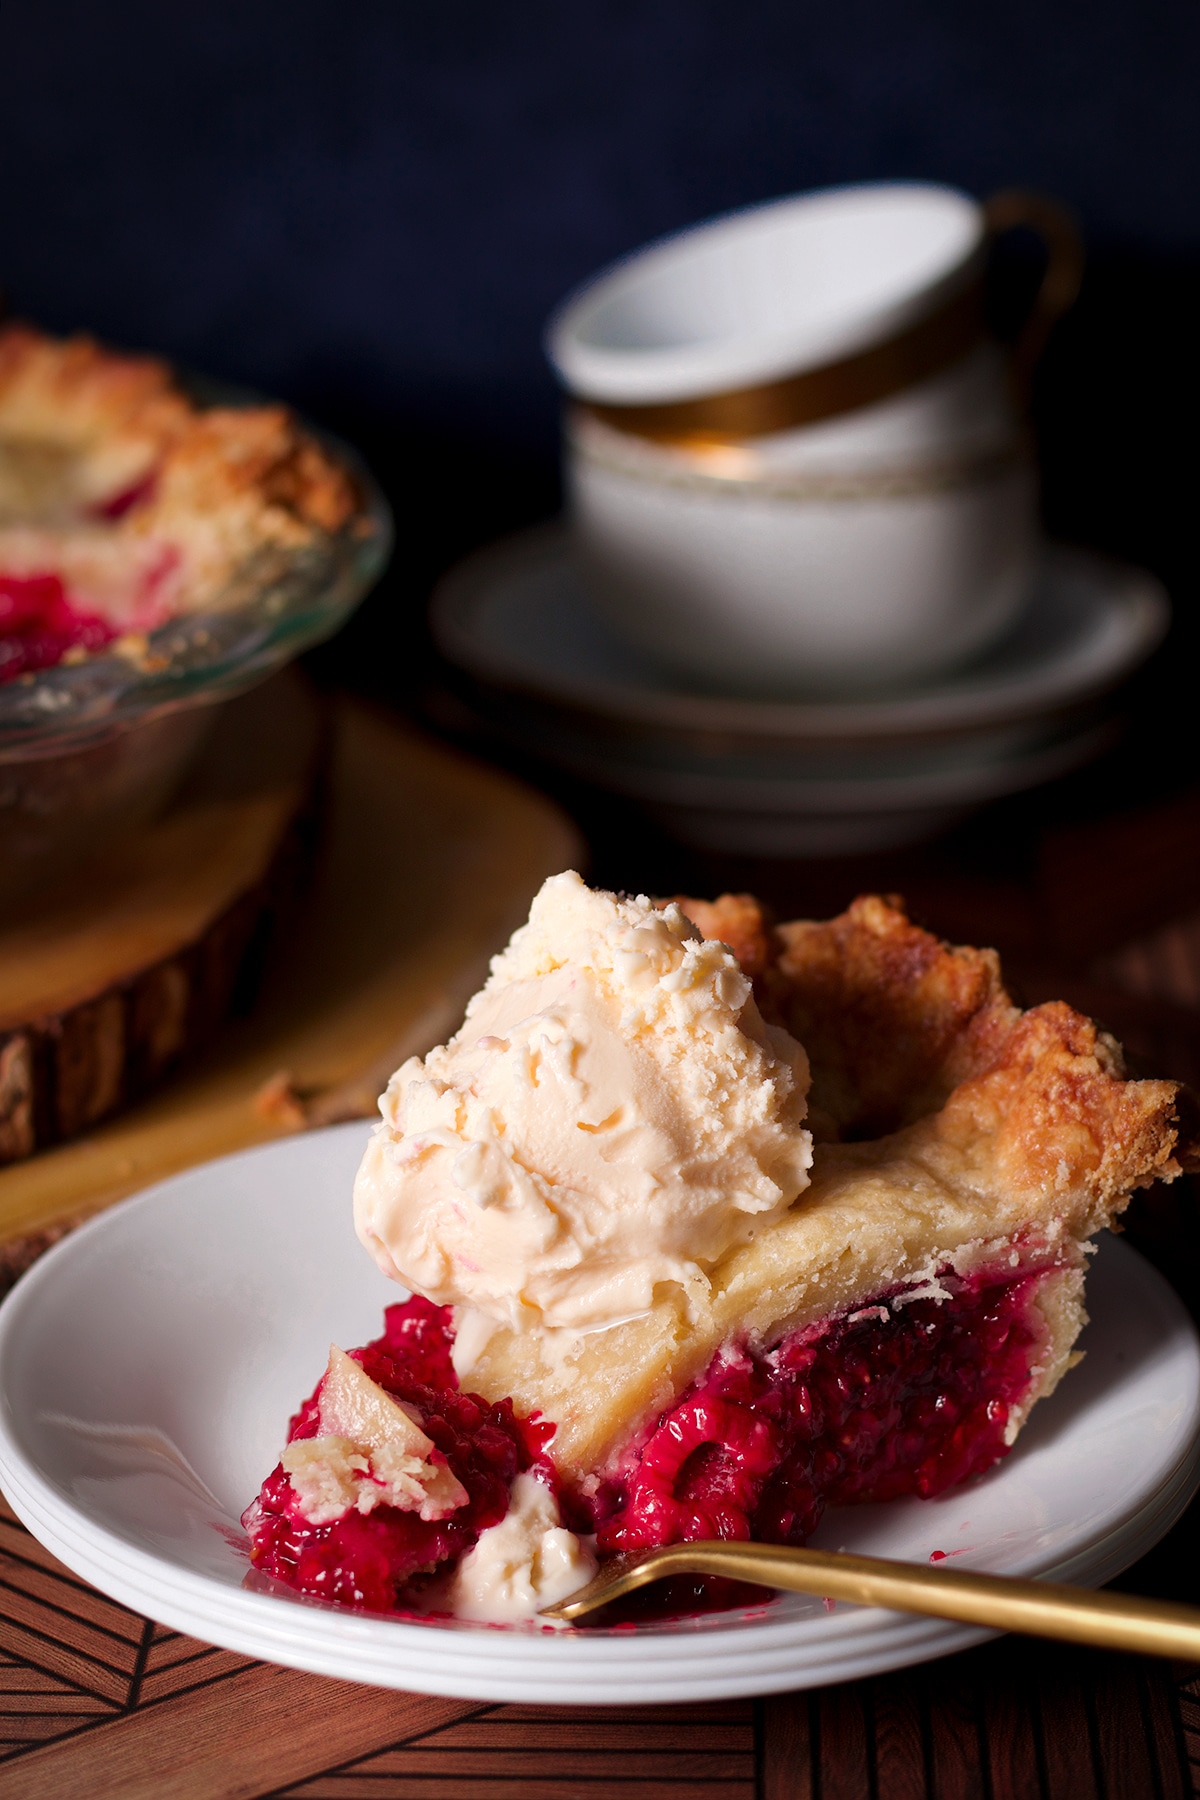
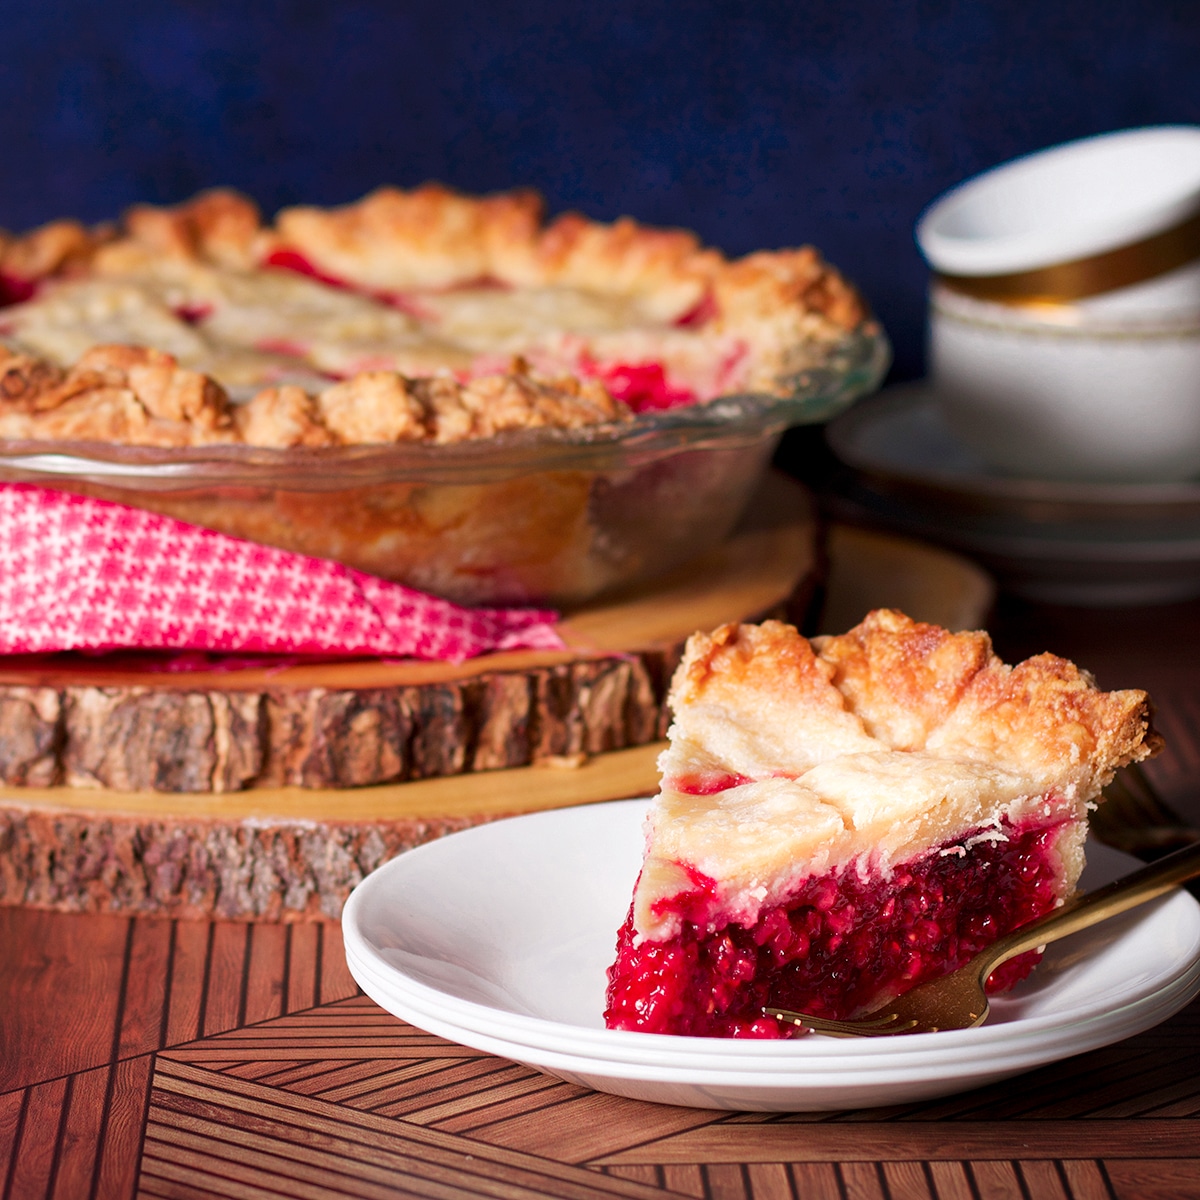
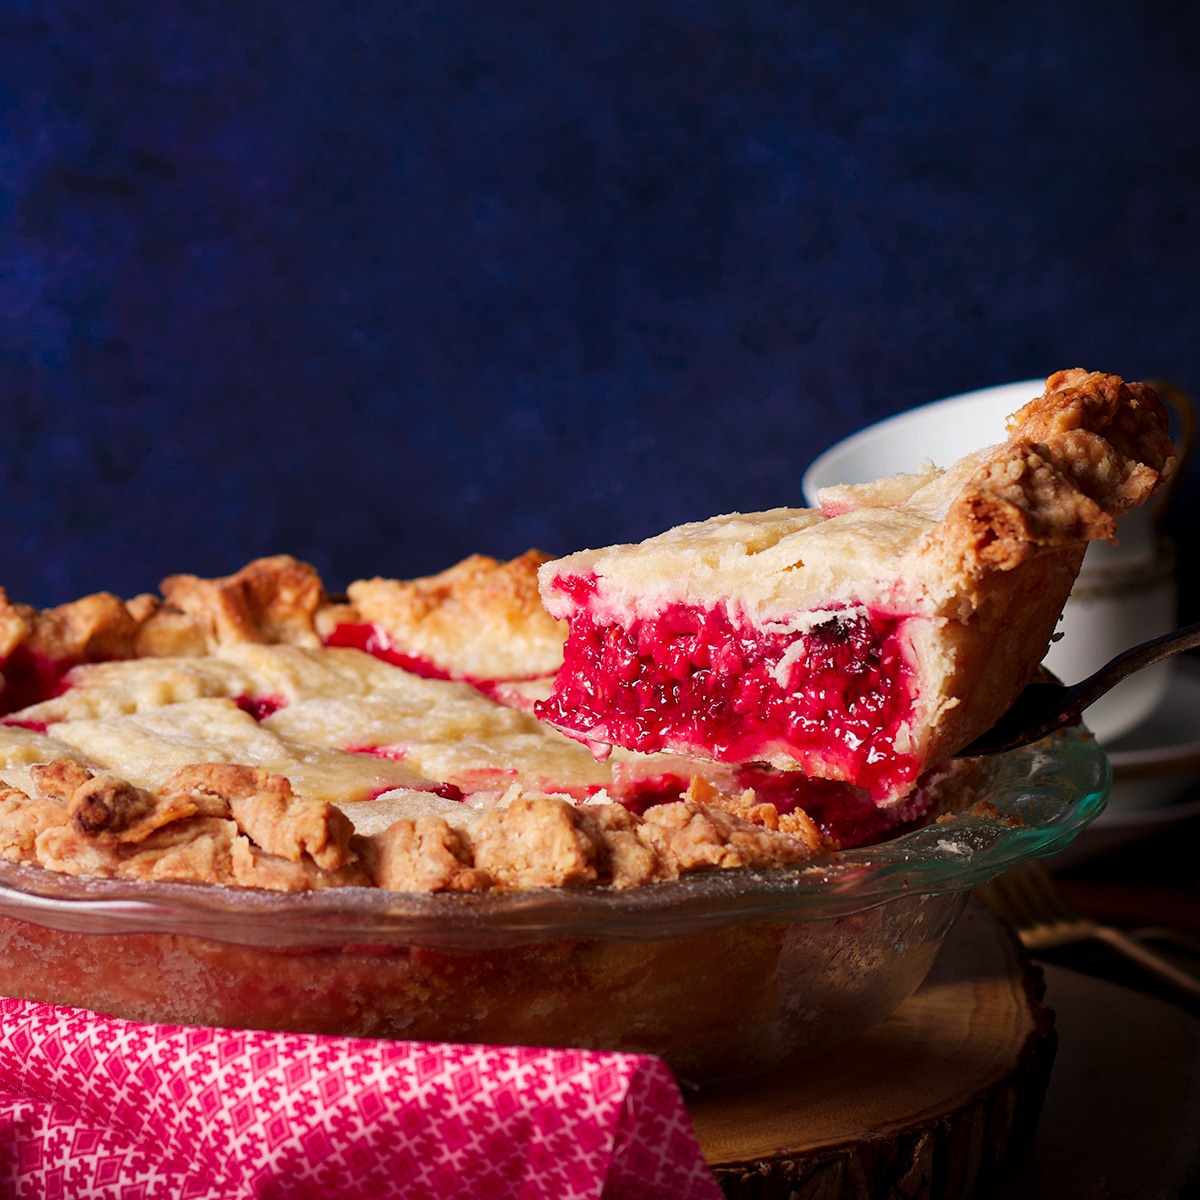
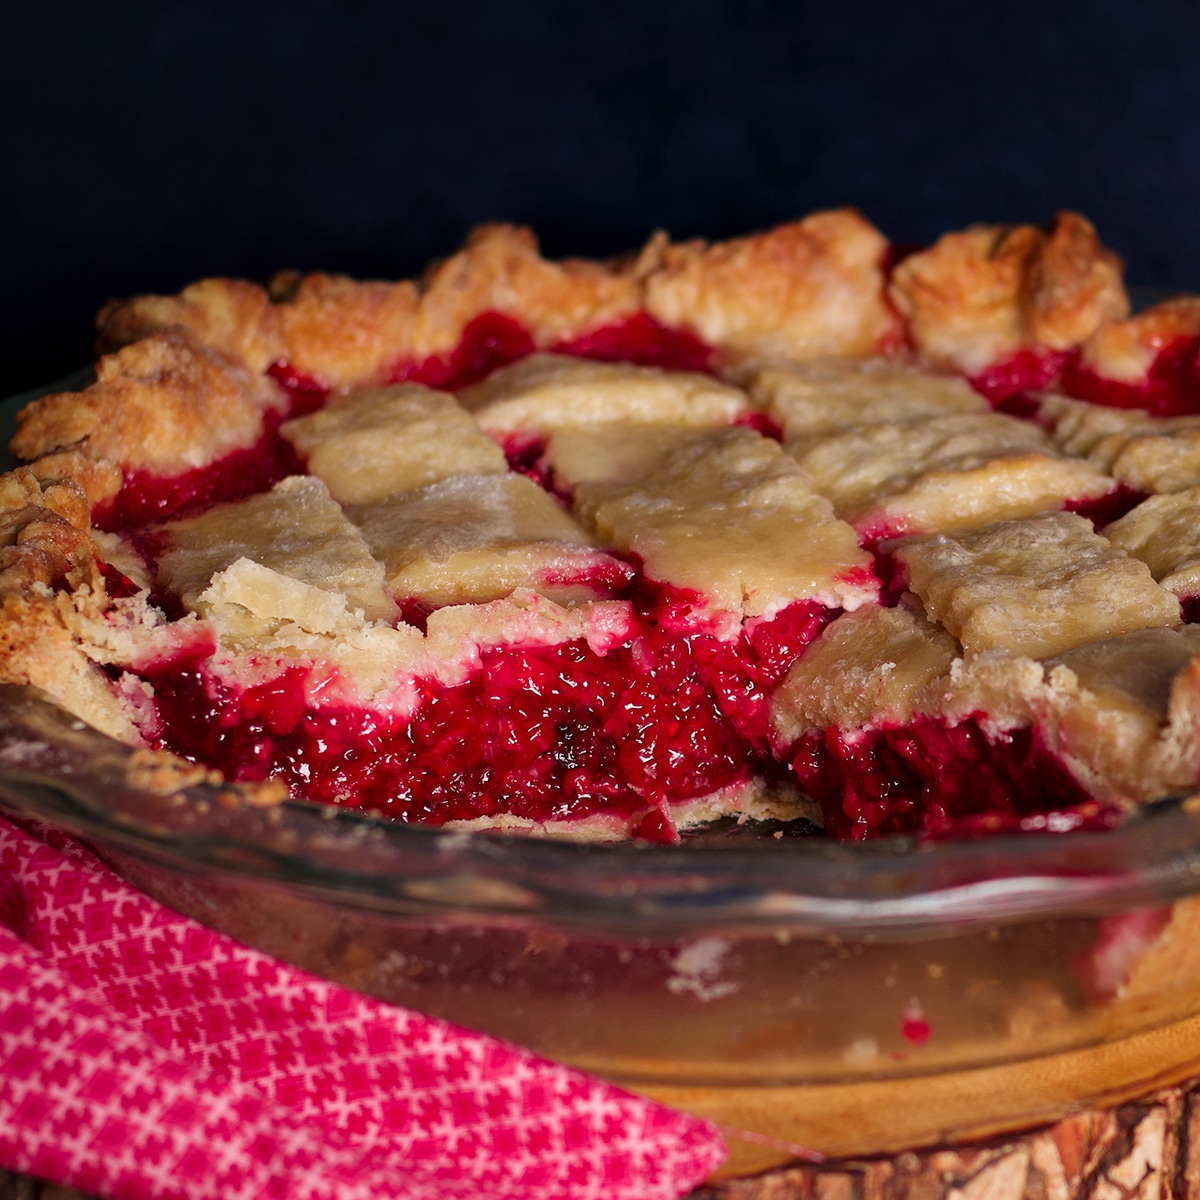
This is my idea of the perfect Raspberry Pie. It’s bursting with the natural sweet-tart flavor of juicy raspberries tucked into a buttery, flaky simple homemade lattice crust. The filling can be made with fresh or frozen raspberries and is the perfect consistency for neat, easy slices.
It may seem like a strange thing to say about a raspberry pie but this one is unabashedly raspberry. It has just enough sugar to bring out the natural sweetness of the berries but not so much as to mask or interfere with their flavor.
The raspberry filling straddles the line between sweet and tart because raspberries themselves are a delicate balance between sweet and tart.
And, while the pie is bursting with juicy raspberries, the filling is thick enough to ensure a flaky crust and neat, easy slices. In other words, no soggy crusts or watery slices. Just bite after bite of juicy, intensely flavorful raspberries and buttery, flaky pastry.
Ingredients Needed to Prepare This Recipe
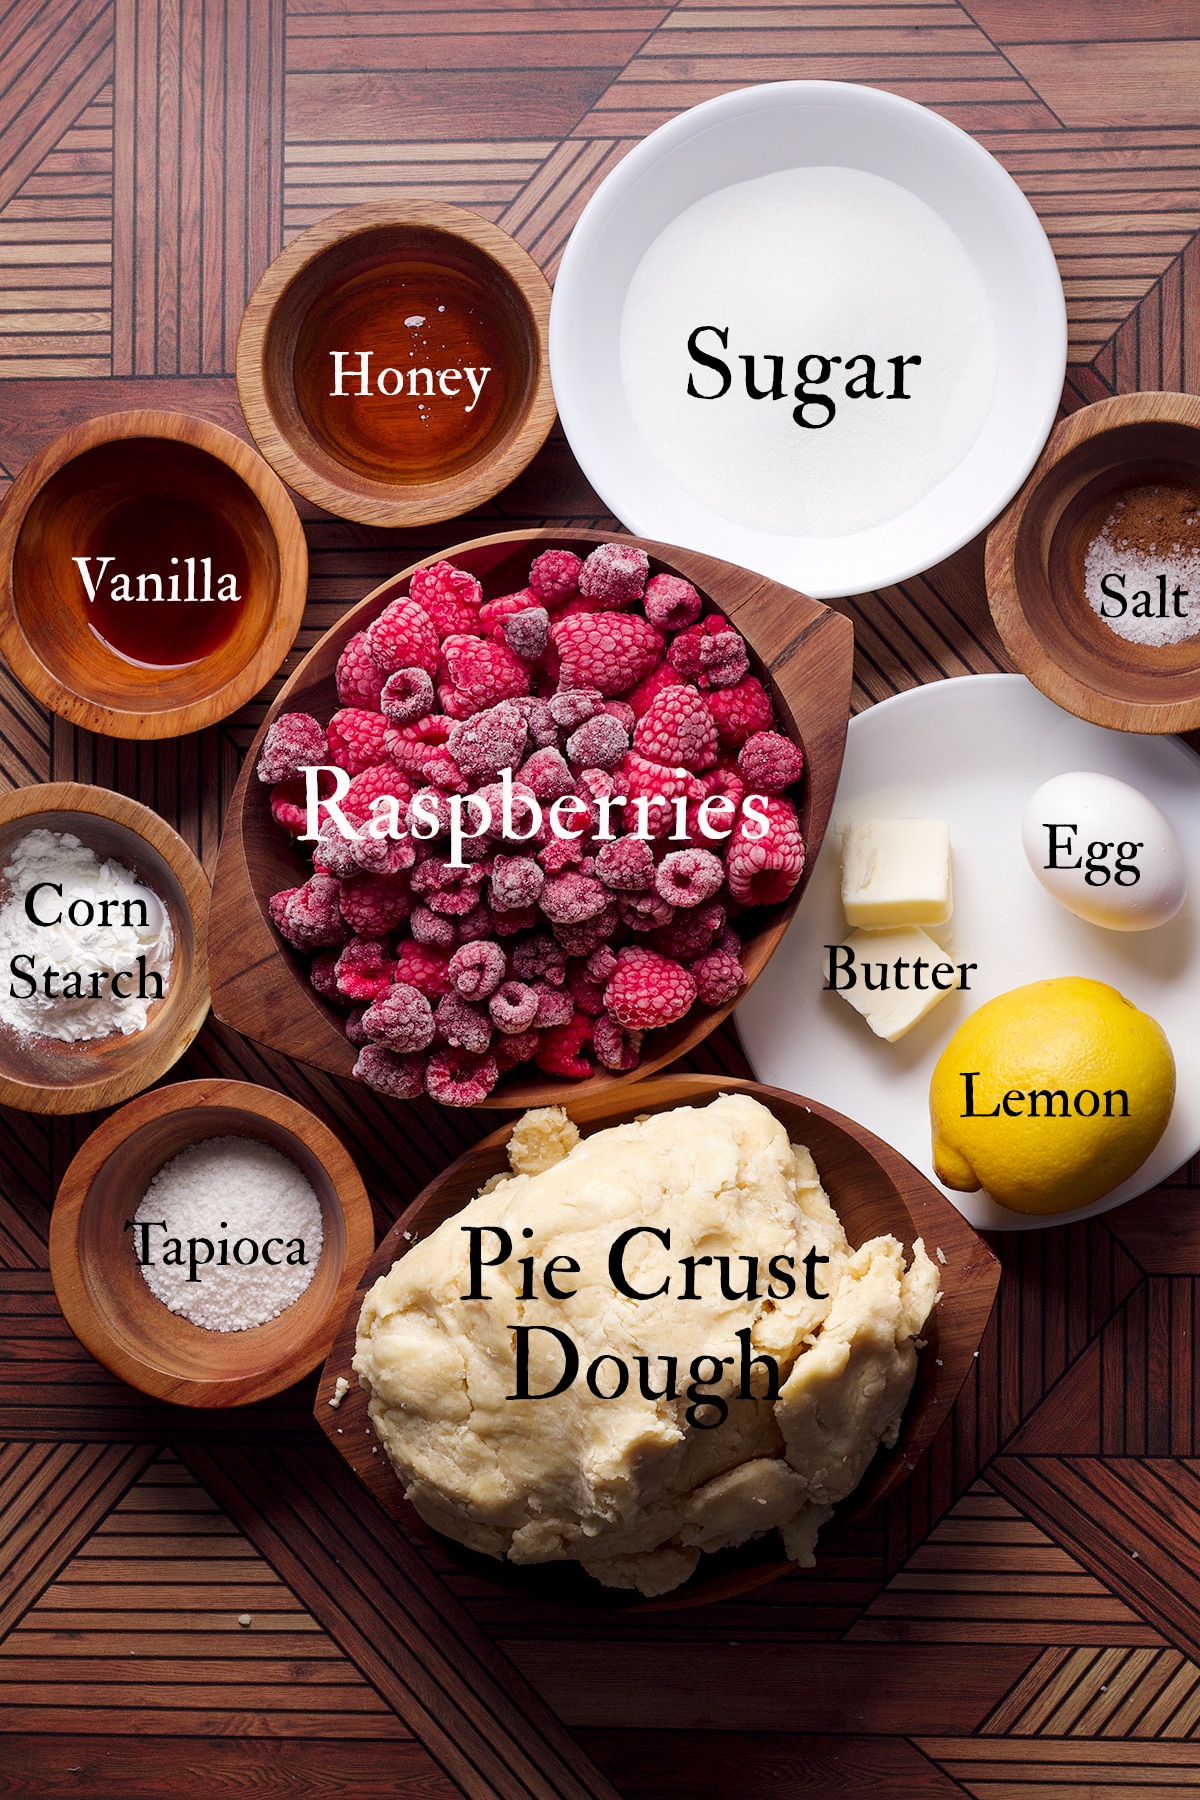
- Raspberries! This pie can be prepared with either fresh or frozen raspberries. This is important not only because frozen raspberries means you can make a raspberry pie any time of year but because fresh raspberries have such a short shelf life. If you have a bounty of fresh picked, sun-ripened summer raspberries but don't plan to make this pie for a few days, store the raspberries in the freezer. Raspberries can go from perfectly ripe to spoiled in the blink of an eye.
- Sugar + Honey. I love using a combination of sugar and honey to sweeten raspberry pie filling. A bit of honey enhances the flavor and increases the acidity of the filling. Honey also retains moisture and gives this pie a juicier mouthfeel than sugar alone. You might be skeptical that ¼ cup of honey could make much of a difference. But I've baked this pie with and without that little bit of honey and the pie baked with some honey was noticeably better.
- Vanilla extract. Use pure vanilla extract not the imitation variety which can give the raspberry pie filling a slightly bitter aftertaste.
- Salt. Salt is just as important in sweet foods as it is in savory foods because it enhances the flavors of the other ingredients. In this pie, salt intensifies the raspberry flavor.
- Cornstarch + Tapioca. After baking this pie several different times using different kinds of thickeners, I got the best results using a combination of cornstarch and quick-cooking tapioca. The filling is thick enough to ensure easy slicing without being gummy or overly jammy.
- Lemon zest and lemon juice. While raspberries themselves contain plenty of tart acidity, a bit of lemon zest and lemon juice made the flavor of this pie even more bright and fresh tasting. Once again, after testing the filling with and without the addition of lemon, we much preferred the pie baked with a bit of lemon zest and lemon juice.
- Pie crust! Foolproof pie crust has been my go-to recipe for decades and, honestly, it never disappoints. It's easy to make, light and flaky, and extremely difficult to mess up. It's called "foolproof" for a reason! The crust can be prepared with either vegetable shortening or butter, or a combination of the two. For this pie, I used a combination of butter and shortening which gave it a light and flaky consistency and buttery flavor.
- Optional ingredient: A bit of butter. This recipe includes the option of dotting the raspberry pie filling with butter before topping the pie with a lattice crust. This technique is meant to keep the filling from bubbling over in the oven while the pie bakes. In full transparency, I have found the technique to make little difference. BUT, there are many pie bakers who swear by it. So, it really is up to you.
- An egg. I like to brush some beaten egg over the lattice crust of this pie and then sprinkle it with a bit of sugar. While the pie bakes, the sugar caramelizes slightly, giving the crust a delicious, slightly crispy, caramel flavor that I find irresistible.
Step-by-Step Photos and Instructions
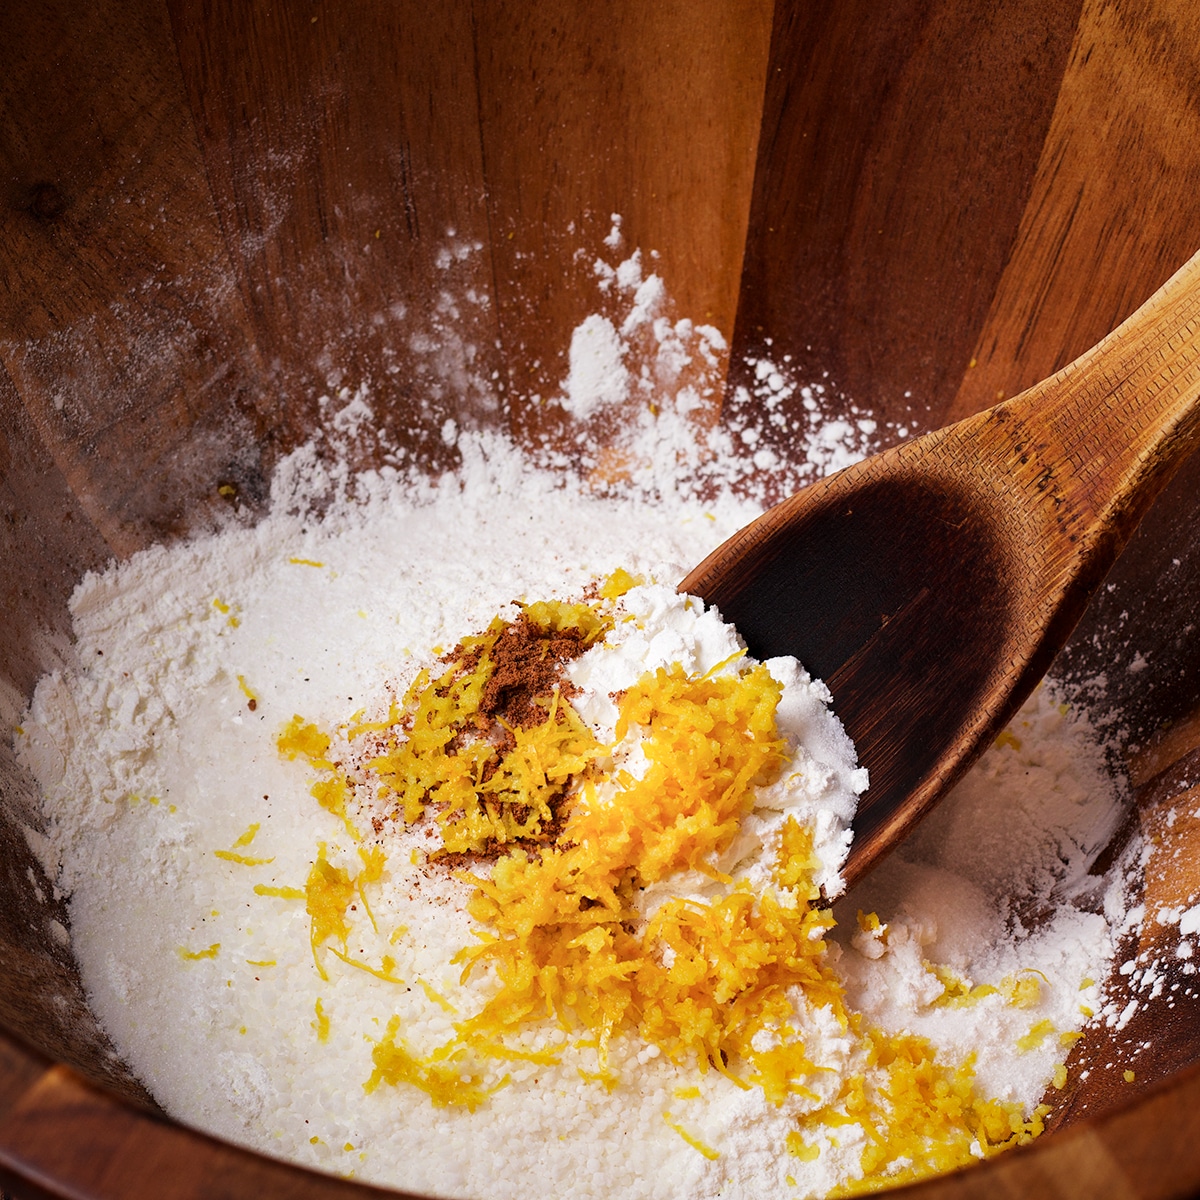
Dump some sugar, cornstarch, tapioca, nutmeg, and lemon zest into a large bowl and stir.
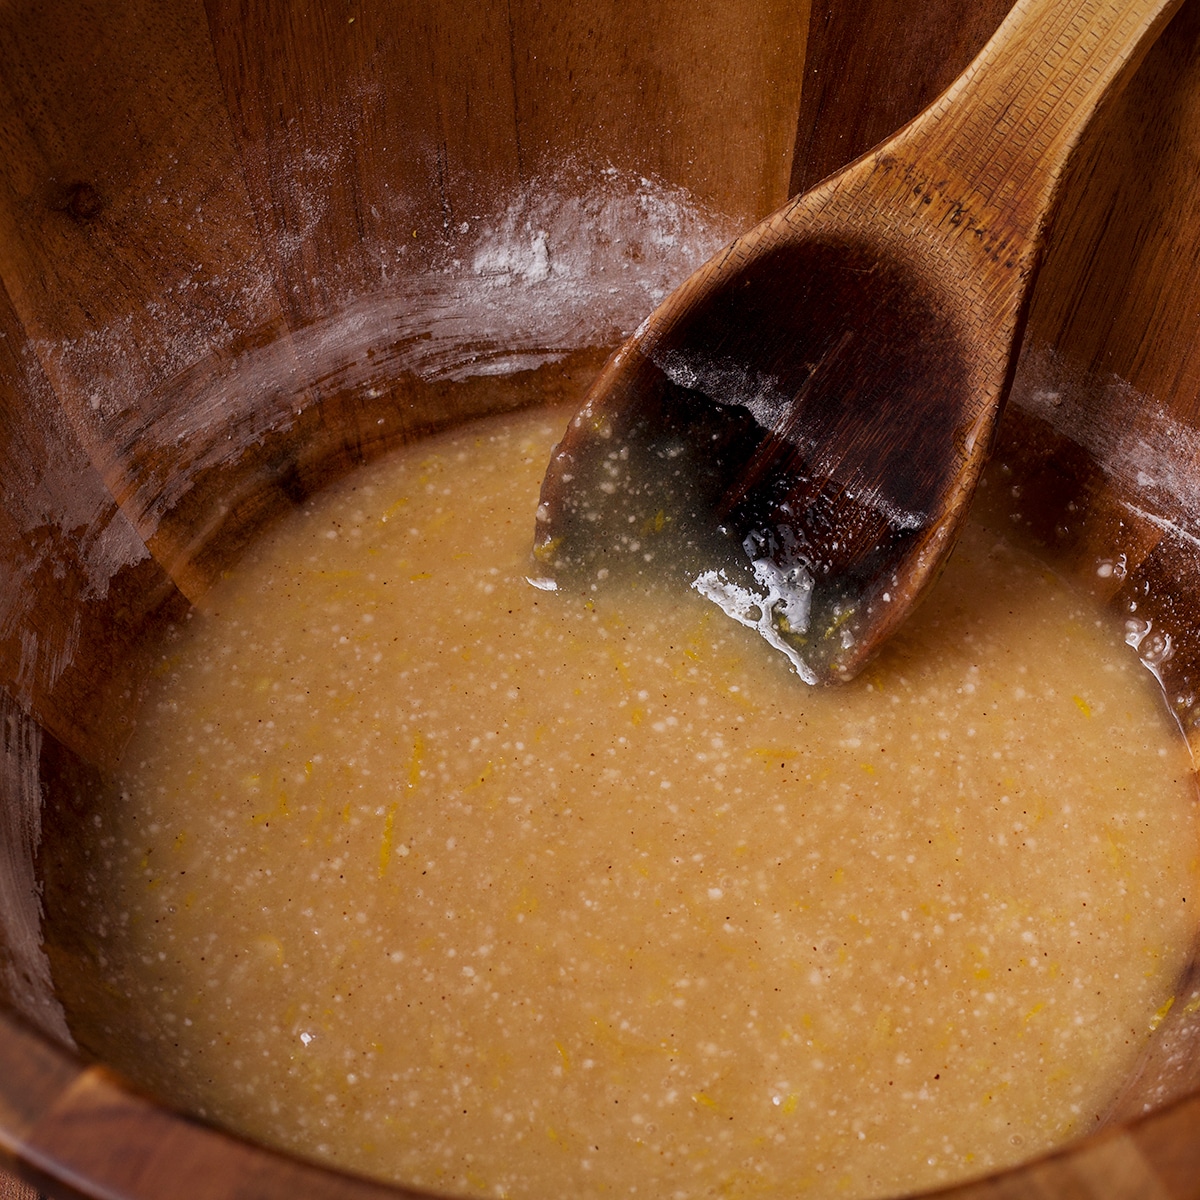
Add lemon juice, honey, and vanilla and stir to combine.
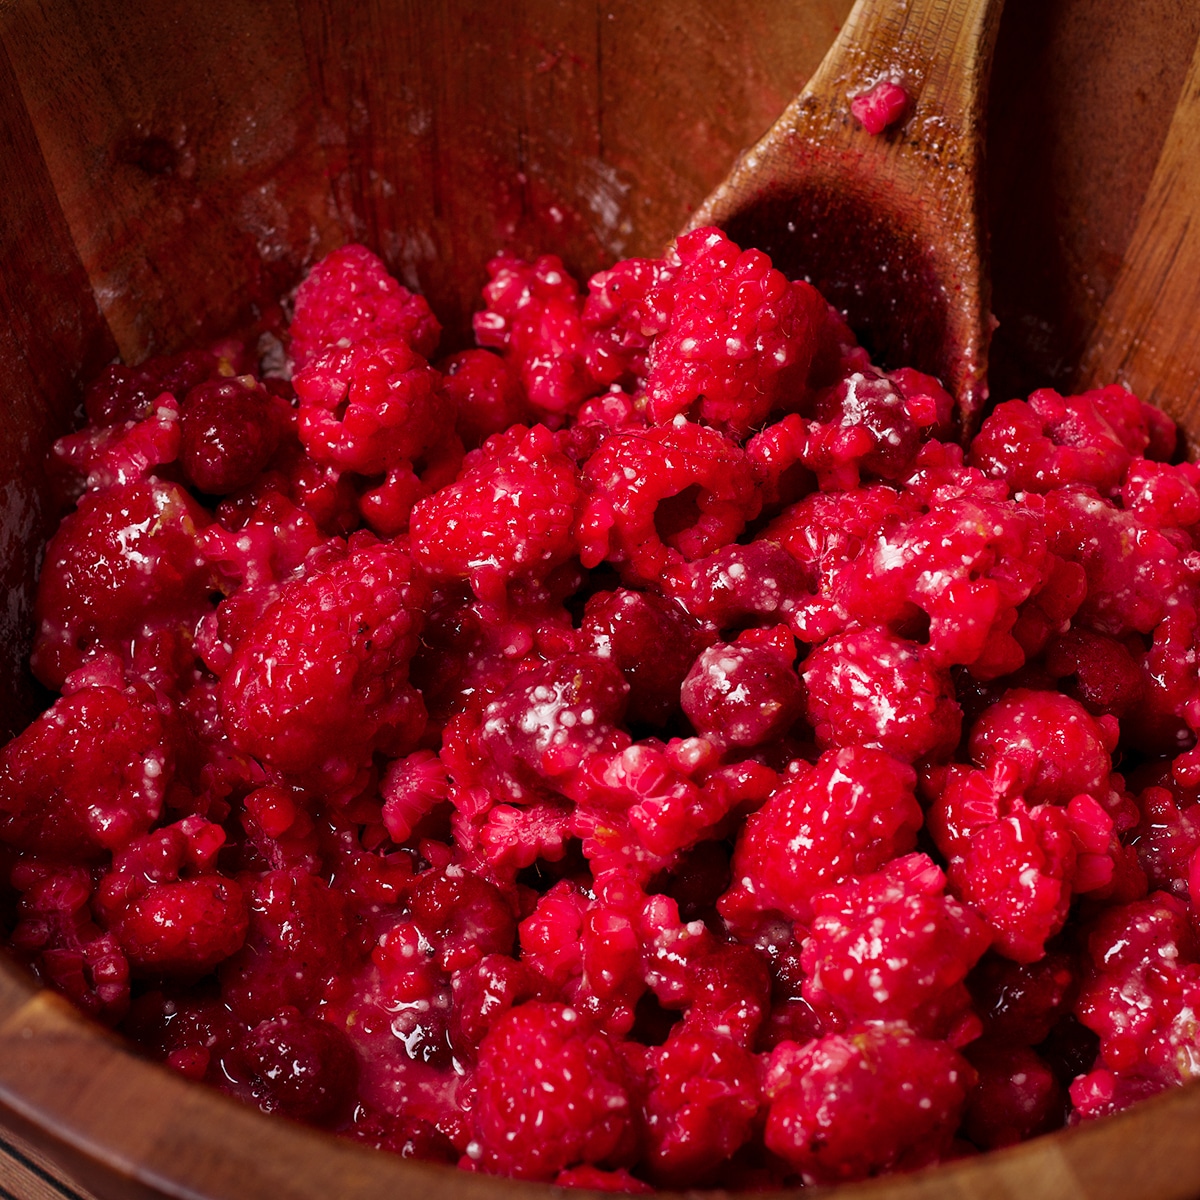
Add the raspberries and toss gently just until coated in the raspberry pie filling. Let this mixture rest for 15 minutes to soften the tapioca.
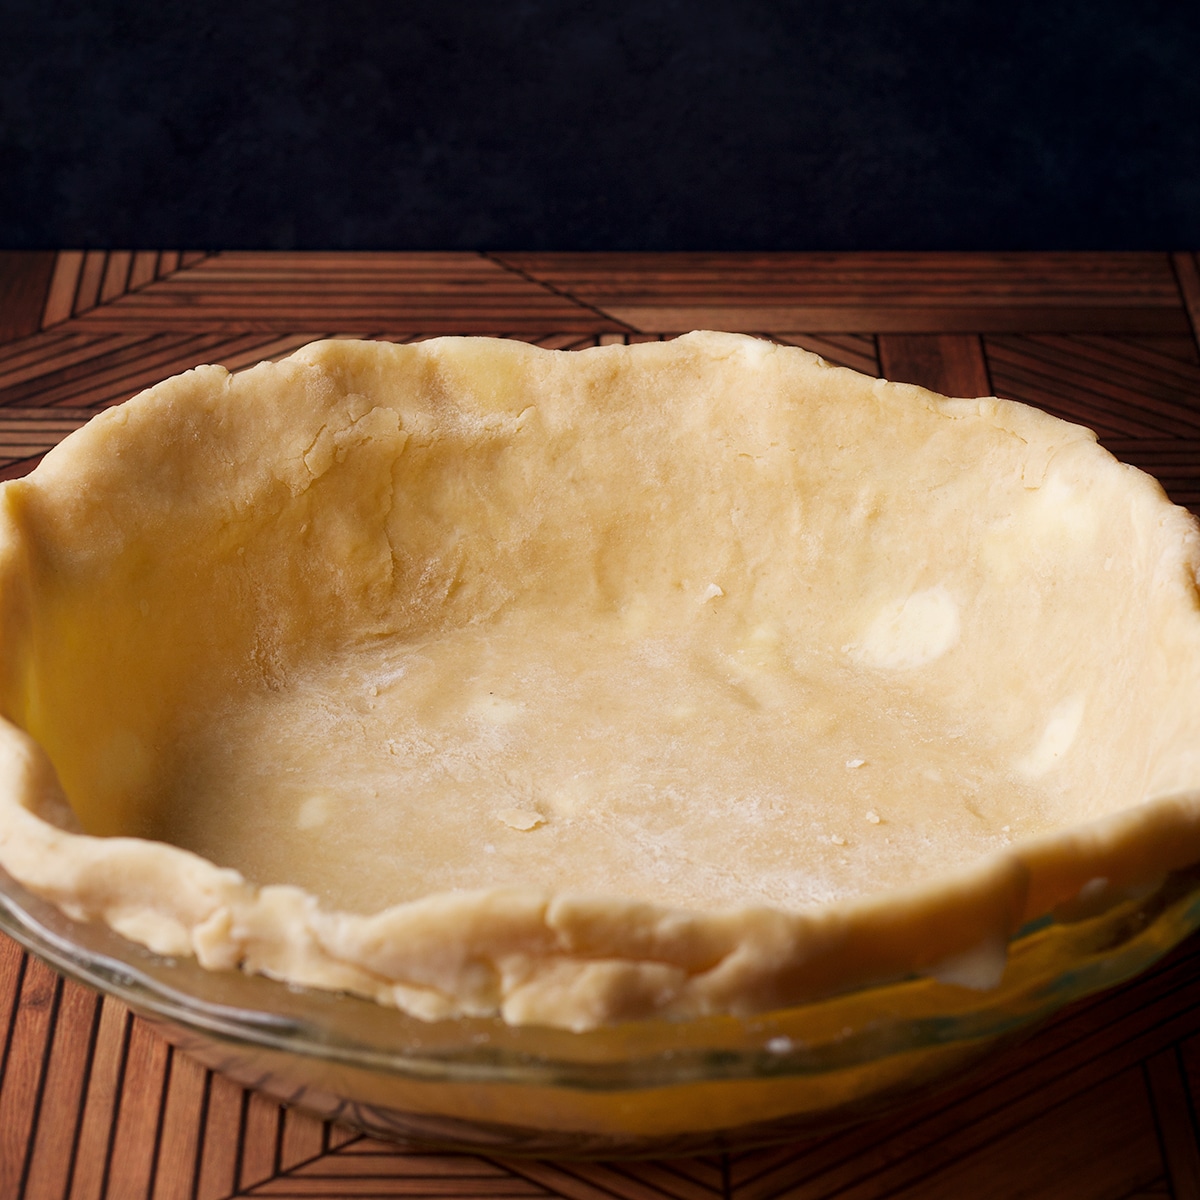
While the raspberry pie filling rests, roll out enough pie pastry to line the bottom of a 9 or 10-inch pie plate.
If you're new to pie baking or working with pie pastry, see the step-by-step instructions in this recipe for foolproof pie crust for how to roll out and fit pie crust dough into a pie plate.

Add the raspberry pie filling to the pastry-lined pie plate and smooth it into an even layer.
*Optional: Dot the surface of the pie filling with butter. Many pie bakers believe this helps prevent the filling from bubbling up and spilling out while baking.
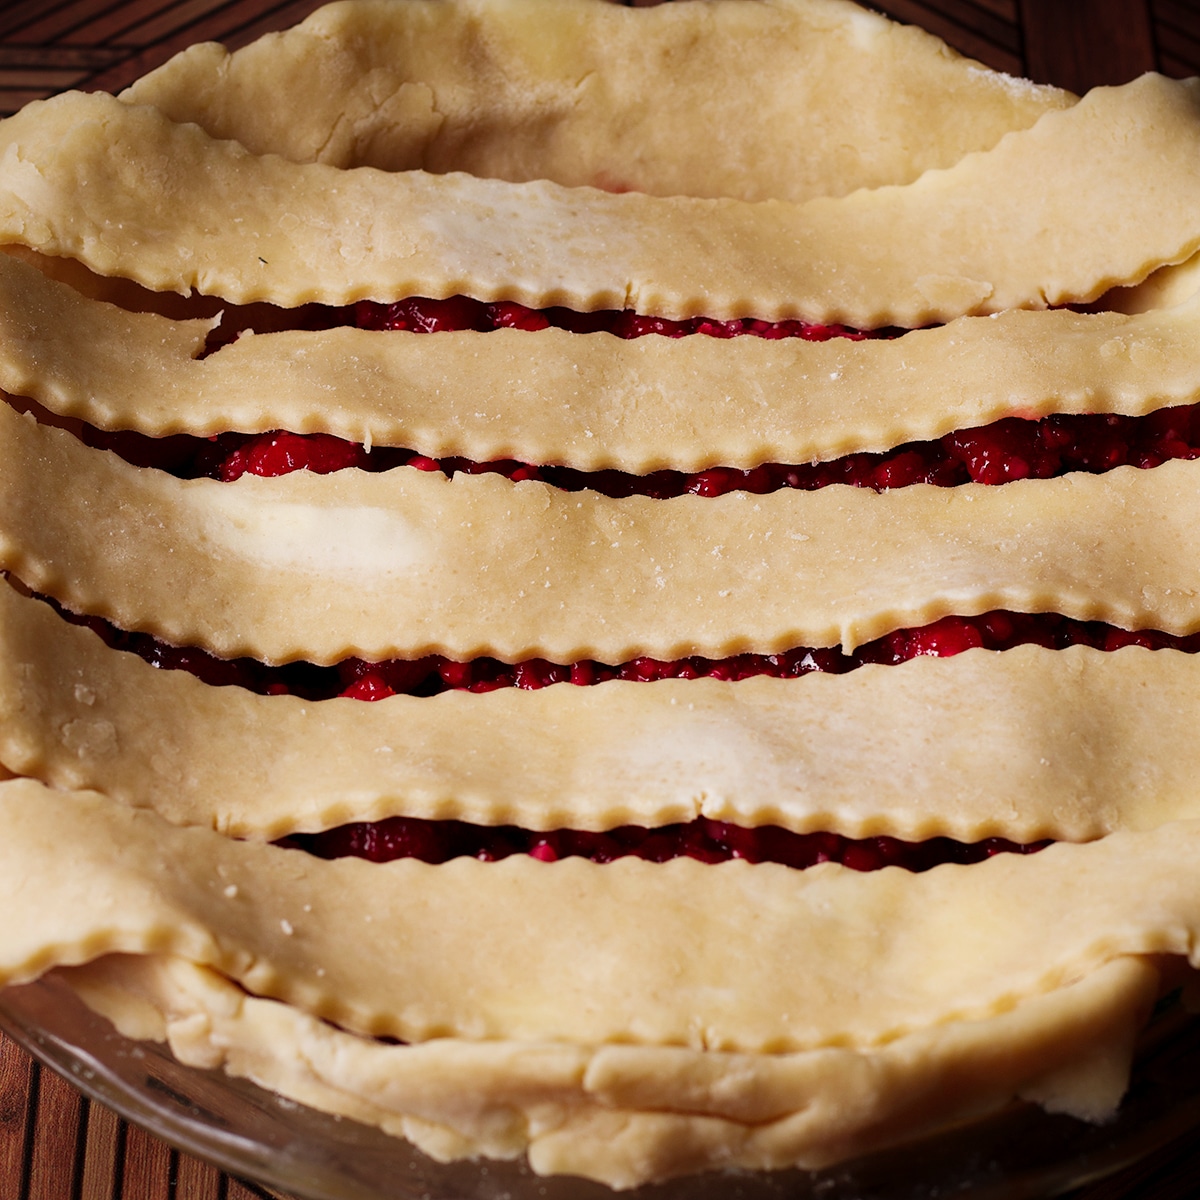
Roll another portion of the dough into a large circle, about 18 inches. With a pizza wheel, fluted pizza wheel, or paring knife, cut the disk into 9 strips that are 1-2 inches wide.
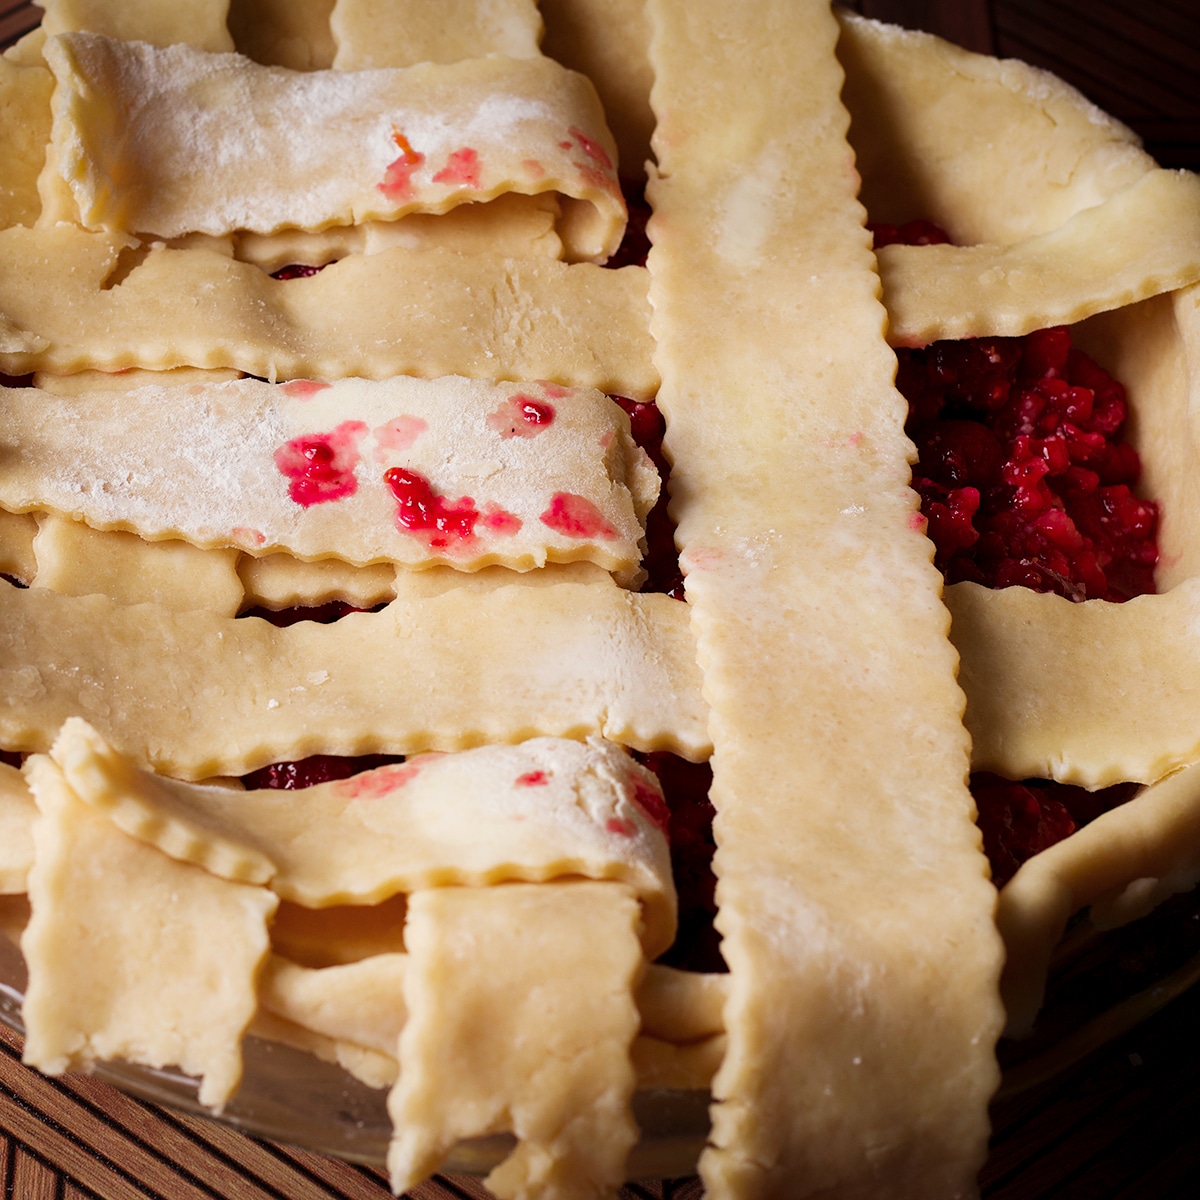
Starting in the center of the pie, lay 5 strips over the pie, arranging them so they are parallel to each other and evenly spaced.
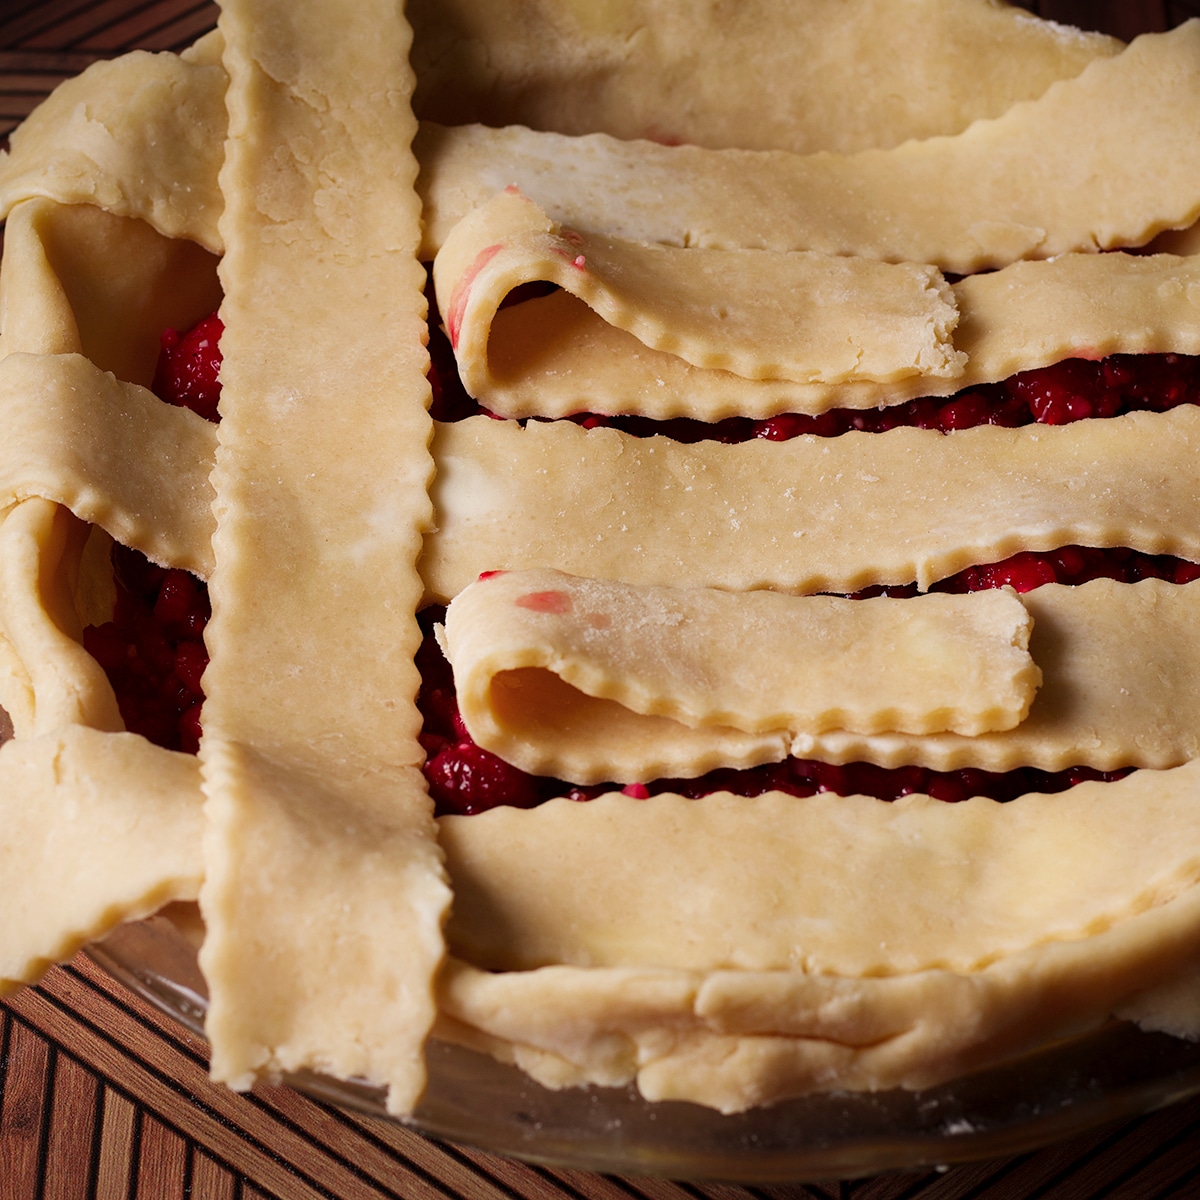
Lay the remaining strips perpendicular to the first, weaving them into the first strips to form a lattice pattern.
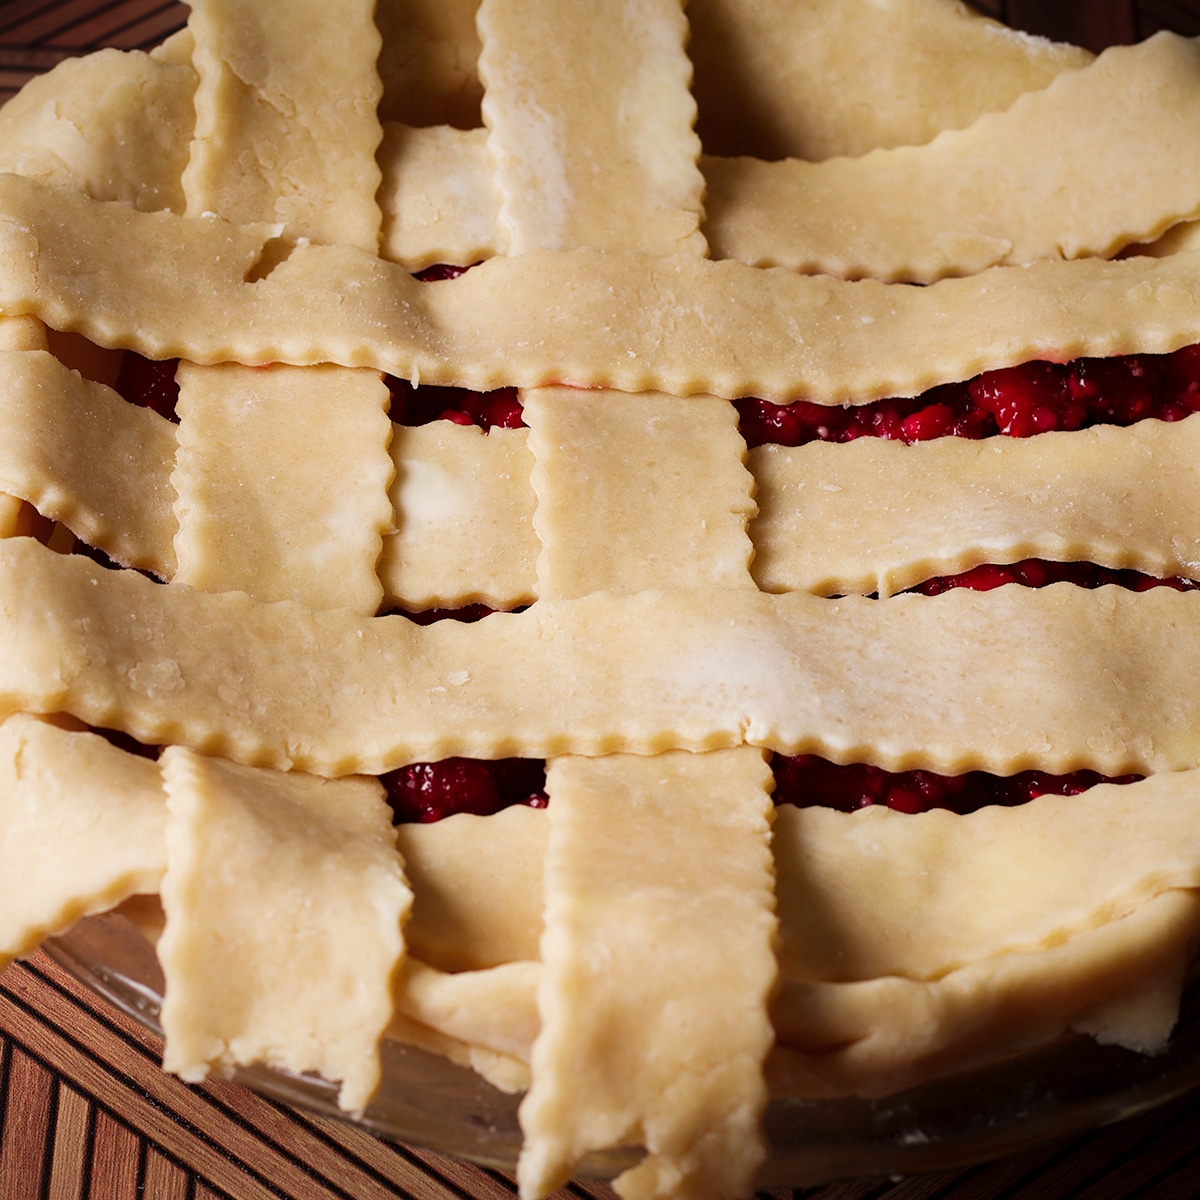
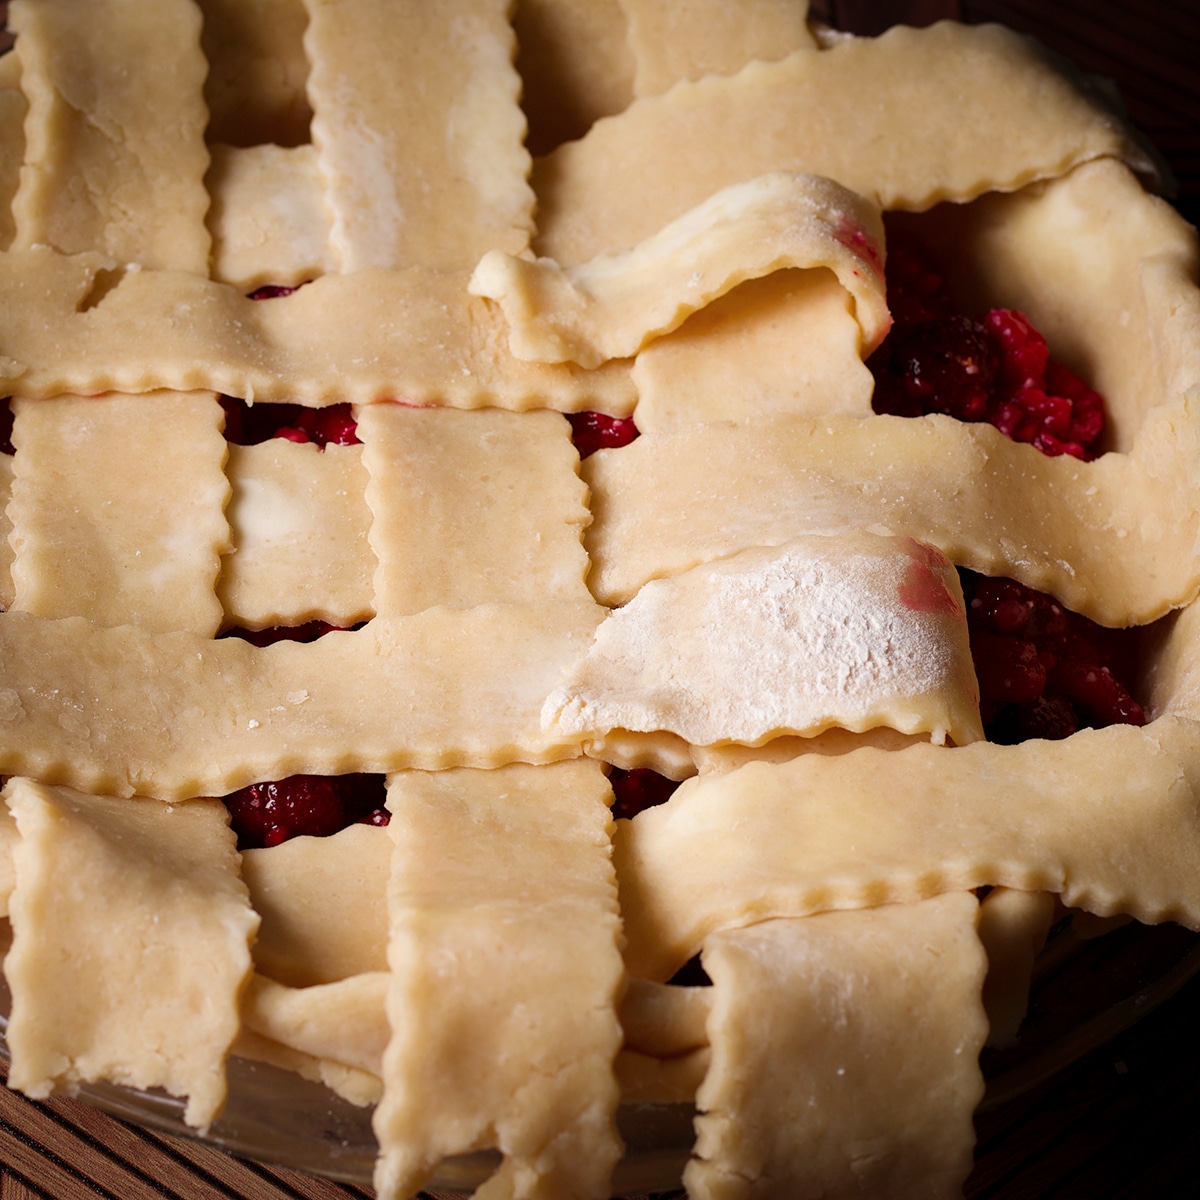
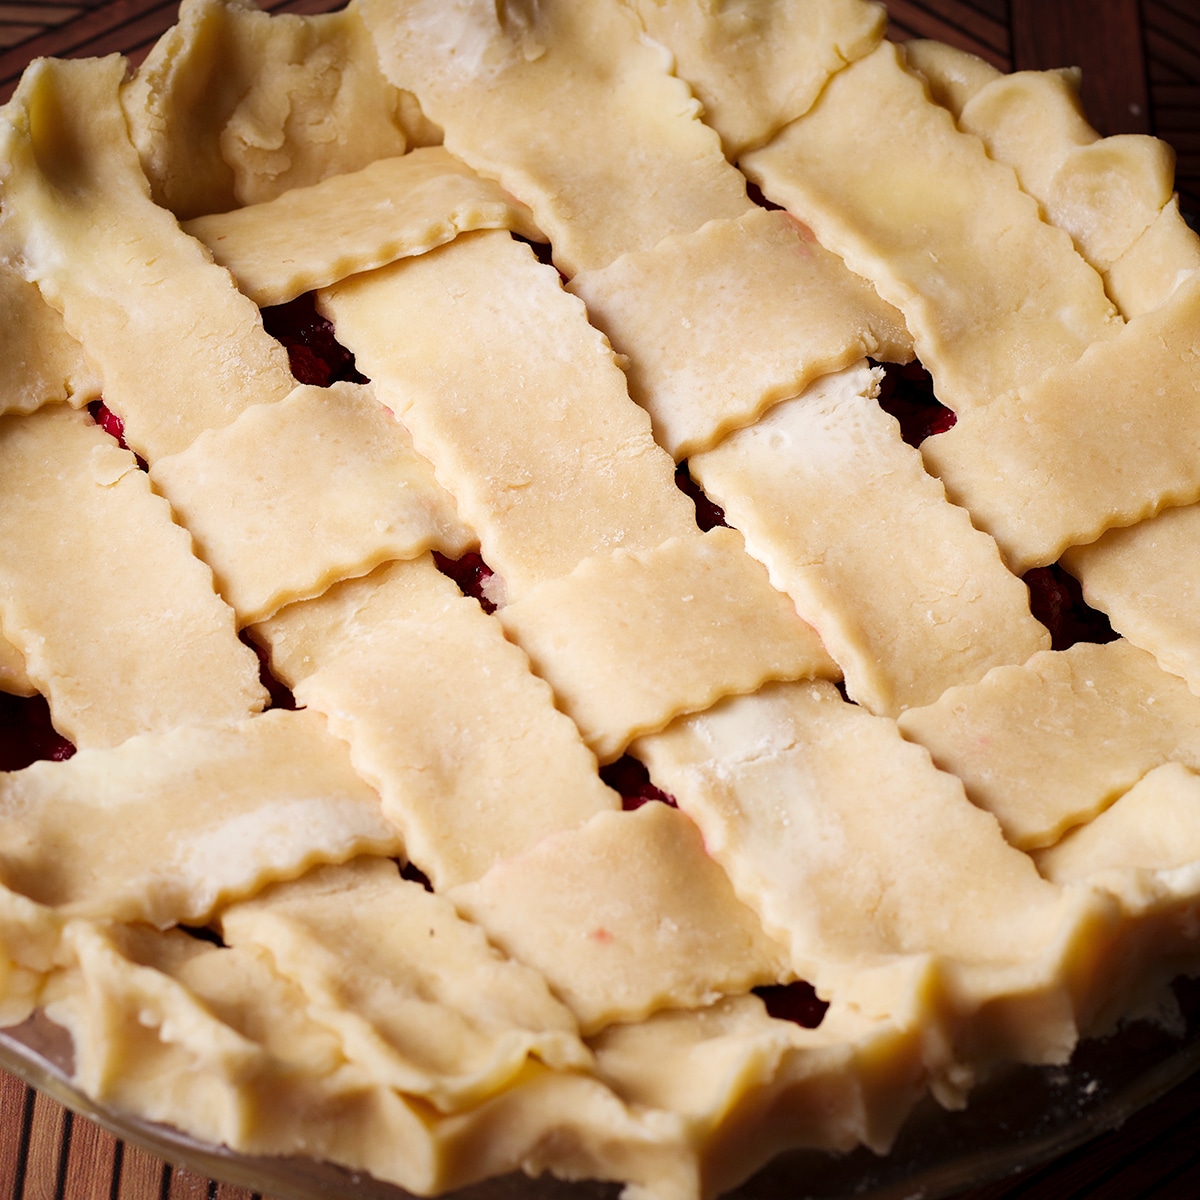
Once all the strips have been arranged, trim the edges of the strips so that they are even with the edge of the bottom crust.
With one hand on the inside of the edge and one hand on the outside, use the index finger of your inside hand to push the dough between the thumb and index finger of your other hand to form a U or a V shape. Continue this crimping motion around the entire edge.
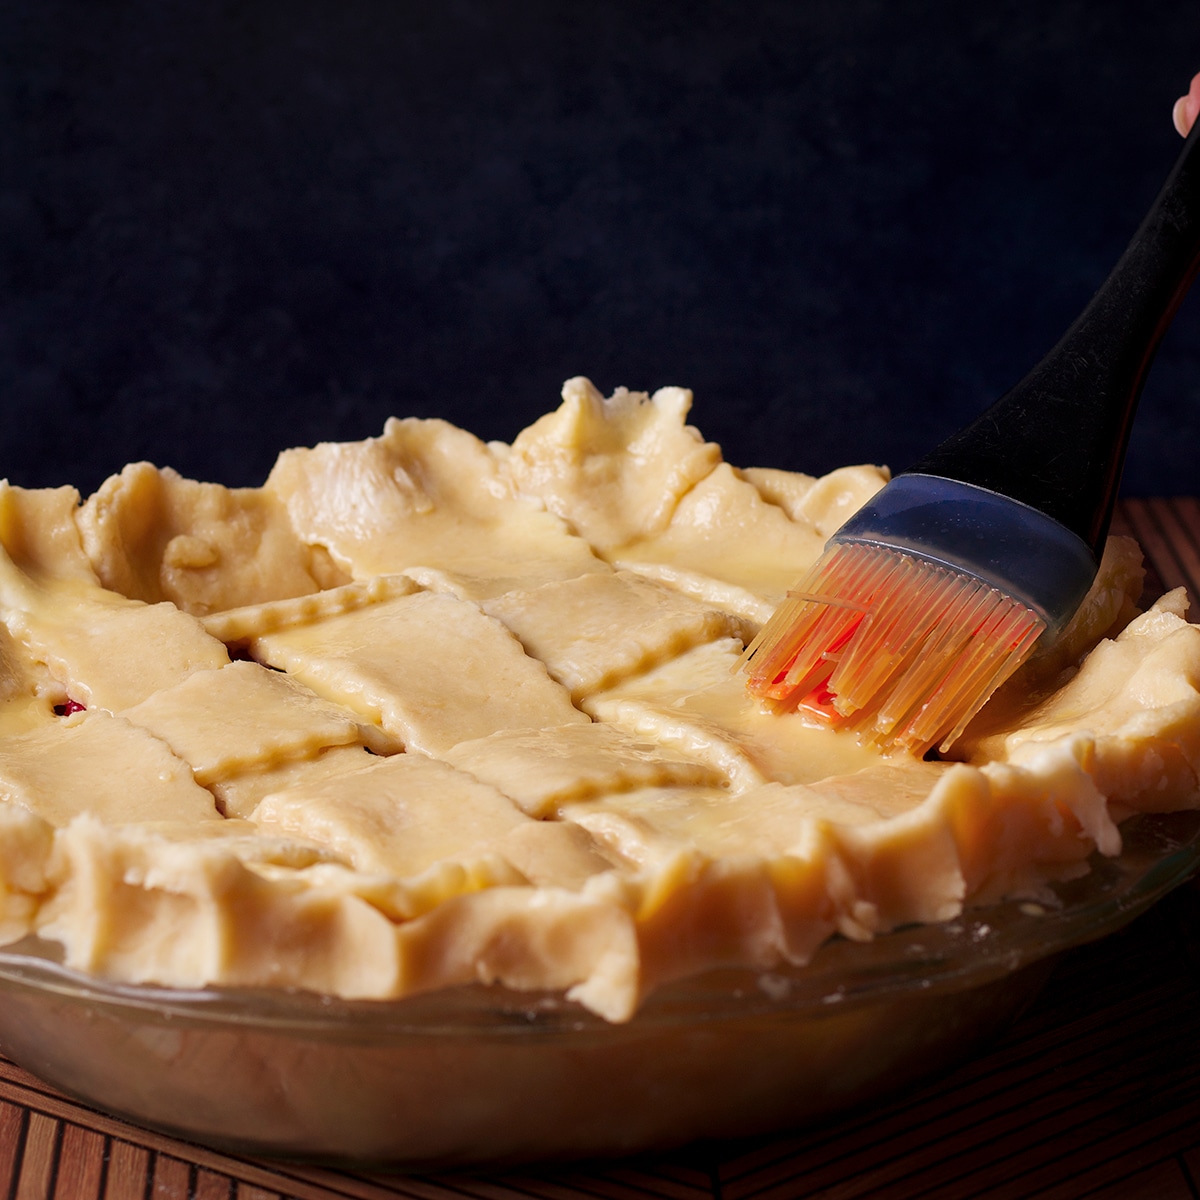
Whisk an egg with a bit of water and brush it over the top of the pie.
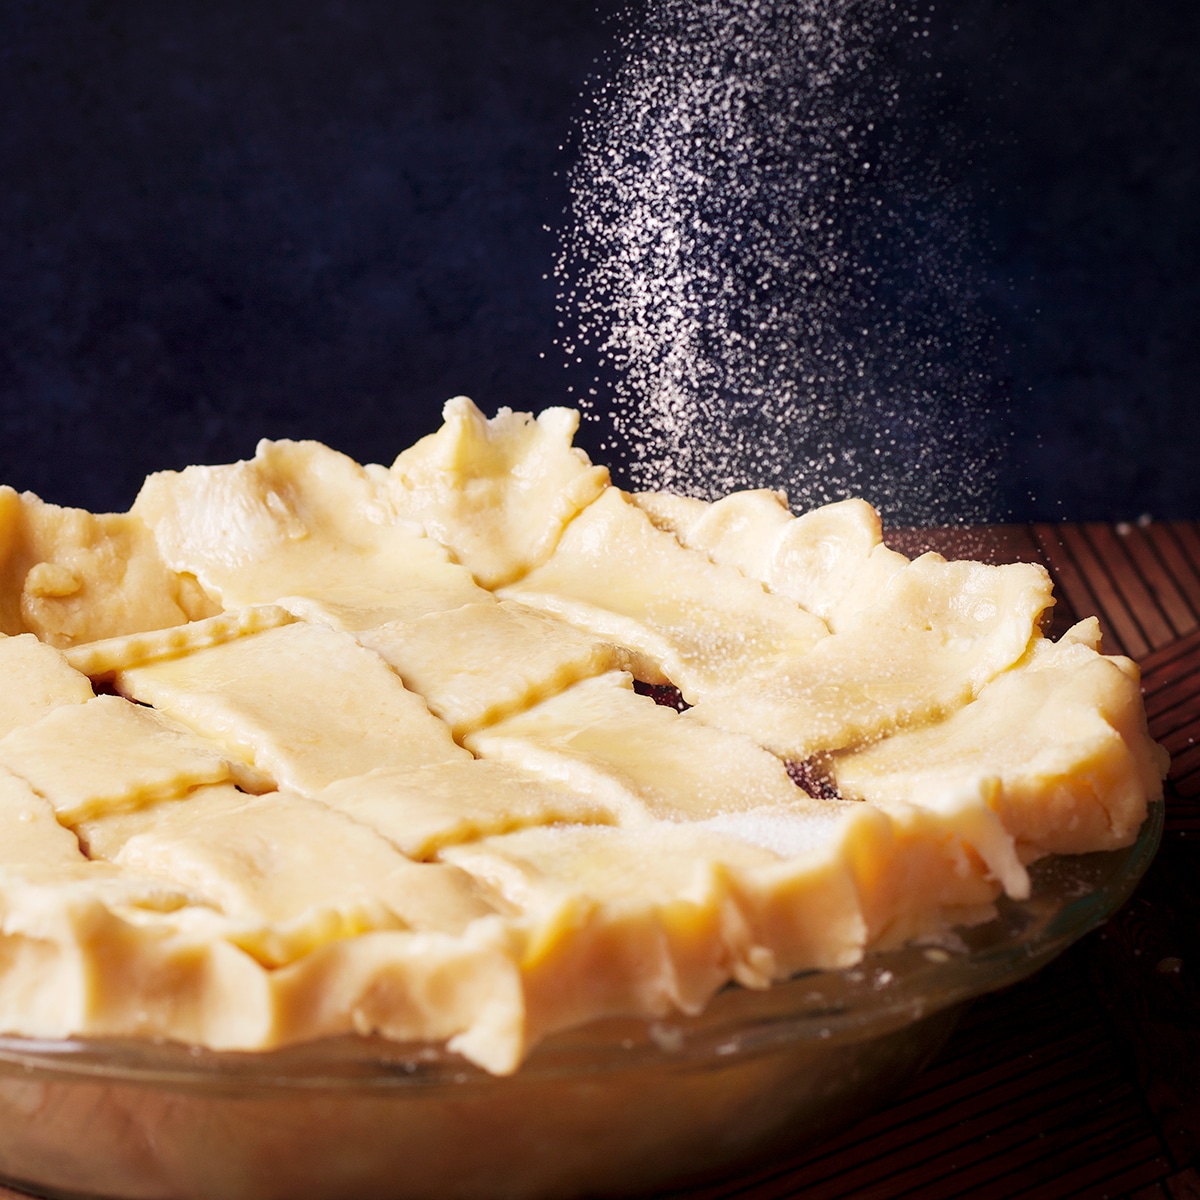
Sprinkle some sugar over the top of the crust and set the pie inside a preheated oven to bake!
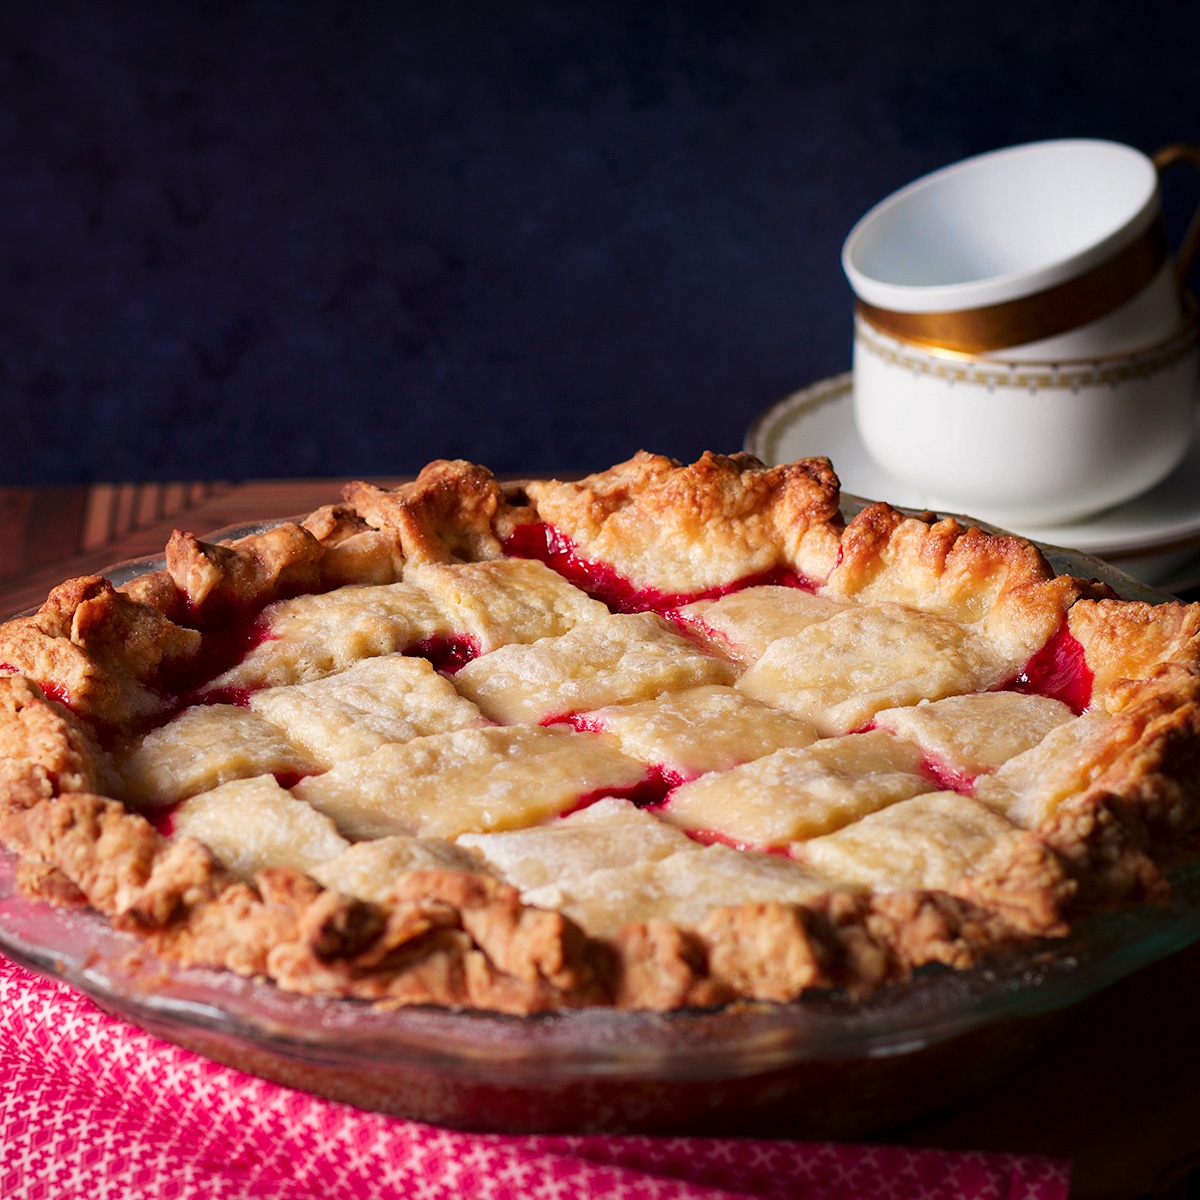
The pie is done when the crust is golden brown and doesn't look doughy, and the filling is bubbling.
Allow the pie to cool completely, about 4-6 hours, before slicing and serving.
Pro tip! I prefer to bake pie in a glass pie plate because they make it easier to see when the bottom crust is baked through. When determining whether the pie is done, remove it from the oven and hold it up so you can see the bottom of the pie.
If the bottom crust still looks doughy, or if it appears stuck to the bottom of the pie plate, the pie still needs some time in the oven.
If the bottom crust looks golden, has a flaky appearance, and appears to be resting on the pie plate rather than sticking to it, the pie is done baking.
How to Serve and Store Raspberry Pie
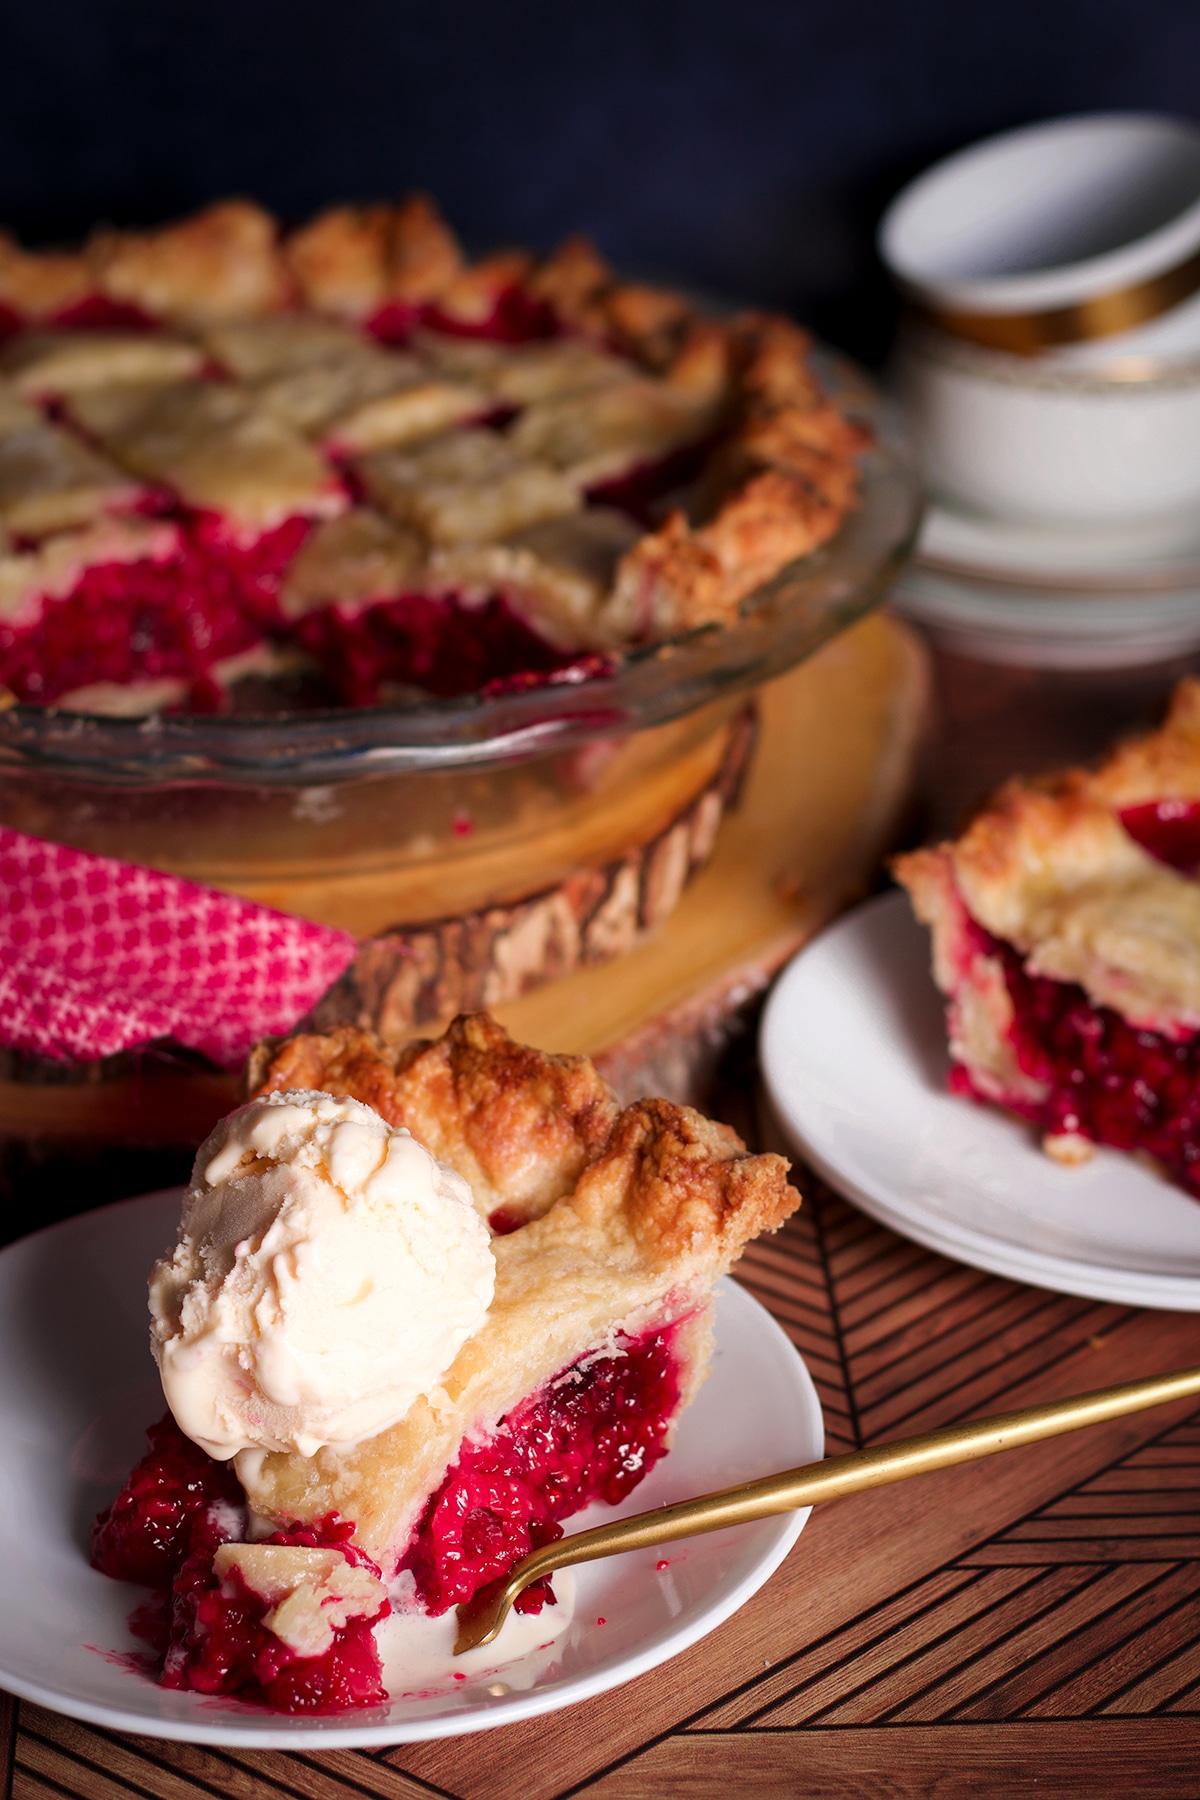
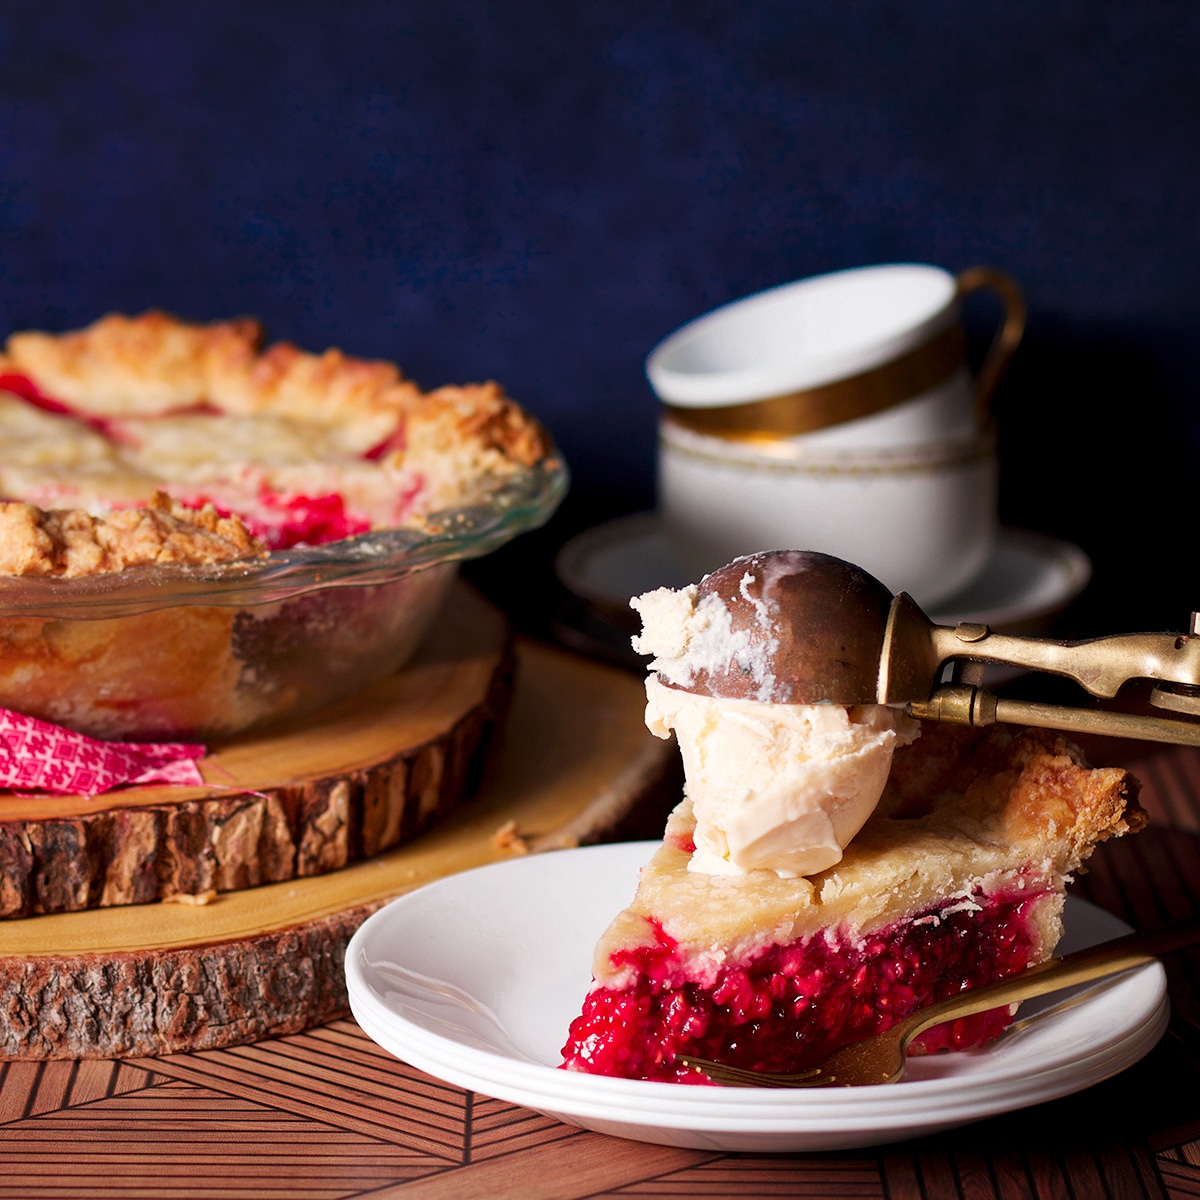
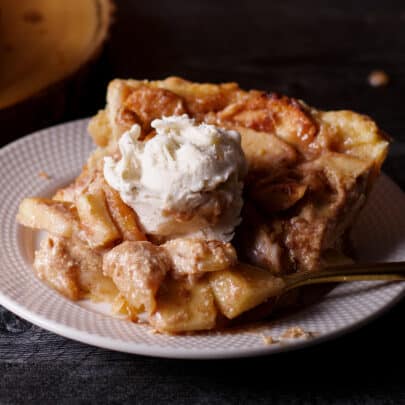
My favorite way to eat a slice of raspberry pie is a la mode - with a scoop of vanilla ice cream! But it's also delicious with some sweetened whipped cream, raspberry sorbet, or nothing at all.
Raspberry pie will keep well at room temperature for up to 24 hours. After that, it's best to keep it in the refrigerator where it will keep well for up to 3 days.

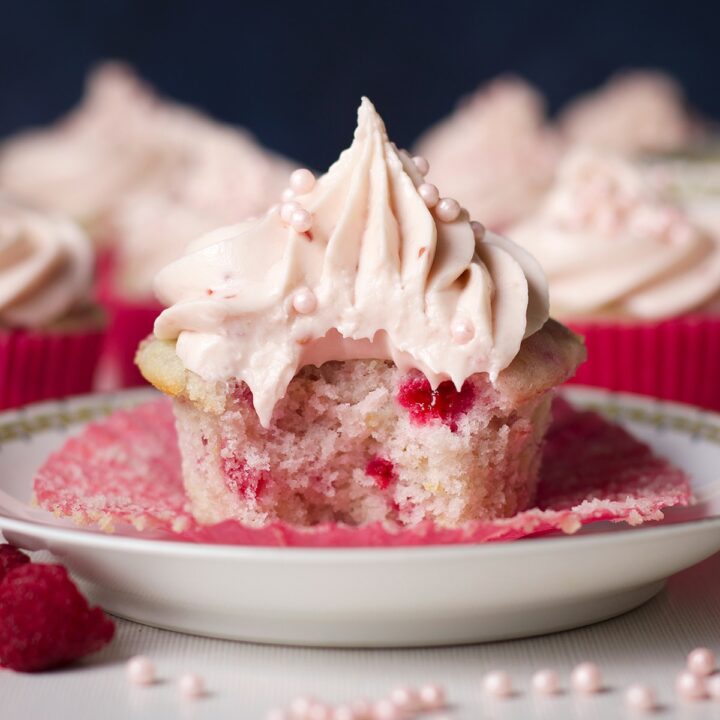
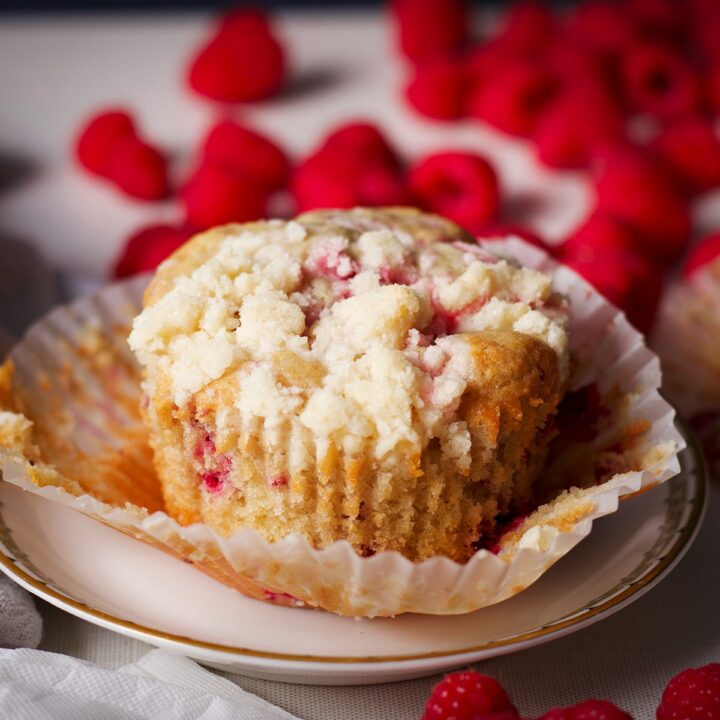
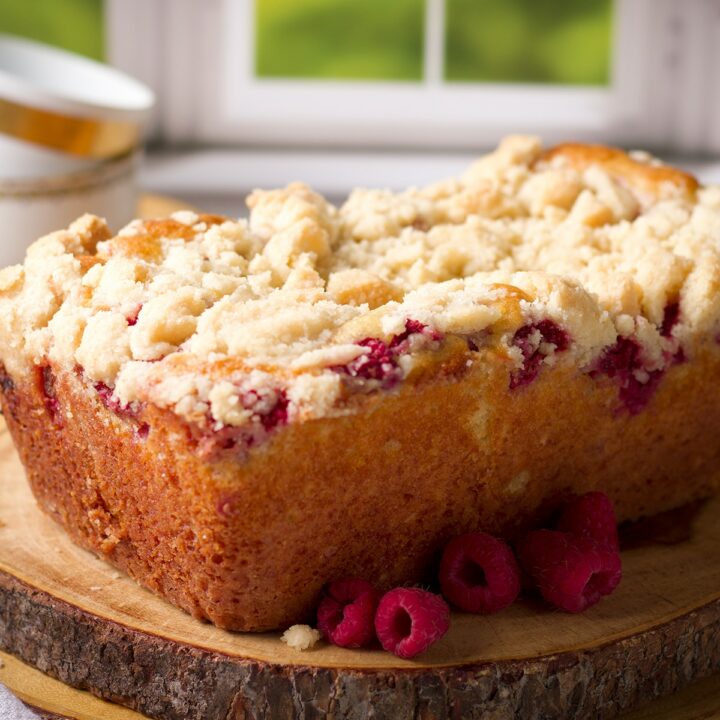
More raspberry recipes


+ Subscribe to my newsletter for new and exclusive recipes in your in-box every month! As a full time traveler, living, working, cooking, and baking from a 5th wheel RV, it's also where I share our experiences of life on the road.
If you give this recipe a try, let me know! Leave a comment, rate it, or take a picture and tag it #ofbatteranddough on Instagram.
Happy baking!
📖 Recipe

Raspberry Pie
This is my idea of the perfect Raspberry Pie. It’s bursting with the natural sweet-tart flavor of juicy raspberries tucked into a buttery, flaky simple homemade lattice crust. The filling can be made with fresh or frozen raspberries and is the perfect consistency for neat, easy slices.
Ingredients
- 2 pie crusts
- ¾ cup sugar
- 2 tablespoons cornstarch
- 2 tablespoons quick-cooking tapioca
- ¼ teaspoon nutmeg
- ¼ cup honey
- The zest and juice from 1 large lemon
- 6 cups raspberries
- 1 large egg
Instructions
- Preheat the oven to 375 degrees F (190 degrees C).
- In a large bowl, stir ¾ cup sugar, cornstarch, tapioca, nutmeg, and lemon zest to mix.
- Add the lemon juice, honey, and vanilla and stir to combine. Add the raspberries and toss gently just until coated in the raspberry pie filling. Let stand for 15 minutes.
- In a small bowl, whisk the egg with 1 tablespoon of cold water and set aside.
- Remove the pie dough from the refrigerator. On a floured surface, roll out a portion of the dough to a 12-inch circle that’s about ⅛-inch thick. Using a large spatula, gently loosen the dough from the worktop, fold it in half, and then fold it in half again. It will form a triangle shape. Lift the crust and place it into a pie plate with the point of the triangle in the center of the plate. Gently unfold the dough in the pan and gently press it into the plate to fit.
- Pour the raspberry pie filling into the bottom crust and dot the surface with the butter, if using (see note).
- Re-flour your work surface and roll out another portion of the dough into another 12-inch circle. With a pizza wheel, fluted pizza wheel, or paring knife, cut the disk into 9 strips that are 1-2 inches wide.
- Starting in the center of the pie, lay 5 strips over the pie, arranging them so they are parallel and evenly spaced across the pie. Lay the remaining 4 strips perpendicular to the first, weaving them into the first strips to form a lattice pattern (see photos above).
- Once all the strips have been arranged, trim the edges of the strips so that they are even with the edge of the bottom crust. With one hand on the inside of the edge and one hand on the outside, use the index finger of your inside hand to push the dough between the thumb and index finger of your other hand to form a U or a V shape. Continue this crimping motion around the entire edge.
- Gently brush the egg wash over the top crust with a pastry brush and sprinkle evenly with the remaining 2 tablespoons of sugar.
- Put the pie on a baking sheet (to catch any drips) and place it in the oven. Bake for 30 minutes. Rotate the pie in the oven and bake for an additional 30-40 minutes. The pie is done when the crust is golden brown and the filling in the center of the pie is bubbling. If using a glass pie plate, lift the pie up and peer underneath it to see if the bottom crust appears done.
- Remove from the oven and cool completely on a wire rack for about 4-6 hours before serving. Store leftover pie in the refrigerator.
Notes
This recipe includes the option of dotting the raspberry pie filling with butter before topping the pie with a lattice crust. The technique is meant to keep the filling from bubbling over in the oven while the pie bakes. In full transparency, I have found the technique to make little difference. BUT, there are many pie bakers who swear by it. So, if you would like to dot the surface of the raspberry filling with butter, go for it. If you'd rather leave the butter out, that's good too.
Recommended Products
As an Amazon Associate and member of other affiliate programs, I earn from qualifying purchases.
Nutrition Information:
Yield: 8 Serving Size: ⅛th of the pieAmount Per Serving: Calories: 374Total Fat: 12gSaturated Fat: 4gTrans Fat: 0gUnsaturated Fat: 7gCholesterol: 23mgSodium: 190mgCarbohydrates: 64gFiber: 7gSugar: 33gProtein: 4g

Kim Ford says
I don't see lemon juice or zest in the ingredient list. What is the amount of each?
Rebecca Blackwell says
Sorry about that Kim! Use the zest and juice from one large lemon. Please let me know if you have any other questions! And, I'd love to hear how this pie comes out for you!
Jane says
This pie is soooo good! I love the buttery crust and the flavor of the raspberries.
Amanda Dixon says
This pie is wonderful! The honey is such a nice touch. Love the flavor it adds besides just sweetness and it's great with those tart raspberries.
Liz says
This rapsberry pie was so yummy!! I love anything with raspberries and my husband loved this too!
Traci says
This recipe was so good! Just the perfect balance of sweet and tart. Absolutely loved it and will make it again next summer when I’m overflowing with raspberries!
Rebecca Blackwell says
I am so happy to hear that Traci!