Gingerbread biscotti, dotted with chunks of ginger chocolate bark & served with a steaming mug of coffee or hot cocoa, is the perfect treat on a cold day.

There are certain smells and flavors that just belong with certain times of the year. Like Pumpkin Pie and Thanksgiving. Or, blueberry pie on the 4th of July. And gingerbread in December. Just the smell of gingerbread makes me think of cold, snowy days... and Christmas.
One of my favorite things in the world to bake and eat is Glorified Gingerbread. It's one of those multi-generational tried-and-true recipes that has become so ingrained in my memories of what gingerbread is supposed to taste like, that no other gingerbread recipe quite measures up. It's something I bake several times a year, but always during cold weather months. Because somehow, gingerbread should be eaten in the winter.
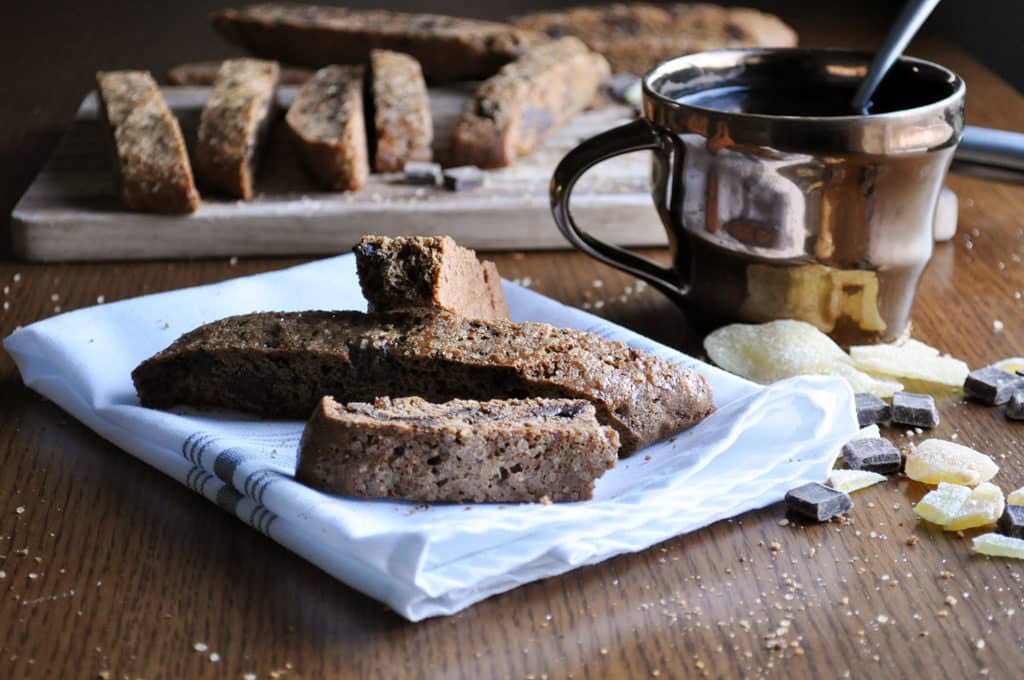
Biscotti, in my opinion, is a year round treat. But, gingerbread biscotti begs to be eaten when the weather turns crisp and cold, curled up under a blanket, with a steaming cup of coffee or hot chocolate in which to dunk it.
My favorite time of day to eat biscotti is at breakfast. I am, in fact, eating a gingerbread biscotti with my coffee as I type this. However, the ginger in these also makes them the perfect after-dinner biscotti - especially if served with chai vanilla pots de crème. The combination tastes like Christmas in your mouth.
This recipe calls for candied ginger, which is available in the spice section of most grocery stores. However, it comes in little spice jars that cost a fortune. Especially since this recipe calls for a whole cup of candied ginger. If you have a Trader Joe's nearby, you'll probably find some there for a heck of a lot cheeper. You'll also find plenty of good affordable options for candied ginger on Amazon, including Trader Joe's Candied Ginger.
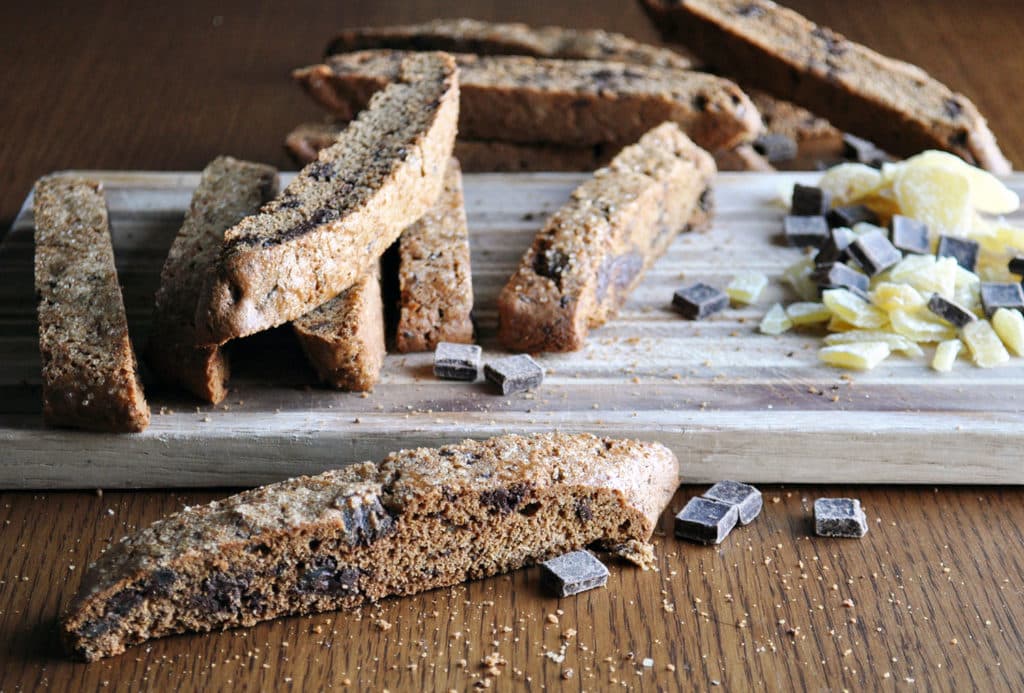
Rather than just tossing the candied ginger and chocolate into the biscotti batter, I combined the ginger and chocolate into ginger chocolate bark. The chocolate coats each piece of ginger, so that you never get a bite with only chocolate or only ginger. You'll also notice a hefty amount of black pepper in this gingerbread biscotti recipe. It's not a typo. The pepper accentuates the spices and the chocolate without being detectable. No one will say, "these gingerbread biscotti are so peppery." I promise.
📖 Recipe
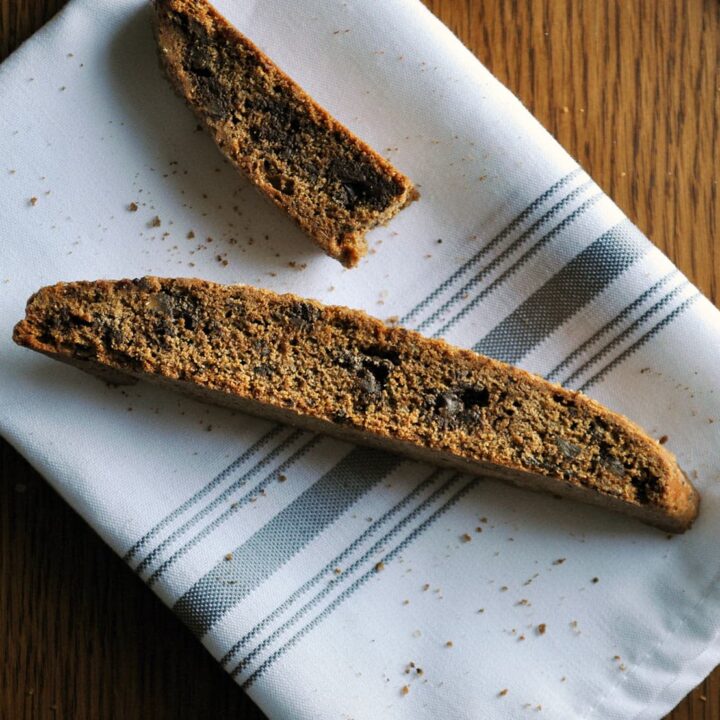
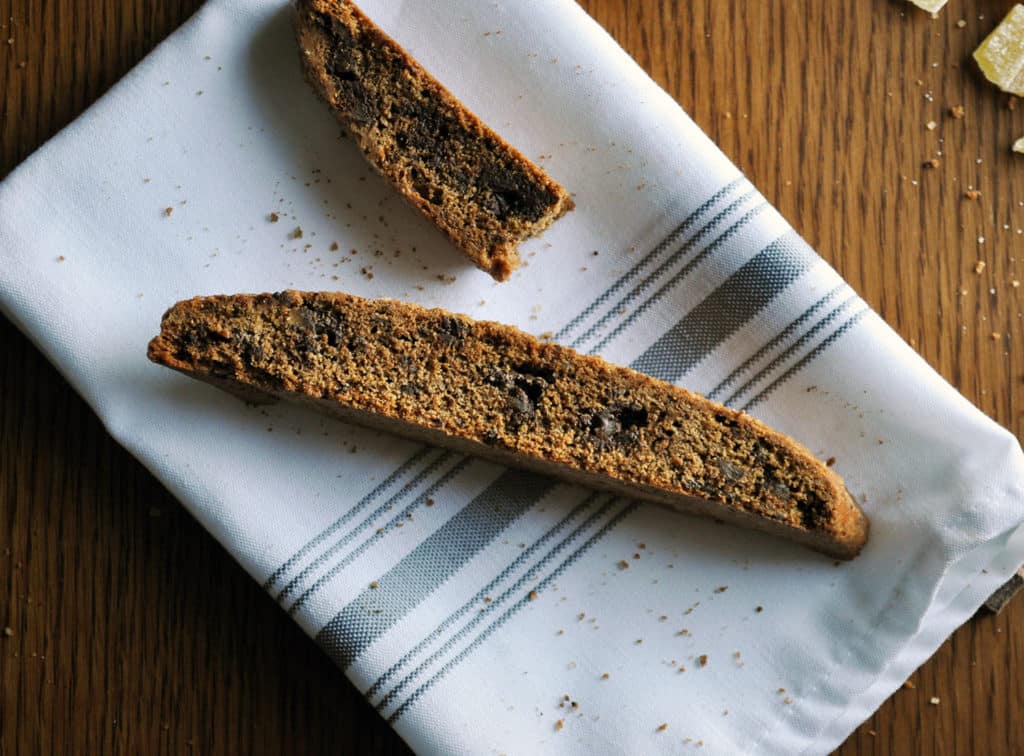
Gingerbread Biscotti Recipe with Dark Chocolate Ginger Bark
Gingerbread biscotti, dotted with chunks of ginger chocolate bark & served with a steaming mug of coffee or hot cocoa, is the perfect treat on a cold day.
Ingredients
- 1 cup candied ginger
- 8 oz. good quality dark chocolate
- ½ cup butter, at room temperature
- ¾ cup dark brown sugar
- 3 large eggs
- 1 teaspoon pure vanilla extract
- 1 ¾ cup all-purpose flour
- ¼ cup + 2 tablespoon whole wheat flour
- 1 ½ teaspoon baking powder
- ½ teaspoon baking soda
- 1 teaspoon course ground sea salt
- 2 teaspoon ground ginger
- 2 teaspoon ground cinnamon
- ½ teaspoon ground cloves
- 1 teaspoon ground nutmeg
- 1 ½ teaspoon ground black pepper
- 1 egg white, lightly beaten with a fork
- 2 tablespoon turbinado sugar
Instructions
- Spray an 8-inch square pan with non-stick cooking spray and line with plastic wrap, leaving a 6-inch overhang on all sides.
- Using a sharp knife or kitchen shears, chop candied ginger into pea size chunks. Set aside.
- Fill a saucepan about ⅔ full with water and bring to a simmer. Add about ⅔ of the chocolate to a stainless steel bowl that is large enough to fit snugly over the saucepan without the bottom of the bowl touching the bottom of the saucepan. Place the bowl over the simmering water and let sit -without stirring - until the chocolate is about ⅔ melted. Gently stir the chocolate in the bowl until it is completely melted. Remove the bowl from the simmering water and slowly stir in the remaining chocolate, bit by bit, until all of it is melted.
- Stir in the chopped ginger and pour into the prepared baking pan. Cover with the overhanging plastic wrap and refrigerate until firm. Once firm, chop the chocolate bark into ¼ inch chunks and set aside.
- Add the butter and brown sugar to the bowl of a standing mixer fitted with the paddle attachment. Beat for 4-5 minutes on medium-high speed until the mixture is lightened and fluffy.
- In a bowl or measuring cup, whisk the eggs with the vanilla to combine. Beat the egg mixture into the butter-sugar mixture in three additions, mixing on medium-high speed for 20-30 seconds after each addition. Scrape down the sides of the bowl as necessary. After all the eggs have been added, beat on medium-high speed for about 30 seconds, until homogeneous.
- Add all the dry ingredients to a medium size bowl and stir to combine. Add all at once to the mixing bowl and mix on low speed just until combined. Stir in the chopped ginger chocolate bark.
- Dump the dough onto a large sheet of plastic wrap, shape into a rectangle that's about 8 inches by 4 inches. If the dough is sticking to your hands as you shape it, just wet your hands slightly with tap water. Wrap tightly and refrigerate for at least 4 hours, or overnight.
- Preheat the oven to 350 and line a baking sheet with parchment paper. Remove the dough from the refrigerator, and let sit at room temperature for 10 minutes. Unwrap the dough and divide in half so that you have 2 rectangles. Place both rectangles onto the parchment lined baking sheet and use your hands to shape them into flat logs that are about 11 to 12 inches long and 2 ½ inches wide. Brush the tops with egg white and sprinkle evenly with turbinado sugar.
- Bake for 30 minutes. Remove the pan from the oven, place on a wire rack, and let the logs cool on the pan for 30 minutes. Lower the temperature of the oven to 300 degrees.
- Transfer the logs to a cutting board and slice them on the diagonal into ½ inch thick biscotti. Return the biscotti to the baking sheet so that the cut sides face out. They will fit snuggly on the pan. Bake for 30-40 minutes, until the center of the cookies are firm, but still give slightly when pressed. Cool completely on the pan.
- The biscotti will keep for up to 2 weeks in an airtight container.

Comments
No Comments