


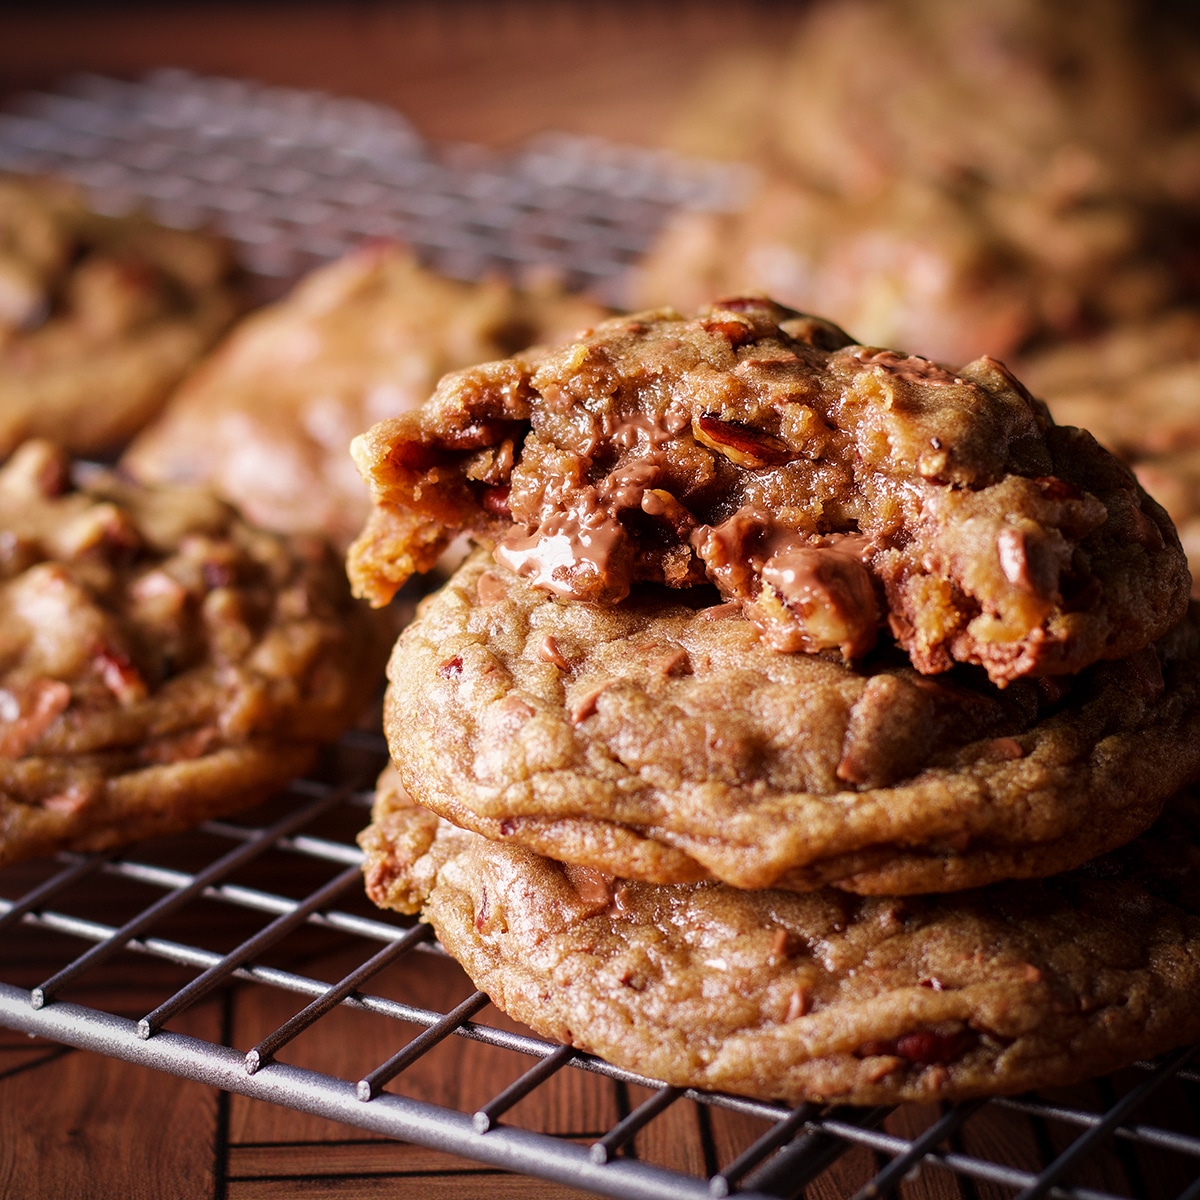
These are, without a doubt, the BEST tasting decorated Christmas Cookies I've ever eaten. Brown butter citrus shortbread is delicious all on its own - buttery, not overly sweet, and laced with the subtle flavors of orange, lemon, and lime.
Dark and white chocolate fondants are easy to work with, gorgeously glossy, and taste wonderful with the brown butter citrus flavor of the cookies.
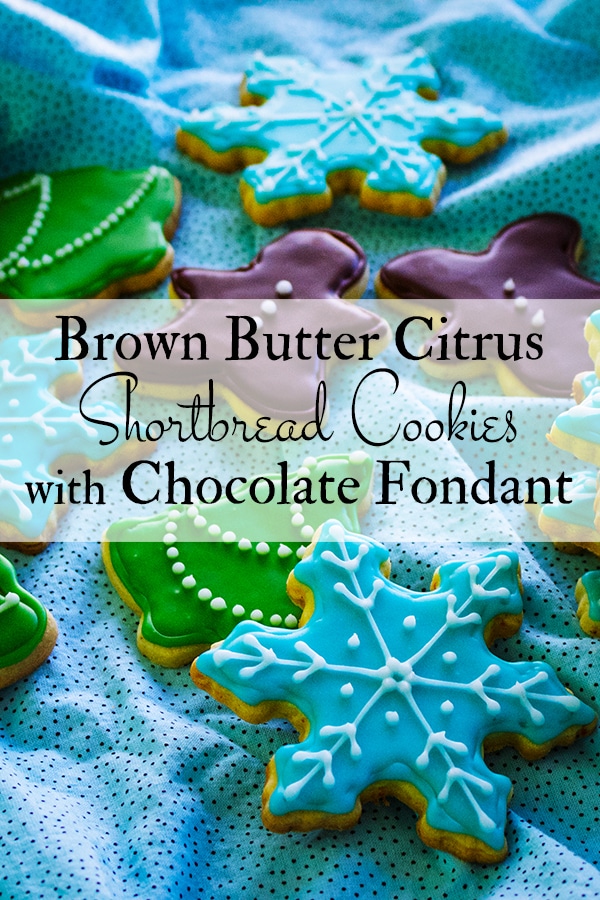
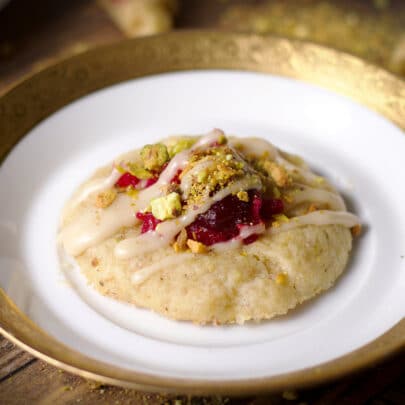
My All-Time Favorite Decorated Christmas Cookies
For the most part, when you see a frosted, decorated cut-out cookie, you understand that its main purpose is to look pretty, not necessarily taste great. And, you think, That's fine. This cookie knows what it's about - looking pretty, not tasting great. You do not think, Yum! That's going to be delicious.
At least I don't. Or, I should say didn't. Past tense. Because from now on every decorated cut-out cookie coming out of my kitchen is gong to be these. These are so good that I'm surprised there were enough left over for pictures.
Also important for decorated cut-out Christmas cookies - if you take care to chill the dough, these cookies hold their shape perfectly while baking and can be stored at room temperature for up to 10 days. I feel like this is important with cookies that require decoration. You can bake them one day and decorate them on another.

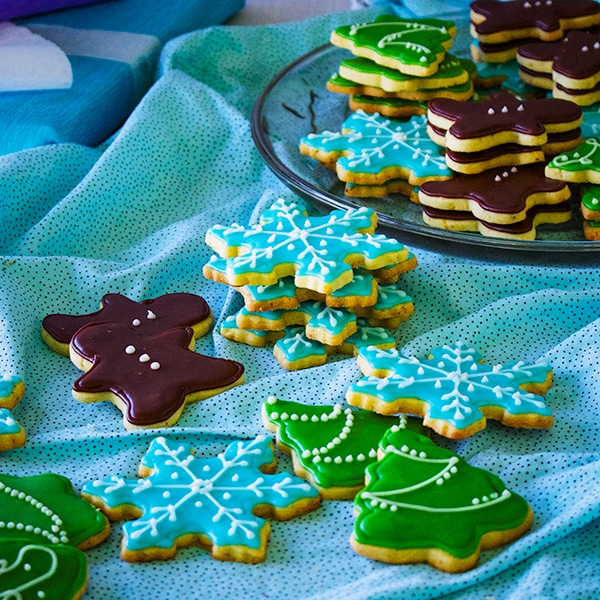
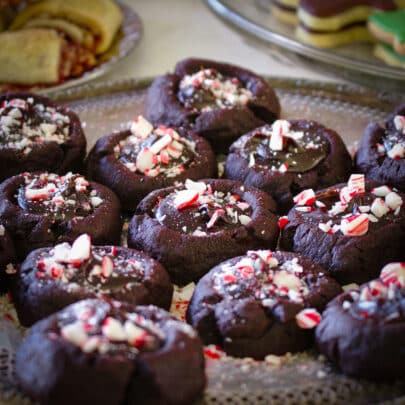
Decorate with White and Dark Chocolate Fondant
The white and dark chocolate fondant used to decorate these Christmas Cookies is based on this recipe for Black and White Cookies. It's chocolatey and delicious, and fantastic to work with because you can easily control how thick or runny the consistency is.
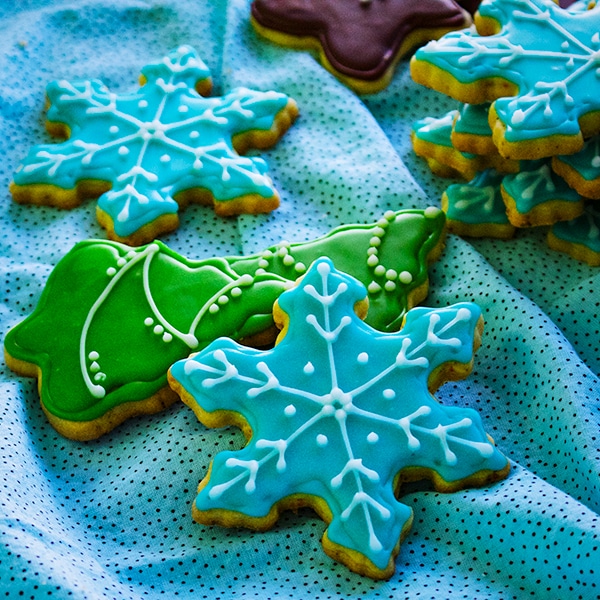
I like to pipe an outline around the outside of the cookies using fondant that's thick enough to hold its shape. Then, I simply add a few teaspoons of hot water to the fondant to thin it out, piping it inside the lines so that it runs together and covers the cookie completely. Let the fondant set up, then pipe additional decoration on to the cookies with fondant that's on the thick side.
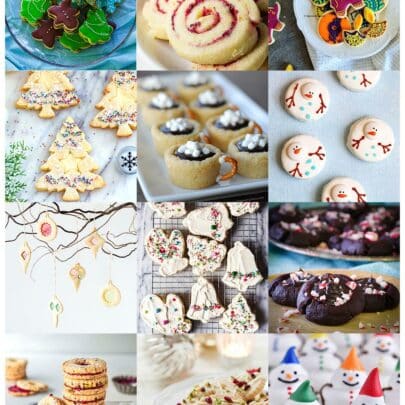
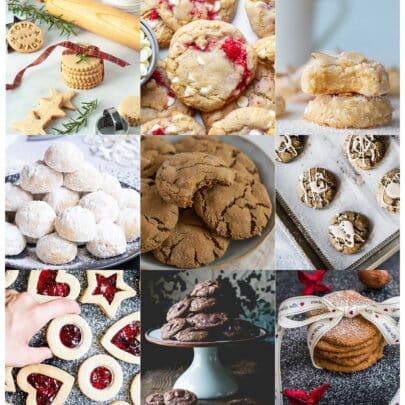
More Popular Christmas Cookie Recipes:
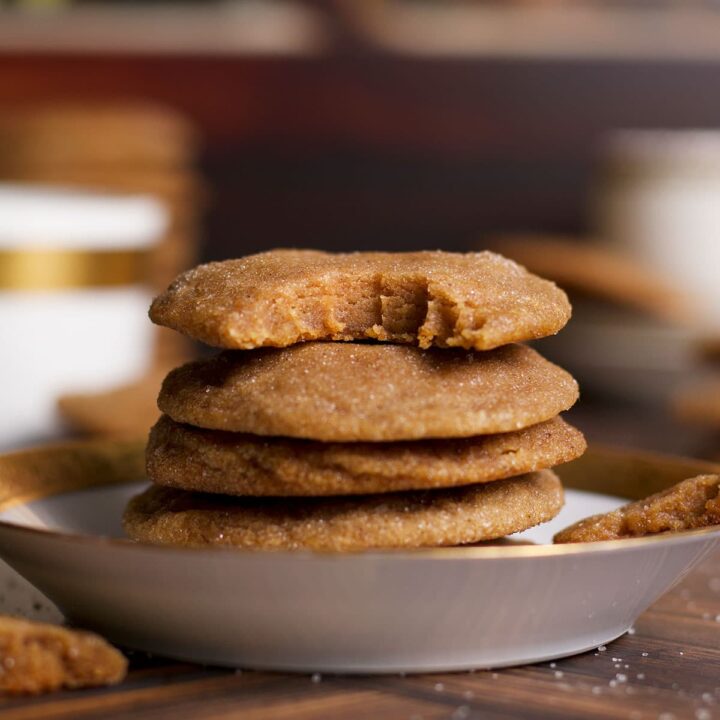
I don't know about you, but it's not the holiday season without at least one batch of homemade gingerbread cookies and these cute little mini gingersnaps. After that, our Christmas cookie selection is a bit different every year but usually includes at least 2 or 3 from this list of 11 favorite Christmas cookies.
And, because brown butter cookies deserve a category all their own...


+ Subscribe to my newsletter for new and exclusive recipes in your in-box every month! As a full time traveler, living, working, cooking, and baking from a 5th wheel RV, it's also where I share our experiences of life on the road.
If you give this recipe a try, let me know! Leave a comment, rate it, or take a picture and tag it #ofbatteranddough on Instagram.
📖 Recipe

Frosted Brown Butter Citrus Shortbread Cookies
These are the BEST tasting frosted cookies I've ever eaten. Brown butter citrus shortbread is buttery, not overly sweet, and laced with the subtle flavors of orange, lemon, and lime. The dark and white chocolate fondants are easy to work with, gorgeously glossy, and taste wonderful with the brown butter citrus flavored cookies.
Ingredients
For the Shortbread Cookies:
- 30 tablespoons (424 grams) unsalted butter, at room temperature
- 1 ½ cups (340 grams) powdered/ confectioners sugar
- The zest from 1 orange, 1 large lemon, and 2 limes (about 3 tablespoons)
- 3 large egg yolks
- 2 teaspoons pure vanilla extract
- 3 ½ cups (420 grams) all-purpose flour
- 1 teaspoon table table salt, OR 1 ½ teaspoons kosher salt
- Holiday cookie cutters – or any shape of cookie cutters
For the Chocolate and Vanilla Fondants:
- 2 ounces (57 grams) unsweetened chocolate, very finely chopped
- 2 ounces (57 grams) white chocolate, very finely chopped
- ¼ cup + 2 tablespoons (117 grams) light corn syrup
- ¾ cup water
- 7 ½ cups (850 grams) powdered/ confectioners sugar
- 1 ½ teaspoons pure vanilla extract
- Gel Food Coloring (optional, for decorating)
Instructions
To Make the Shortbread Cookies:
- Put 16 tablespoons (226 grams) of the butter in a saucepan and set it over medium-low heat. Cook until the milk solids have fallen to the bottom of the pan and turned a rich golden brown, 7-10 minutes. As the milk solids begin to brown, watch carefully so that it doesn't burn. Pour the butter into a bowl and place in the refrigerator for at least 30 minutes, until solid.
- Add the browned butter, the remaining 14 tablespoons (198 grams) of butter, powdered sugar, and zest to the bowl of a standing mixer. Beat on low just to combine, then beat on medium-high until fluffy and the consistency of frosting. Add the egg yolks and vanilla and beat on medium-high for 1 minute more.
- Stir the flour and salt together, and then add the mixture to the mixing bowl. Beat on low just until the dough comes together.
- Stretch a piece of plastic wrap out on the counter. Place half the dough in the center, shape it into a disk that is approximately 8 inches in diameter, and wrap tightly. Repeat with the second half of the dough. Refrigerate the dough for at least 2 hours, and preferably overnight.
- Set the dough out on the counter and let it rest until just soft enough to roll out, but still very cold.
- Lay a sheet of parchment paper that's approximately 13x18 inches (the size of a half-sheet pan) on a clean work surface, and lightly dust it with flour. Set the dough in the center of the paper and dust the surface of the dough with flour. Roll the dough into a rectangle that's approximately ¼-inch thick. To keep the dough from sticking, periodically dust the surface with flour, lay another sheet of parchment paper over the top, and flip the whole thing over. Peel off the top sheet of paper, dust with more flour, and continue rolling. Alternatively, run a large flat metal spatula under the dough every once in a while to keep the bottom from sticking.
- Use cookie cutters to cut out shapes, laying the cookies on a parchment-covered baking sheet, re-rolling the dough as necessary. Cover the cookies with plastic wrap and put the sheet in the refrigerator for 20 minutes.
- Preheat the oven to 350 degrees F (176 degrees C) and bake the cookies for 12-14 minutes, rotating the cookie sheet from front to back halfway through cooking to ensure even baking. The cookies are done when they are just barely beginning to brown around the edges.
- Let the cookies cool on the baking sheet for at least 4 minutes, then use a spatula to remove to a wire rack and let cool completely before decorating.
To Make the Fondants and Decorate the Cookies:
- Put the chopped dark chocolate in one medium-sized bowl and the chopped white chocolate in another.
- Add the corn syrup and water to a medium saucepan and cook over medium-high heat just until the mixture begins to boil. Remove from the heat and add the powdered sugar, one cup at a time, beating with a wire whisk to combine after each cup is added. Add the vanilla and whisk until completely smooth.
- Pour half the syrup over the dark chocolate and the other half over the white chocolate. Let sit for about 5 minutes and then stir the fondants until smooth. If the chocolate won't completely melt, put the bowl in the microwave at half power for 15-20 seconds. *This is a good consistency for outlining designs and adding piped decoration. See note below.
- Thin the fondants by adding hot water, one teaspoon at a time to the fondants until they reach the desired consistency. To color the white chocolate fondant, use Gel Food Coloring.
- After decorating the cookies, let them sit until the fondants have hardened. Then store the cookies in an airtight container, layers separated with parchment paper, for up to 10 days.
Notes
- I like to pipe an outline around the outside of the cookies using fondant that’s thick enough to hold its shape. Then, I simply add a few teaspoons of hot water to the fondant to thin it out, piping it inside the lines so that it runs together and covers the cookie completely. Let the fondant set up, then pipe additional decoration on to the cookies with fondant that’s on the thick side.
- As long as the dough is well chilled when you put the cookies in the oven, they will hold their shape perfectly while baking and can be stored in an air-tight container at room temperature for up to 10 days. I feel like this is important with cookies that require decoration. You can bake them one day and decorate them on another.
Recommended Products
As an Amazon Associate and member of other affiliate programs, I earn from qualifying purchases.
-
 Native Vanilla - Extracts Made from Premium Vanilla Bean Pods 16 Fl Oz (Pack of 1)
 -
KitchenAid RKP26M1XSL Professional 600 6-Qt. Bowl-Lift Stand Mixer
-
Wilton, 55-Piece Cake Supply Master Decorating Tip Set
-
Ateco Disposable Decorating Bags, 18-Inch, Pack of 100
-
Zulay Flexible Silicone Spatula (13 inch)
-
Nordic Ware Natural Aluminum Commercial Baker's Half Sheet (2 Pack), Silver
-
Wilton Icing Colors, 12-Count Gel-Based Food Color
-
12pcs Christmas Cookie Cutters Set


Nutrition Information:
Yield: 32 Serving Size: 1 cookieAmount Per Serving: Calories: 251Total Fat: 13gSaturated Fat: 8gTrans Fat: 0gUnsaturated Fat: 4gCholesterol: 52mgSodium: 85mgCarbohydrates: 32gFiber: 1gSugar: 20gProtein: 3g
Liz says
These cookies are delicious! I love the coloring of the frosting! So pretty! I wish my decorating skills were as good as yours!
Rebecca Blackwell says
I'm so glad you like this recipe Liz! Thank you so much for taking the time to leave a comment for me! I truly appreciate it! xo
Marie says
Hi.
1) Just wanted to verify that it’s 30 TBSP butter
2) the amount of zest is still showing as 2-3 TBSP.
3) Is this icing or fondant? The pictures look like icing texture. I just want to know what texture to expect when I make icing
Rebecca Blackwell says
Hi Marie! Yes - these are shortbread cookies, so 30 tablespoons of butter is correct. Some of the water in the butter evaporates during the browning process, leaving you with slightly less butter if measured by weight. But, these are definitely butter-based shortbread cookies. 🙂
2-3 tablespoons of zest is also correct, which is what you should end up with after zesting 1 orange, 1 large lemon, and 2 limes. The amount of zest will, of course, vary depending on how large each piece of fruit is. But, if you have approximately 2-3 tablespoons, you'll be good.
The decoration for these cookies is fondant, but you're right that it looks like icing. The fondant contains corn syrup, giving it a lovely shiny, smooth texture that behaves like icing but tastes better. I also love it because it's thick enough to hold it's shape until you thin it with hot water. This allows you to outline the cookies with fondant before thining it out to fill the tops with a smooth, shiny layer.
Does that answer your questions? Please let me know if you have any more! And, I'd love to hear what you think of these cookies after you make them! xo
Tammy S says
I love the idea of the B&W cookie icing for the icing here. Are you coloring the white chocolate icing to get the blue & green versions? Do you make a double batch of the white chocolate version? And what kind of food coloring are you using to get those vibrant shade? Thanks for the great idea!
Rebecca Blackwell says
Hi Tammy! The icings are genuinely delicious - which is something I feel is lacking in many decorated cookies. The frosting goes a long way - especially if you thin it out so that it fills in the top of the cookies. It's on the thick side when you first make it and perfect for outlining the cookies. But, then if you thin it with a bit of water, it becomes runny enough to spread out between the outlines. I just used Wilton gel food coloring to color the white chocolate frosting. Your comment reminds me that I should link to that in the recipe for anyone else who has the same question. 🙂 Thanks so much for taking the time to leave a comment for me! Happy cookie decorating! xo
Barbara McCormick says
On the zest! 1 1/2 tsps of EACH? Or of all 3 combined? And when do I add the zest?
Rebecca Blackwell says
Hi Barbara! Sorry - that wasn't very clear, was it? You want 1 & 1/2 tbsp zest, in total. I updated the recipe to make that a bit more clear. 🙂 And, you add it at the same time you add the butter and powdered sugar - step #2. Thanks for the question and helping me make the recipe better! If you make these, will you let me know what you think? Happy baking! xo